
Create a New Quote (Estimate)
Quotes (also called estimates or proposals) let you send customers clear pricing and scope before you schedule the work and issue an invoice. In OctopusPro, quotes can include services, products/materials, custom field answers (service questions), taxes, discounts, voucher codes, internal notes, expiry dates, and follow-up reminders—so you can move faster from lead → quote → approval → booking.
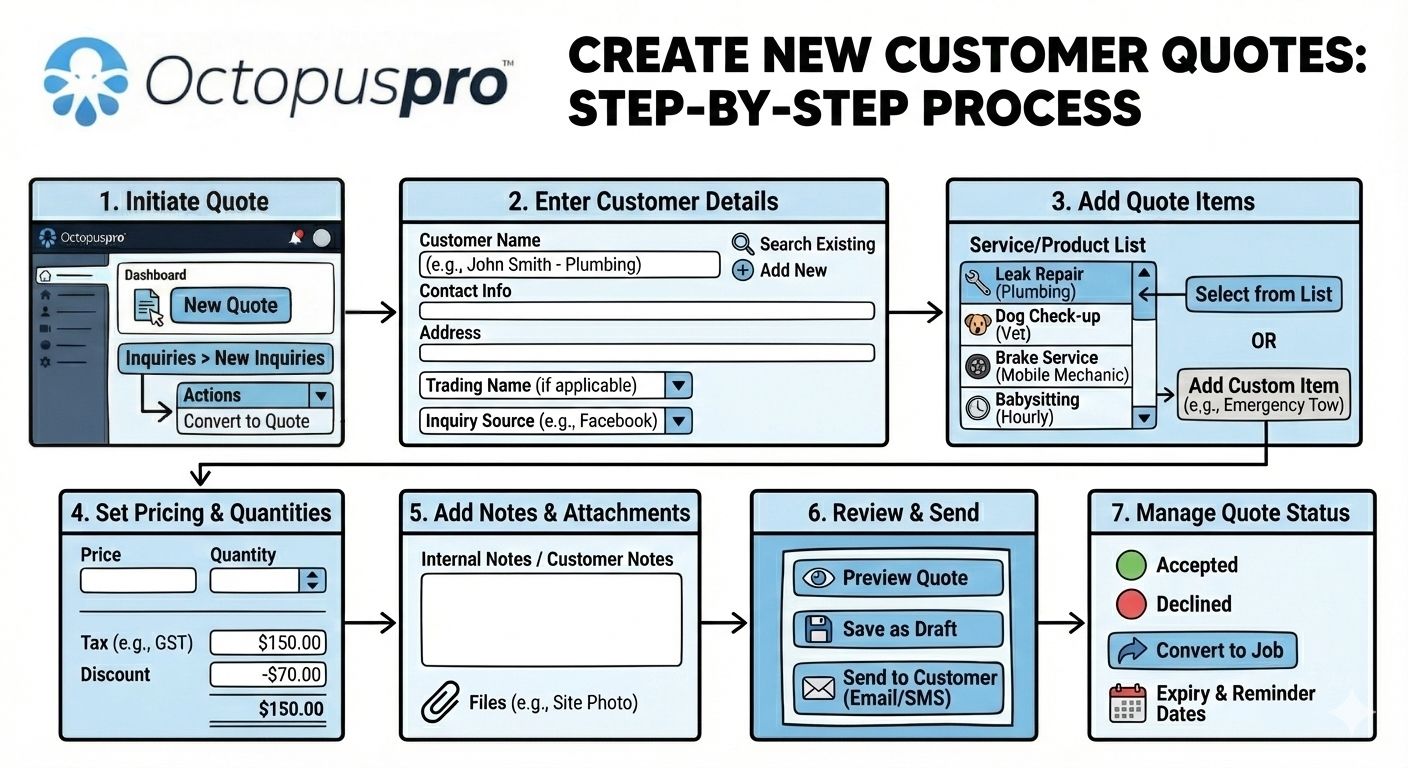
Once the customer accepts (and signs/approves where enabled), you can convert the quote into a booking without re-entering details.
You can create quotes from multiple entry points (back office, field app, or customer portal):

Table of contents
- Before you start
- How to create a new quote (Admin Portal)
- How to convert an inquiry into a quote
- Customer-generated quotes & follow-ups
- Fieldworker-generated quotes (Mobile App)
- Best practices & common questions
- Related guides
Before you start
- Services & pricing: Make sure your services (and any pricing rules/custom fields) are configured so totals calculate accurately.
- Tax rates (GST/VAT/Sales Tax): Confirm your tax rates are set up correctly: Manage Tax Rates.
- Voucher codes (promo/coupon codes): If you offer discounts, set up voucher codes in advance: Discount Voucher Code Management.
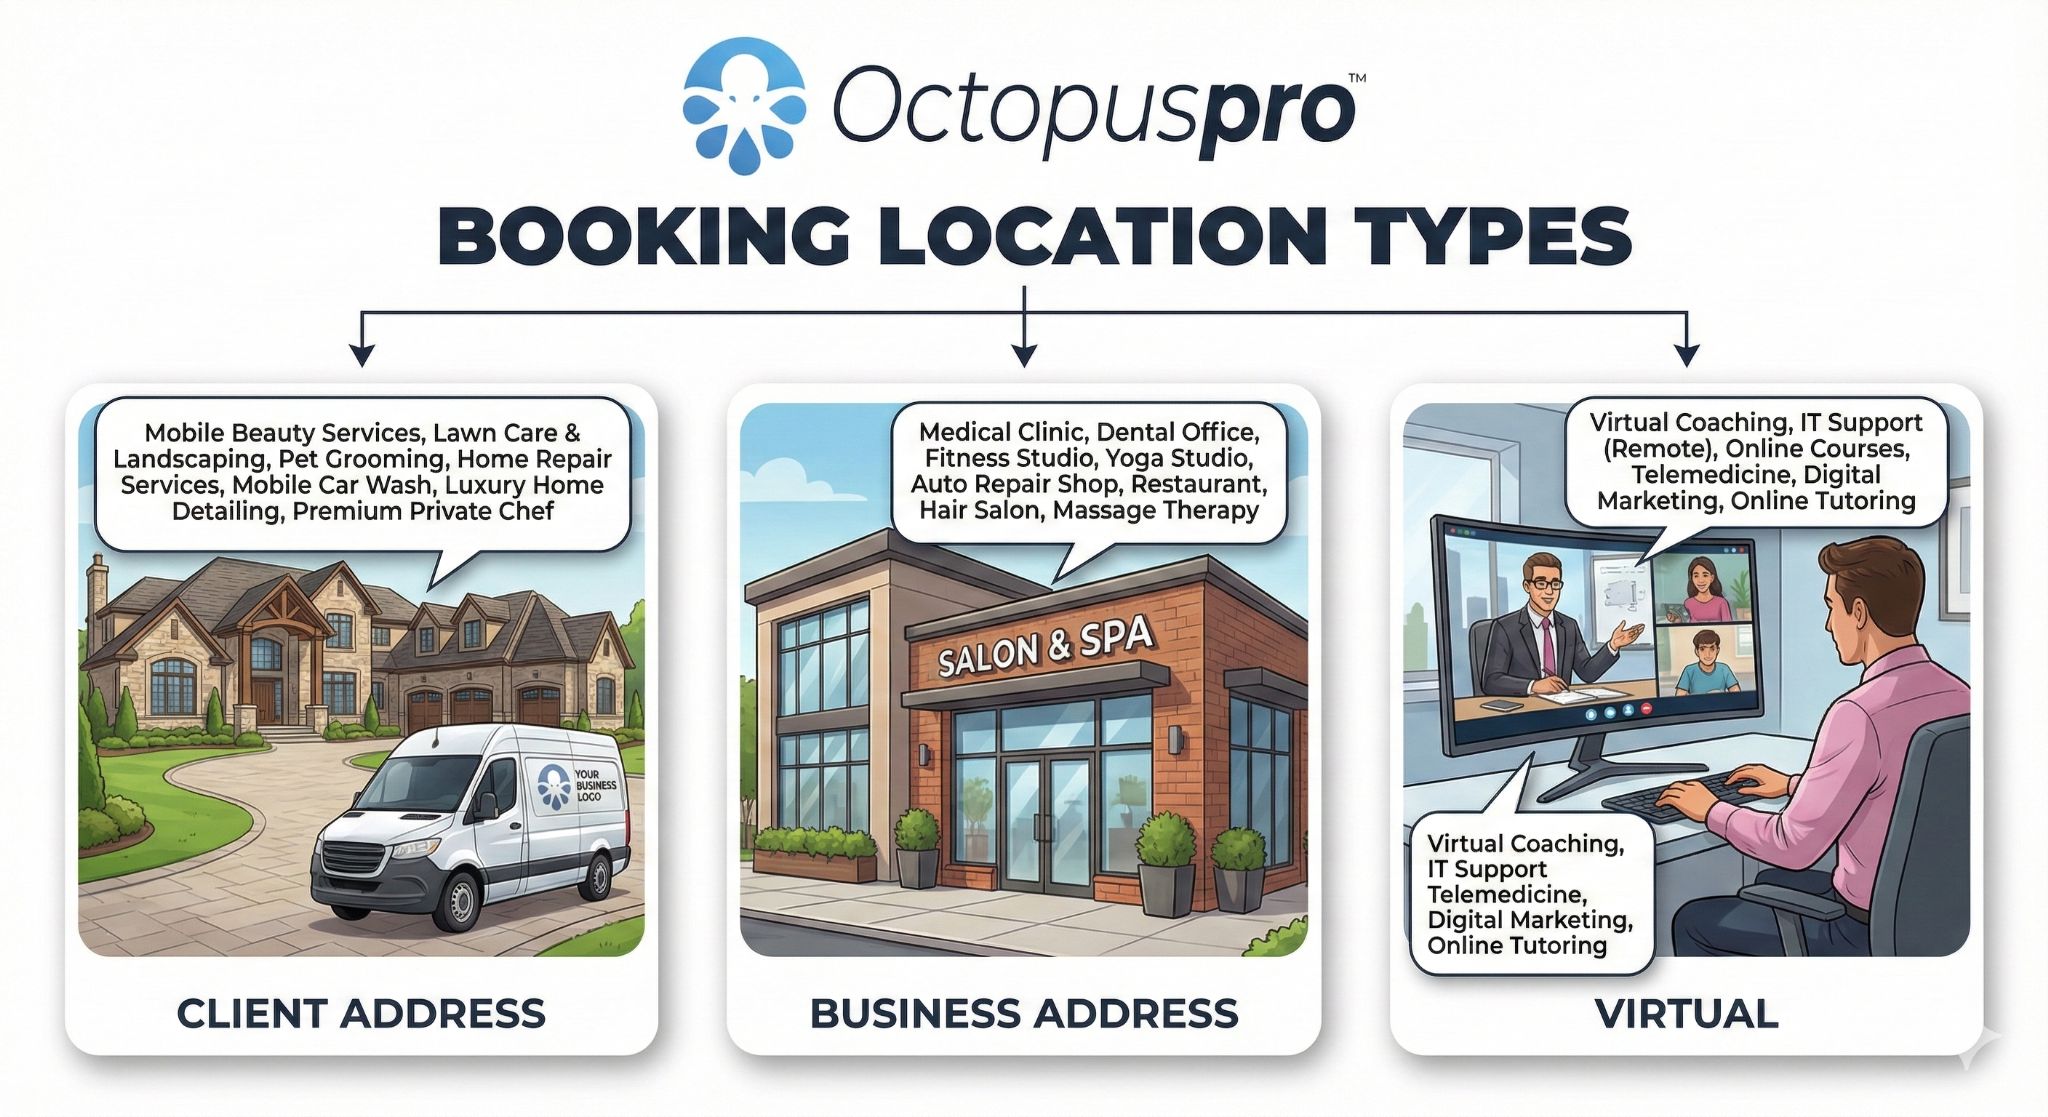
- Location type (storefront / mobile / virtual): Configure your service delivery types: Booking Location Types.
- Automations (optional): If you want automatic quote reminders/follow-ups, review: Automated Reminders & Confirmations.
How to create a new quote (Admin Portal)
To create a quote from the admin portal:
- Go to Quotes → Create new, or
- Click + New (top-right) → New quote
Step 1: Set the quote header (status, label/tag, sales rep, trading name, source)
At the top of the New Quote page, set the key fields your team uses for tracking and reporting:
- Status: your quote stage (your list may vary).
- Label/Tag: use labels like “Hot Lead”, “Needs Site Visit”, “Waiting on Photos” for filtering and prioritising. (Label Management)
- Sales Rep / Owner: assign responsibility for follow-up and conversion.
- Trading name: for multi-brand accounts—ensures the correct branding is used on customer-facing documents.
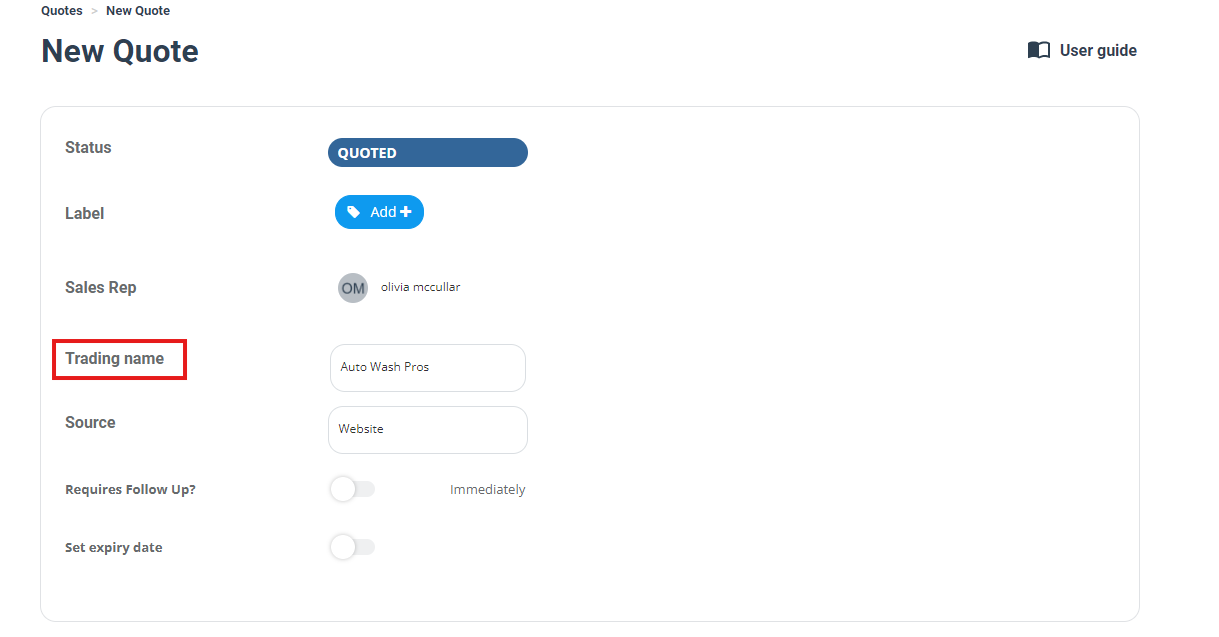
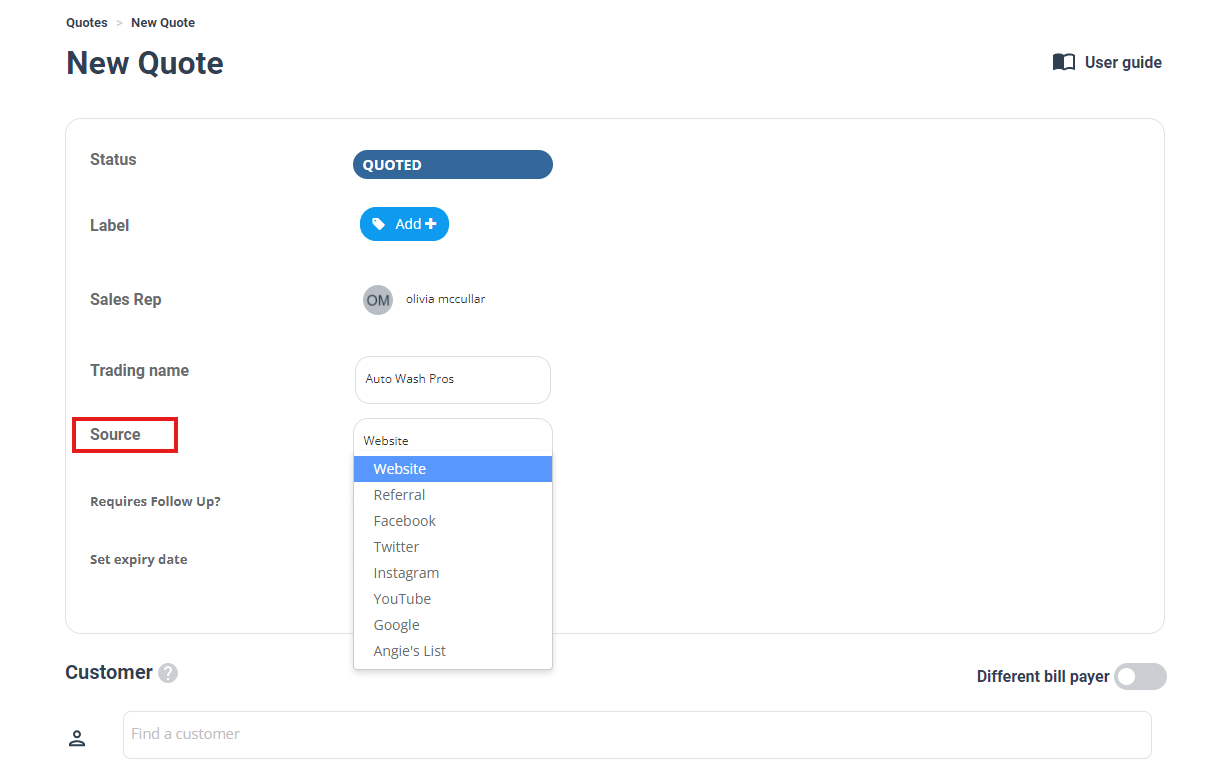
- Source: track lead source (Website, Referral, Facebook, etc.) for marketing/reporting.
- Requires follow up? toggle ON to set a follow-up date.
- Set expiry date: toggle ON to define when the quote expires.
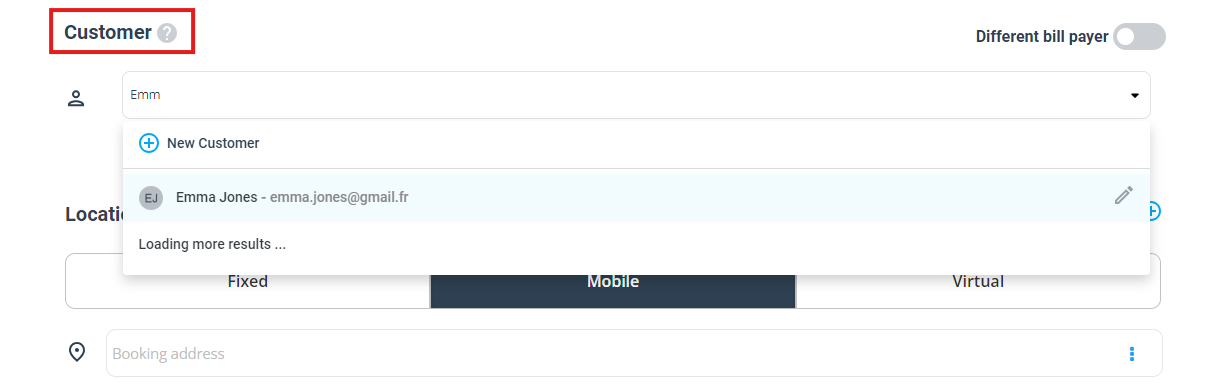
Step 2: Select (or create) the customer
Search for an existing customer, or create a new customer from the quote screen. This keeps your quote linked to the customer profile for future bookings, invoices, and communication history.
- Existing customer: start typing the name and select from the list.
- New customer: click New Customer and enter details (name, email, phone, billing details, etc.).
- Different bill payer (optional): enable this when a third party is paying (e.g., real estate, corporate account, family member).
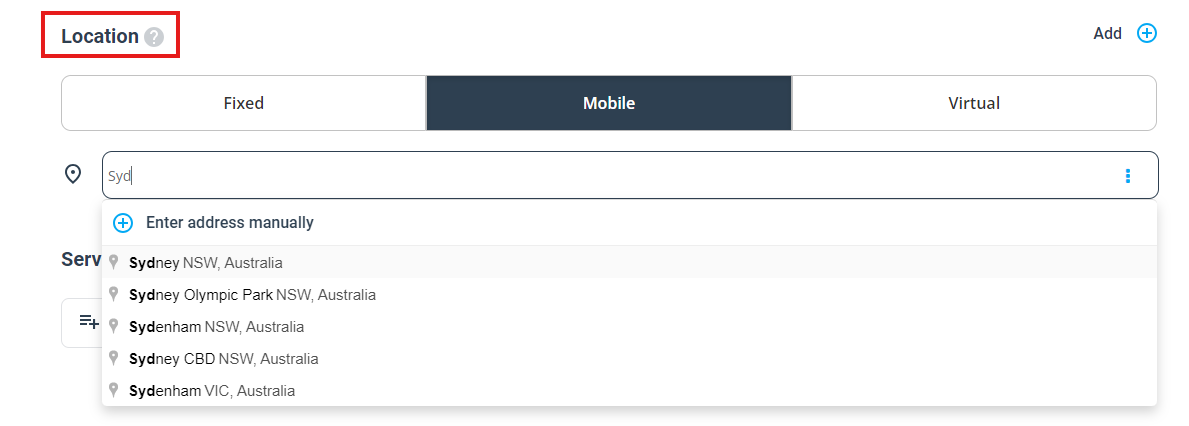
Step 3: Add the service location (Fixed / Mobile / Virtual)
Choose where the service will be delivered:
- Fixed: at your premises
- Mobile: at the customer address
- Virtual: remote/online service
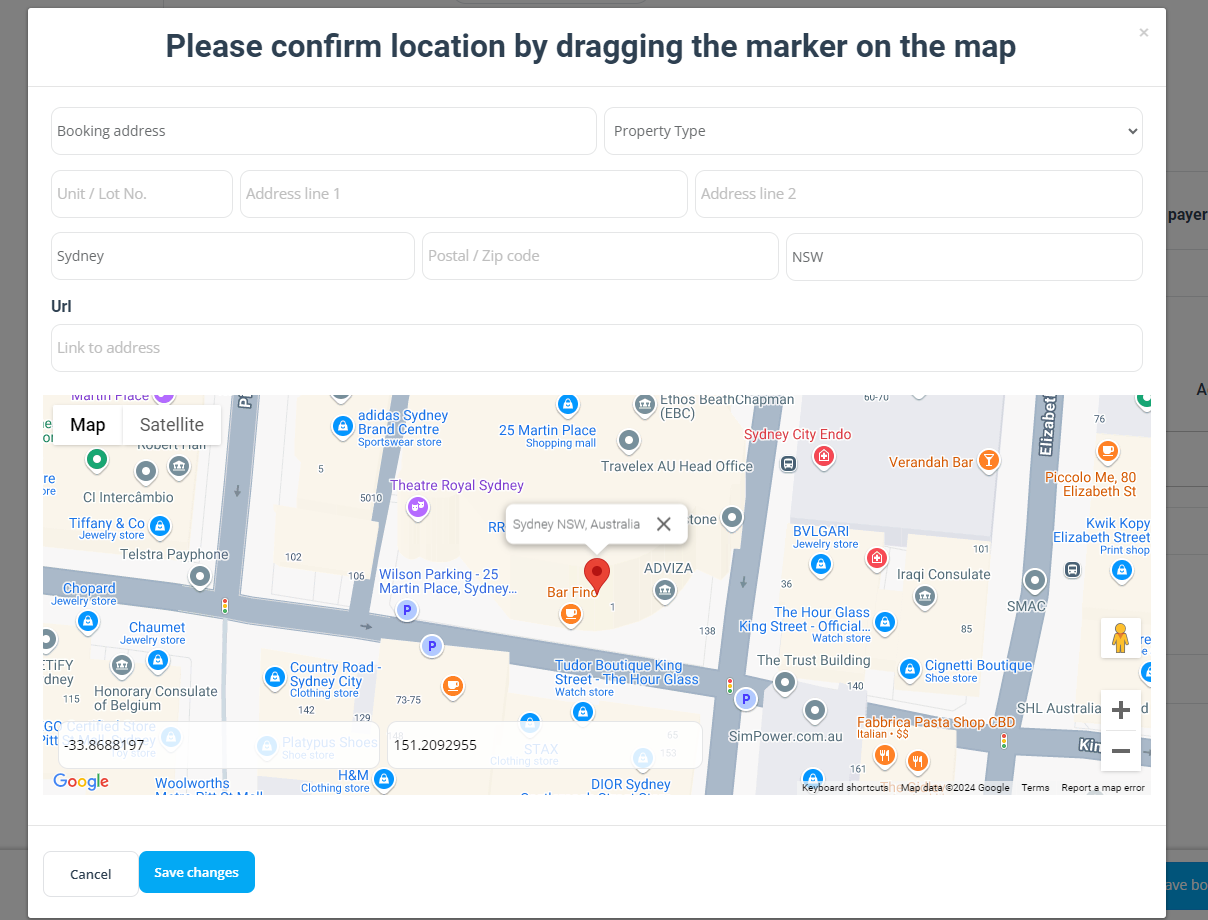
If the job address is different from the customer’s saved address, click Add and enter the new address details. You may also be prompted to confirm the map pin (where enabled).
To reuse the address later, save it to the customer profile:
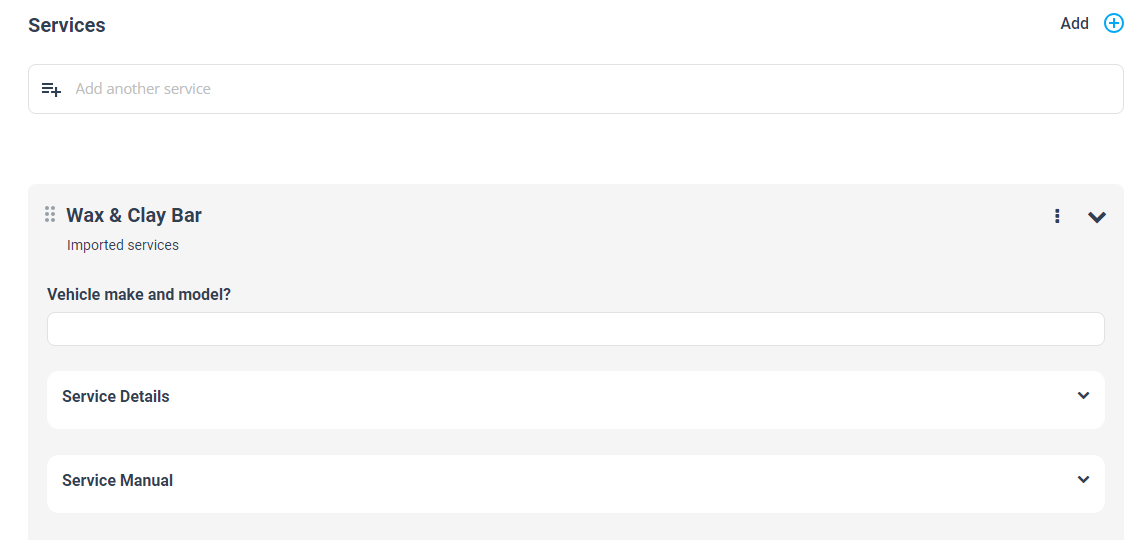
Step 4: Add services (quote line items)
Click Add Service to select services from your service catalogue. You can also create a new service (if permitted) or add a one-off custom service.

Step 5: Complete service custom fields (service questions/options)
If your services use custom fields (e.g., size, add-ons, access details), complete them on the quote. If a field affects pricing, OctopusPro may prompt you to apply an updated price based on your settings.
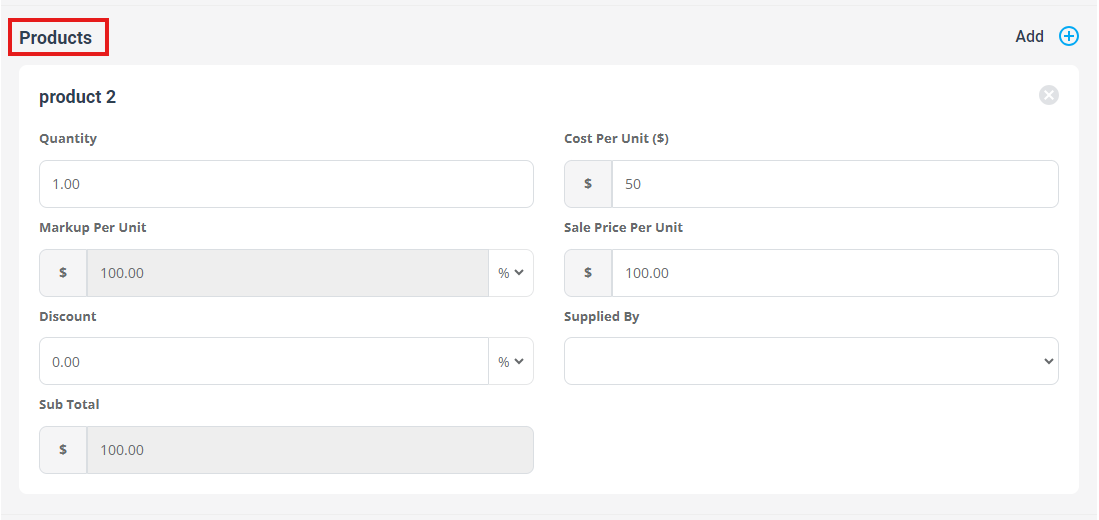
Step 6 (optional): Add products/materials
If products are enabled in your account, you can add products/materials to the quote (parts, consumables, add-ons). Select an existing product linked to the service or add a custom product.
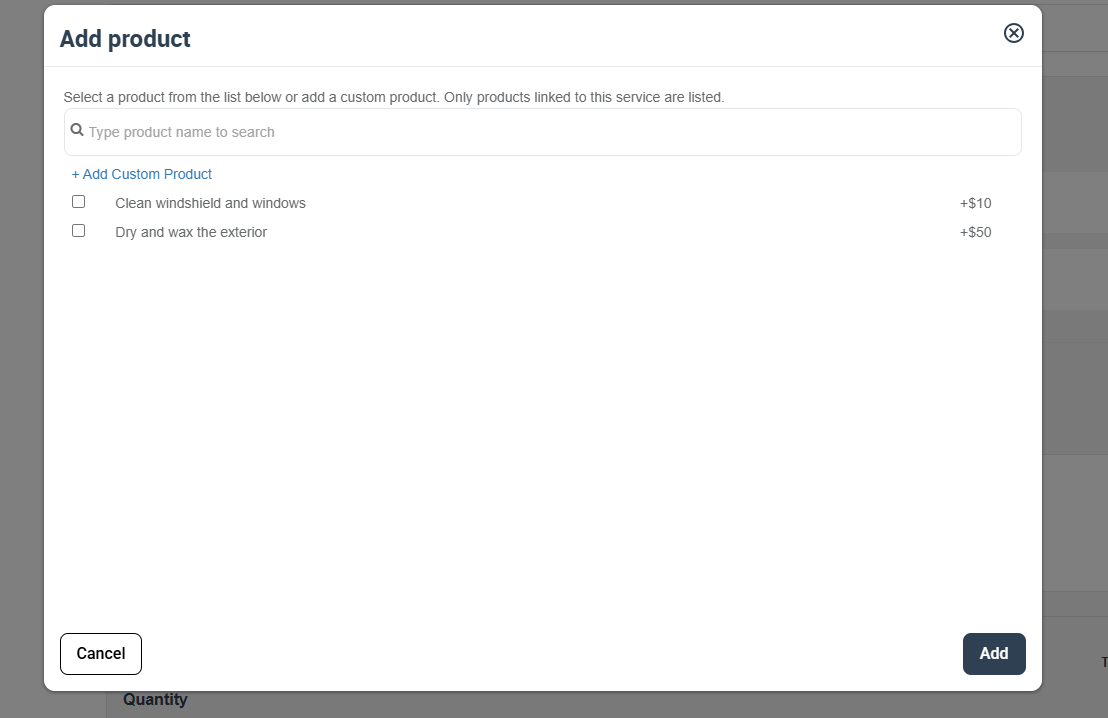
When adding a custom product, enter quantity, cost, markup, and (optional) discount—then the subtotal is calculated automatically.
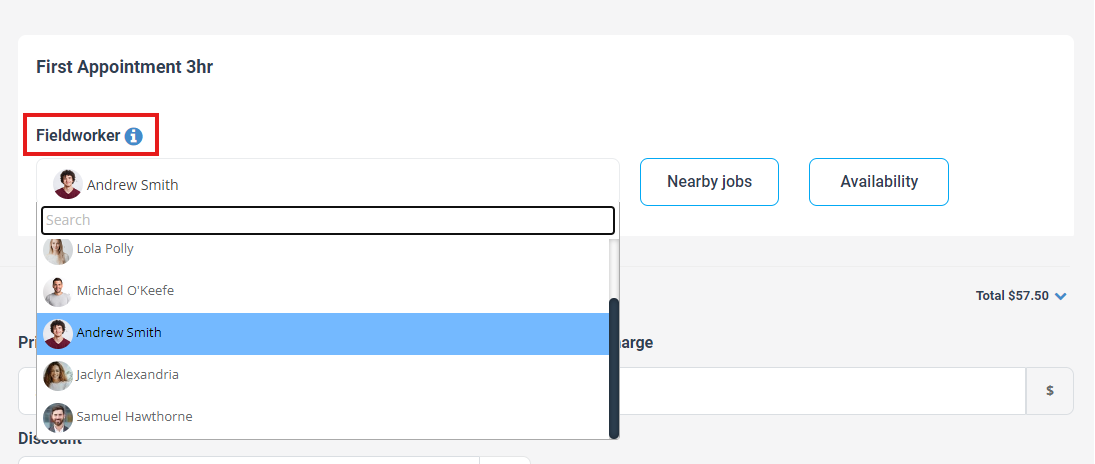
Step 7 (optional): Assign a fieldworker / estimator
If you want to allocate a team member early (for a site inspection, estimator ownership, or pre-assignment), select a fieldworker. Use these tools to schedule smarter:
- Nearby jobs: reduce travel by grouping jobs in the same area: Nearby Bookings
- Availability: find who’s available for the service: Fieldworker Availability Finder


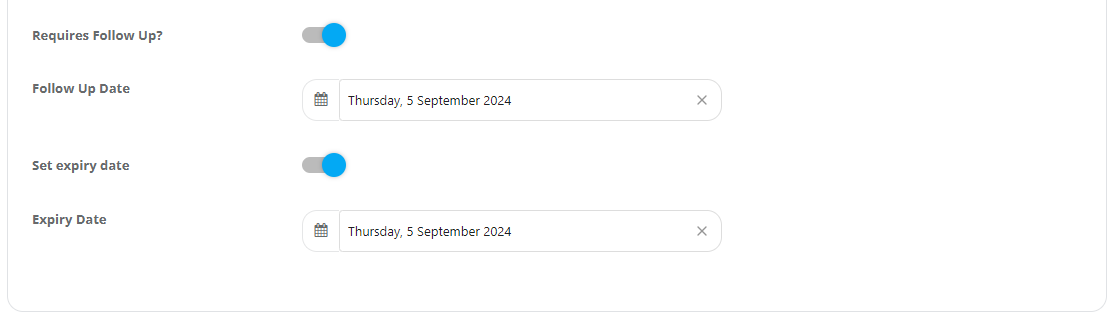
Step 8: Set follow-up and expiry dates
Use follow-ups to prevent quotes from going cold, and expiry dates to protect pricing and availability. Once expired, quotes typically appear in your Expired section.
You can manage follow-ups from Quotes → To Follow, and automate follow-ups/reminders using:


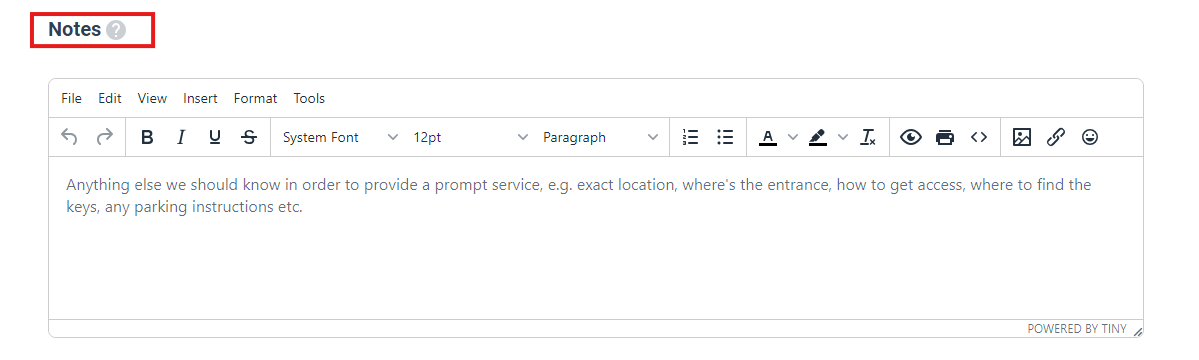
Step 9: Add internal notes (and voucher/minimum charge where applicable)
Add internal notes for admin users and fieldworkers (typically not visible to customers). If you use voucher codes or a minimum charge rule, apply them here as needed.
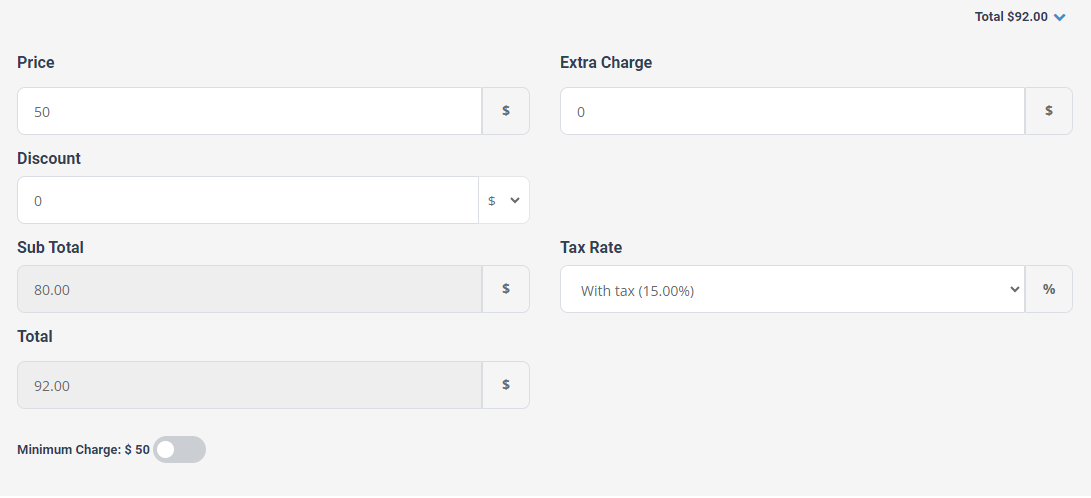
Step 10: Review totals (price, extra charges, discount, tax rate)
Review and adjust your totals as required:
- Price: service/line item pricing
- Extra charge: surcharges (after-hours, urgent call-out, difficult access, etc.)
- Discount: manual discount (amount/percentage depending on your setup)
- Tax rate: choose the correct rate (GST/VAT/Sales Tax)
- Minimum charge: apply/ignore your minimum charge rule (if enabled)
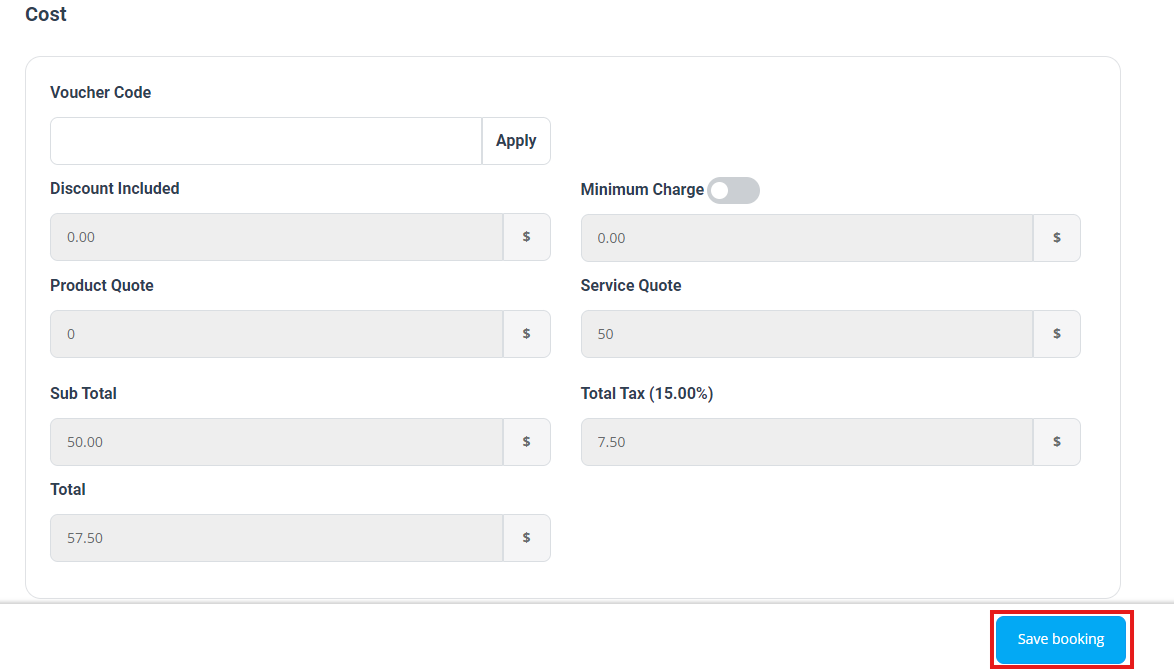
Step 11: Save the quote
Click Save to create the quote. Note: depending on your configuration, the button may appear as Save booking even though you are saving a quote/estimate.
Step 12: Send the quote to the customer (Email/SMS where enabled)
After saving, send the quote to the customer. You can adjust recipients, subject, and message content, and attach files if needed. Customers can then approve/decline (and sign where enabled) through the quote email/portal flow.

Learn more:
- Send Quote to Customer
- Quote Approval (Accept/Decline)
- Canned Responses & Templates
- Template Placeholders (merge fields)


How to convert an inquiry into a quote
If a customer starts as an Inquiry (lead), you can convert it into a quote without re-typing customer details.
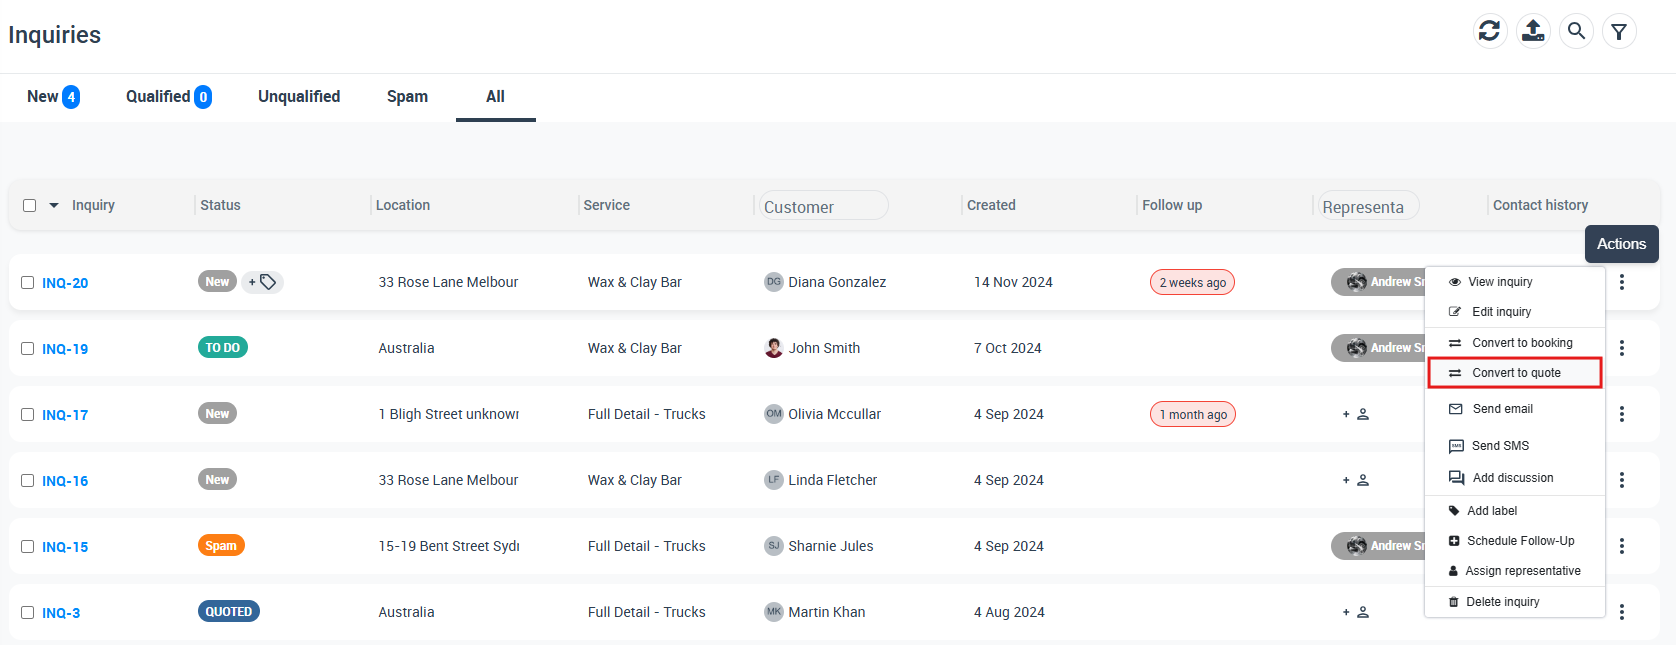
Method A: Convert from the inquiries list
- Go to Inquiries → New Inquiries.
- Click Actions next to the inquiry.
- Select Convert to quote.
Method B: Convert from the inquiry details page
- Open the inquiry first (Actions → View inquiry).
- Click Actions on the inquiry page.
- Select Convert to quote.


Full guide: Convert an Inquiry into a Quote / Estimate
Customer-generated quotes & follow-ups
You can allow customers to generate their own quotes through your Customer Portal. This works best when your services, pricing, and custom fields are configured to capture the key details needed for accurate estimating.
- Customer experience: customers can estimate cost instantly (24/7) and proceed faster.
- Less admin work: fewer back-and-forth messages for standard pricing requests.
- More conversions: use follow-ups/reminders to re-engage customers who don’t proceed.
Where to get your Customer Portal link: Customer Portal URL
Automate quote follow-ups: For example, you can trigger reminders for customers who generated a quote but did not complete checkout, or who received a quote but have not booked yet.
Fieldworker-generated quotes (Mobile App)
Fieldworkers can create quotes from the OctopusPro Fieldworker App (ideal for inspections, on-site consultations, or upsells). This speeds up quoting and reduces delays between the customer request and the quote being sent.
Step 1: Enable the right permissions (Admin)
- Review role-based permissions here: Fieldworker Permissions
- If you also want fieldworkers to email quotes directly from the app: Allow Fieldworkers to Send Quotes

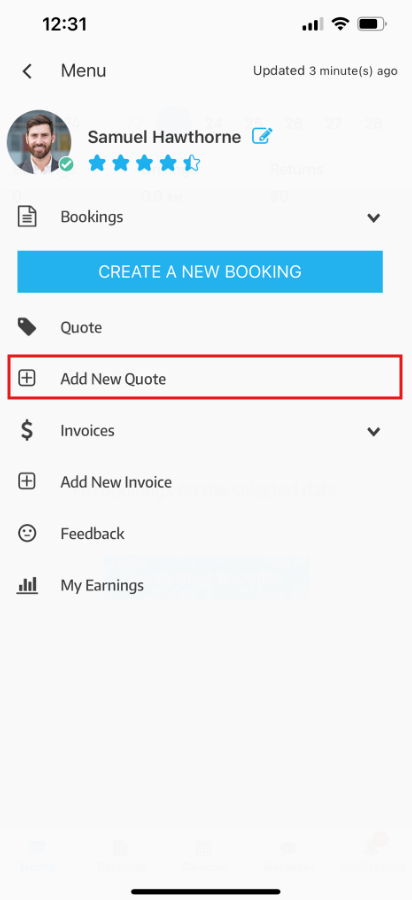
Step 2: Create the quote in the app (Fieldworker)
- Open the app menu and tap Add New Quote.
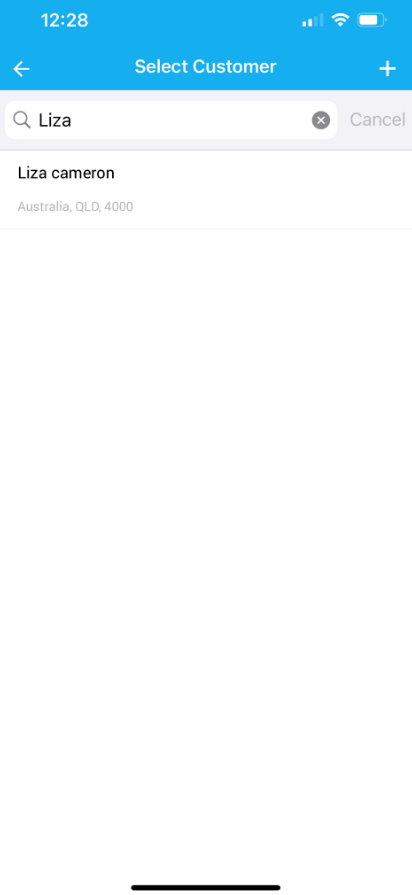
- Select the customer.
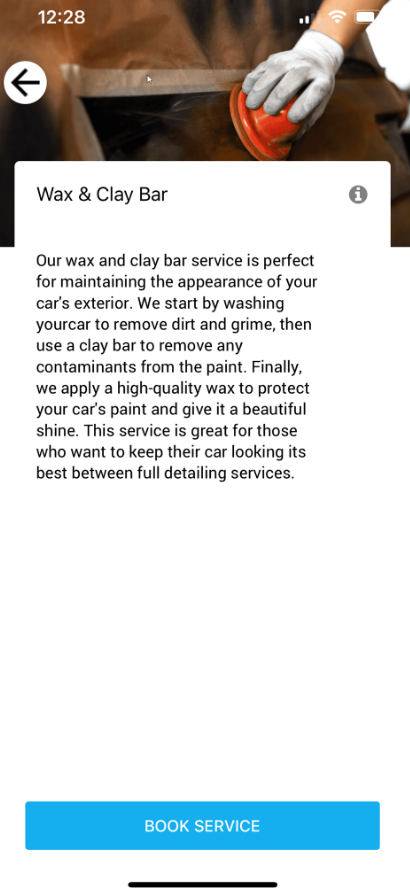
- Add the service(s) and complete any required fields/options.
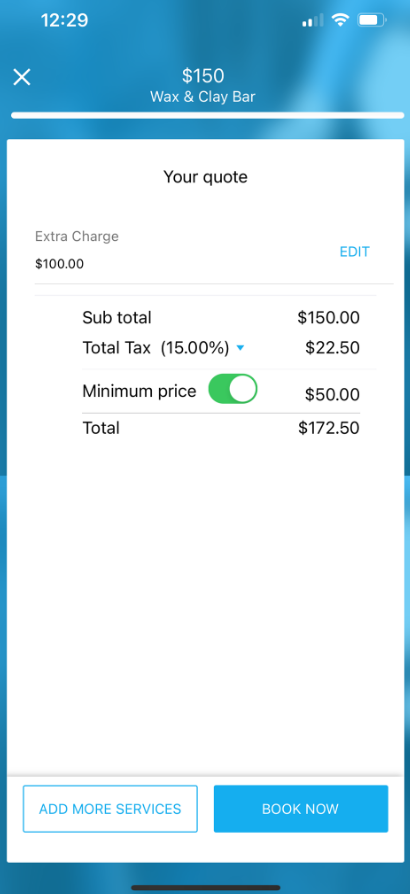
- Review pricing (extra charge, tax, minimum price where enabled), then confirm.
- Save the quote and (if enabled) send it to the customer.
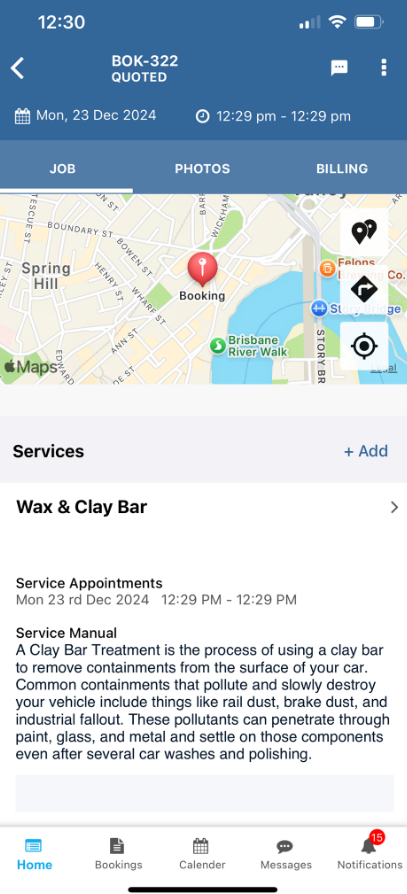
After submission, the quote appears for admin users to review and follow up. Fieldworkers can also view the quote status in the app:
Best practices & common questions
- Always set a follow-up: if the customer hasn’t responded, a follow-up keeps the opportunity alive.
- Use expiry dates: protect your pricing and encourage quicker decisions.
- Itemize services: clearer line items reduce back-and-forth and increase acceptance rates.
- Use labels/tags + assign a sales rep: improves ownership and reporting across the pipeline.
- Attach supporting files: photos/specs/measurements help customers approve with confidence.
What should I do after a customer accepts?
Convert the accepted quote to a booking (so it can be scheduled and dispatched): Convert Quote to Booking

How do I make my quote PDFs look more professional?
You can customize how quote PDFs appear (branding/layout/terms) via the quote PDF workflow: Export Quote to PDF

Can I edit a quote after creating it?
Yes—see: Edit Quote Details
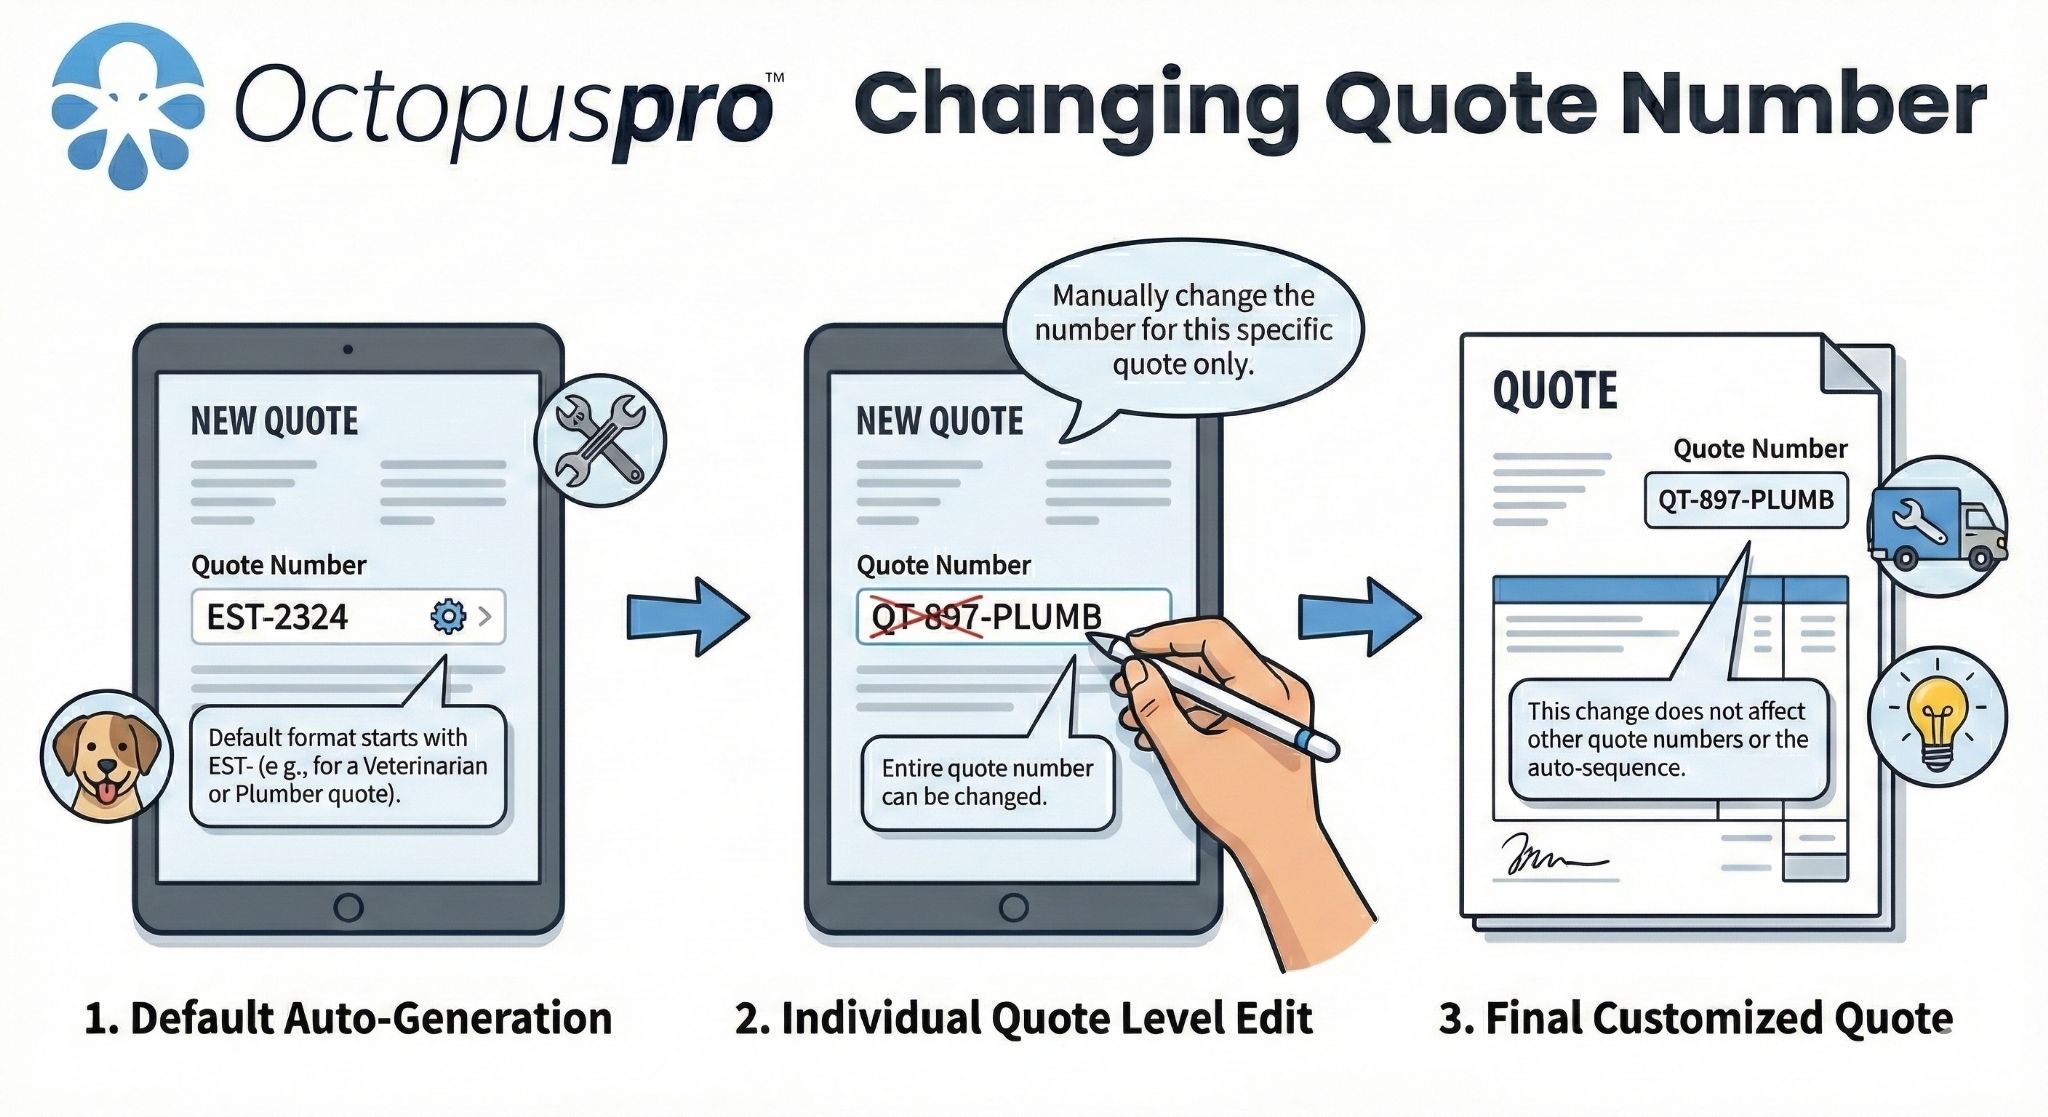
Can I change the quote number/reference?
Yes—see: Change Quote Number
Can I add attachments to a quote?
Yes—see: Quote File Attachments

Related guides
- Send Quote to Customer
- Quote Approval (Accept/Decline)
- Convert Quote to Booking
- Convert Inquiry to Quote / Estimate
- Quote Follow-Up Reminders & Automation
- Automated Reminders & Confirmations
- Manage Tax Rates
- Discount Voucher Code Management
- Label Management
- Booking Location Types
- Customer Portal URL
- Fieldworker Permissions
- Allow Fieldworkers to Send Quotes
- Fieldworker Availability Finder
- Nearby Bookings (Proximity Scheduling)
- Export Quote to PDF
- Edit Quote Details
- Change Quote Number
- Quote File Attachments
- Canned Responses & Templates
- Template Placeholders
To stay updated, please subscribe to our YouTube channel.