
WePay API Integration
OctopusPro integrates with WePay so you can accept online card payments from customers—whether they’re booking through your Customer Portal / booking widget or paying an invoice you send them. Once connected, payments are recorded against the booking/invoice in OctopusPro, helping you reduce manual admin and reconcile faster.
Availability note: WePay availability can vary by region, onboarding requirements, and merchant eligibility. If you’re unsure whether WePay supports your business/country, confirm directly with WePay before proceeding.
On this page
- What you can do with WePay in OctopusPro
- Before you start
- Step 1: Create a WePay account and get API credentials
- Step 2: Connect WePay in OctopusPro
- Step 3: Enable WePay for checkout and invoice payments
- Step 4: Test a payment
- Refunds, disputes, and reconciliation
- Security best practices
- Troubleshooting
- Related guides
What you can do with WePay in OctopusPro
- Accept card payments online when customers book through your Customer Portal / website booking widget.
- Collect deposits or partial payments (based on your service/payment settings) and track balances automatically.
- Let customers pay invoices online using the payment link in your invoice communications.
- Centralize payment records inside the booking/invoice so your team can quickly confirm what’s been paid and what’s outstanding.
Best practice: Use a payment gateway (like WePay) for collecting payments, and combine it with OctopusPro automation (invoices, reminders, payment terms) to reduce overdue invoices and improve cash flow.
Before you start
- You must have Admin access to your OctopusPro account.
- You must have an active WePay merchant account (fully onboarded/approved if required).
- Make sure your account currency and pricing are configured correctly before collecting payments.
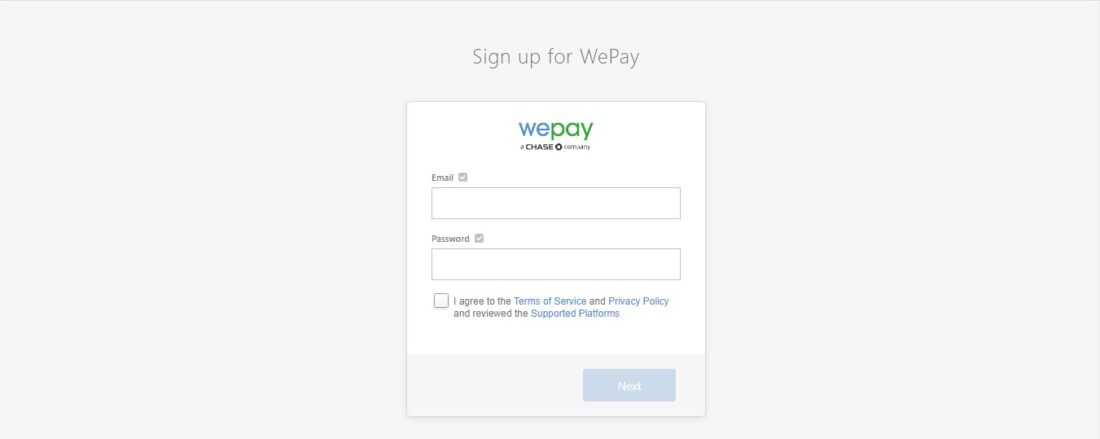
Step 1: Create a WePay account and get API credentials
If you don’t already have a WePay account, sign up first. Then sign in to access your API credentials.

After signing in, go to your WePay developer/app area and locate your API credentials. In most cases, OctopusPro will ask for values such as:
- Client ID
- Client Secret
- Access Token
- Account ID (or the equivalent merchant/account identifier)
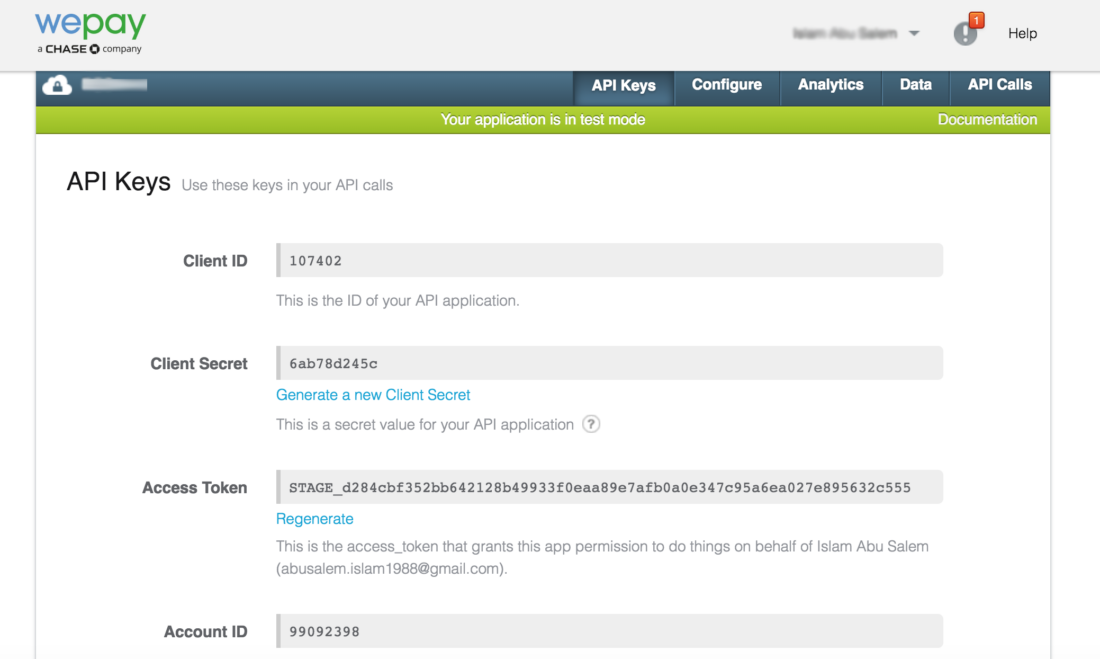
Tip: Keep these credentials private. Treat them like passwords.
Step 2: Connect WePay in OctopusPro
- Log in to your OctopusPro account.
- From the left menu, go to Settings > Financial Settings > Payment Integration.
- Choose WePay from the list of available online payment gateways.

- A configuration pop-up will appear. Enter the WePay credentials you obtained in Step 1 (for example: Client ID, Client Secret, Access Token, Account ID), then Save.
Once saved, WePay should appear as an enabled payment gateway in your OctopusPro settings.
Step 3: Enable WePay for checkout and invoice payments
Connecting the gateway is step one. Next, confirm where customers can actually use it:
- Customer Portal / booking widget: make sure online payment methods are enabled so customers can pay during checkout. Learn how to enable payment methods on the Customer Portal.
- Invoices: ensure your invoice/payment settings allow customers to pay online and that your invoice templates include the payment link where applicable. Learn how payments are tracked against bookings.
- Deposits & payment terms: configure your service payment terms (deposit required, pay in full, etc.) based on how you want to collect funds. Set up payment terms.
Step 4: Test a payment
- Create a test booking and/or invoice with a small amount.
- Open the Customer Portal or invoice payment link and complete a test payment using WePay.
- Confirm the payment is recorded in OctopusPro (booking/invoice payment section) and appears in your WePay dashboard.
If the payment fails, jump to Troubleshooting.
Refunds, disputes, and reconciliation
- Refund workflow: if you need to refund a customer, record and manage refunds from the relevant invoice/booking/payment area. View invoice refunds.
- Reconciliation: reconcile OctopusPro payments against your gateway/bank statements regularly, especially if you process deposits and partial payments. Payment tracking & reconciliation guide.
- Disputes/chargebacks: chargeback handling is managed through your payment provider (WePay). Keep strong internal notes and customer communications to support dispute resolution if needed.
Security best practices
- Restrict access: only Admins should manage payment gateway credentials.
- Store credentials securely: never paste keys into public docs or emails.
- Rotate credentials: if you suspect exposure, regenerate/rotate tokens and update OctopusPro immediately.
Troubleshooting
- “Invalid credentials” / authentication errors: re-check the Client ID/Secret/Token/Account ID for typos, spaces, and the correct account.
- Payments not appearing in OctopusPro: confirm the gateway is saved/enabled, then run a new test payment and check the invoice/booking payment section.
- Customers can’t see WePay at checkout: confirm payment methods are enabled on your Customer Portal/checkout settings and that online payments are available for the relevant service.
- Currency mismatch: confirm your OctopusPro currency settings align with what your gateway supports. View currency preferences.
- Still stuck? Contact OctopusPro Support and include a screenshot of your Payment Integration settings (without exposing sensitive keys).
Related guides
- Enable online bookings and payment methods on your website
- Set up payment terms and deposits
- Track payments, deposits, and refunds for bookings
- View and manage invoice refunds
To stay updated, please subscribe to our YouTube channel.