
Checkout.com Payment Gateway Integration
Connect Checkout.com to OctopusPro to accept secure online payments for invoices and customer bookings. Once enabled, customers can pay by card during checkout in your Customer Portal, and admins can take card payments against invoices from the admin dashboard.

What this integration does
- Accept card payments online (card-not-present) through Checkout.com.
- Improve cash flow by letting customers pay instantly at booking or when an invoice is issued.
- Reduce manual reconciliation by recording payments against invoices inside OctopusPro.
- Provide a smoother checkout experience with a dedicated payment option during Customer Portal checkout.
How payments work in OctopusPro
Payment gateways (like Checkout.com, Stripe, Square, PayPal, and Authorize.Net) process transactions on your behalf. OctopusPro sends the payment request to the gateway, then records the result in your account (e.g., invoice paid/part-paid). Funds settlement, payouts, disputes/chargebacks, and most risk controls are managed in your payment provider’s dashboard, based on your provider configuration and merchant agreement.
Before you start
- Active Checkout.com merchant account with access to your dashboard.
- API credentials (Secret Key and Public Key) from Checkout.com.
- Admin access in OctopusPro to update Payment Integration settings.
Best practice: Restrict access to payment settings and treat API keys as sensitive credentials. Rotate keys if you suspect exposure.
Step 1: Get your Checkout.com API keys
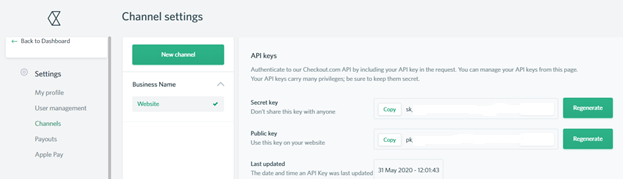
You’ll need your Secret Key and Public Key from the Checkout.com dashboard. These identify your account and allow OctopusPro to submit payment requests securely.
- Log in to your Checkout.com account.
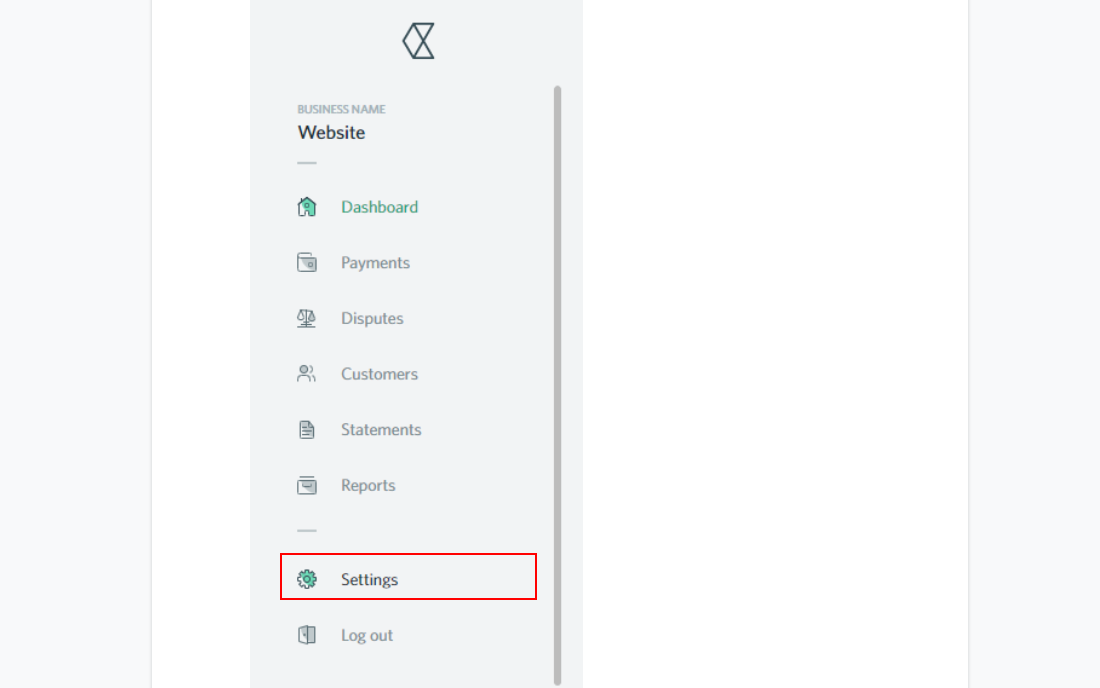
- Go to Settings.
- Open Channels and select (or create) a channel for your website/app.
- Copy your Secret Key and Public Key.
Step 2: Connect Checkout.com in OctopusPro
Next, add your API keys inside OctopusPro.
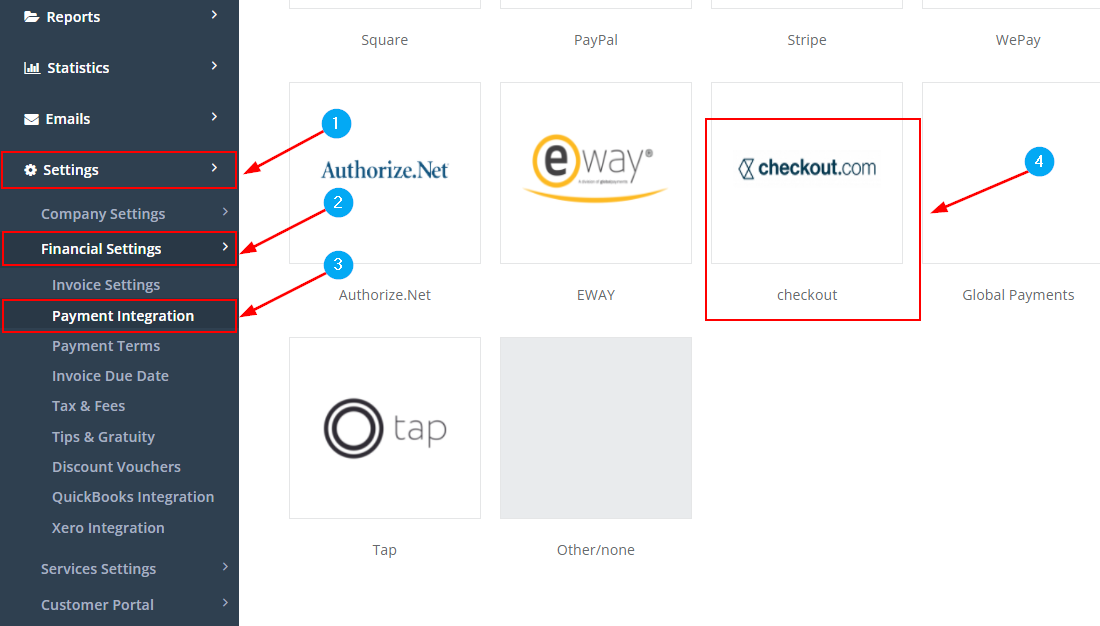
- In OctopusPro (admin dashboard), go to Settings.
- Open Financial Settings.
- Select Payment Integration.
- Choose Checkout.com from the available payment gateways.
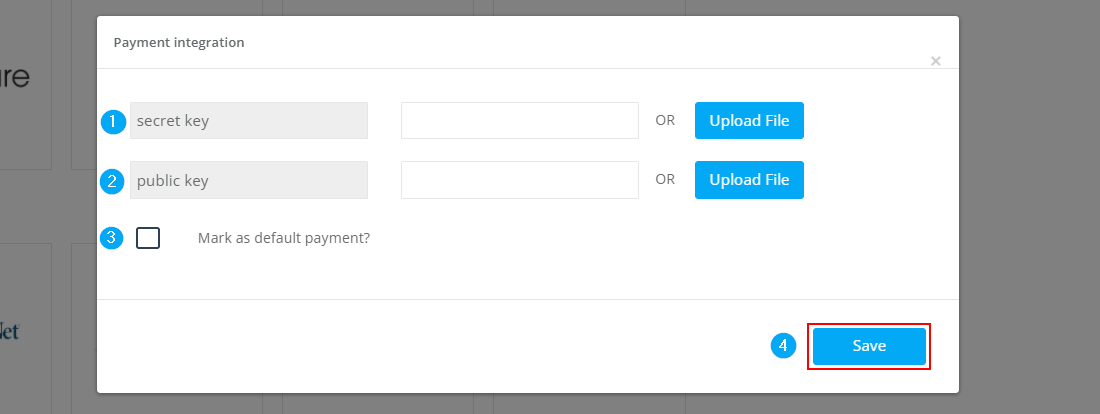
- Paste your Secret Key and Public Key (or upload them if your account supports file upload).
- (Optional) Enable Mark as default payment if you want Checkout.com to be the default gateway.
- Click Save.
How to take a payment as an admin (Invoices)
Once Checkout.com is connected, you can take card payments against an invoice from the admin dashboard.
- Go to Invoices and open the Outstanding list.
- Select the invoice you want to collect payment for.
- Open the invoice Actions menu and choose Add Payment.
- Select Checkout.com as the payment method (if prompted) and enter card details.
- Submit the payment to record it against the invoice.

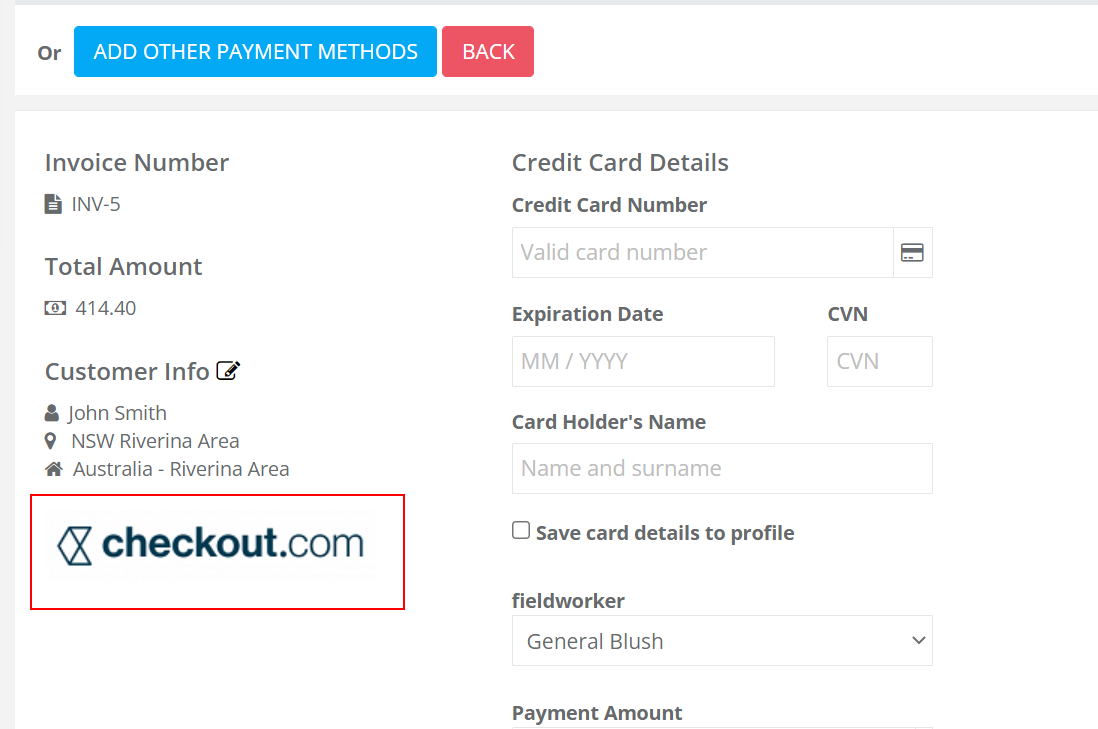
How customers pay in the Customer Portal
If you have online payments enabled for your Customer Portal checkout, customers can select Checkout.com during booking payment (registered or guest checkout, depending on your portal settings).
- The customer starts a booking in the Customer Portal.
- At Select Payment Method, they choose Pay by card (Checkout.com).
- They enter card details and complete checkout.

Troubleshooting & common issues
Integration won’t save / keys rejected
- Double-check you pasted the correct Secret Key and Public Key (no extra spaces).
- Confirm the keys belong to the correct Channel (website/app) in Checkout.com.
- If you rotated keys in Checkout.com, update them in OctopusPro immediately.
Payments failing or being declined
- Try a different card to rule out issuer declines.
- Check Checkout.com dashboard logs for the transaction outcome and decline reason (if available).
- Some transactions may require additional authentication (e.g., 3D Secure) based on issuer rules and your Checkout.com configuration.
Customer can’t see Checkout.com at checkout
- Ensure Checkout.com is enabled in Settings → Financial Settings → Payment Integration.
- Check your Customer Portal and Payment Terms settings to confirm online payments are enabled for bookings/invoices as intended.
- If you use multiple gateways, confirm which one is set as the default and which methods are visible to customers.
Security best practices
- Never share API keys in tickets, screenshots, or public documents.
- Limit access to payment settings to trusted admins only.
- Rotate keys if an admin leaves your organization or if you suspect compromise.
- Use least-privilege access in both OctopusPro and your payment provider dashboards.
Checkout.com vs other major payment gateways
OctopusPro supports multiple popular payment gateways. The “best” choice depends on your region, preferred payment methods, in-person vs online acceptance, and how much control you want over acquiring, settlement, and risk tools.
Quick comparison (high level)
- Checkout.com – Often chosen by businesses needing strong cross-border capabilities and a wide range of card + alternative payment methods. Typically best for multi-market online payments and businesses that want flexible acquiring options.
- Stripe – Known for fast onboarding, developer-friendly APIs, and a broad ecosystem (payments, billing, invoicing, fraud tools, and more). Commonly a great fit for SaaS and online-first businesses that want speed and flexibility.
- Square – Strong for in-person (card-present) payments and POS workflows (hardware + software). Great if you take payments on-site, run a retail counter, or need an integrated POS experience alongside online acceptance.
- PayPal – Excellent for buyers who prefer paying via a wallet and for businesses that benefit from PayPal’s brand trust. Often used to increase conversion for customers who already have PayPal accounts, alongside standard card payments.
- Authorize.Net – A long-established payment gateway commonly used with traditional merchant accounts. Often a good fit for businesses that already have a processor/acquirer relationship and want a stable gateway for online payments.
How to choose the right gateway for your business
- Where you operate: availability and supported payment methods vary by country/region.
- How you get paid: in-person (POS) vs online (Customer Portal / payment links / invoices).
- Payment methods: cards only vs digital wallets and local alternative payment methods (APMs).
- Settlement & reporting: payout timing, settlement currency options, reconciliation, and reporting depth.
- Risk & fraud: built-in fraud tools and how much control you need over rules and monitoring.
- Business model: subscriptions/recurring payments vs one-off invoice collection.
Next steps
- Run a real-world test: create a small invoice and process a payment end-to-end (admin invoice payment and/or Customer Portal checkout).
- Review your OctopusPro settings for online payment visibility: Customer Portal checkout, invoice payment options, and payment terms.
To stay updated, please subscribe to our YouTube channel.