
Manage Tips and Gratuities for Fieldworkers
OctopusPro allows you to enable and manage tips and gratuities, giving customers an easy way to reward fieldworkers for excellent service. You can control how tipping appears across customer-facing payment touchpoints, including invoice payment links, payments collected after job completion, deposit requests, and other supported payment workflows.

Tips are added to the total payment amount, but they remain separate from the service amount. This helps your business clearly distinguish gratuities from normal service revenue, making reporting, reconciliation, payroll, and payouts easier to manage.
Contents
- What are tips and gratuities?
- Features and benefits
- Examples of how businesses use tips
- How to enable or disable tips
- How to configure tips and gratuities
- How to add tips from admin web view
- How fieldworkers can record tips in the app
- How customers can add tips
- How to view tips and refunded tips
- How to control access by user role
- Best practices
What are tips and gratuities?
The Tips and Gratuities feature allows customers to add an optional extra amount when making a payment. This extra amount is treated as a tip, not as part of the service charge itself.
This is useful for businesses that want to reward fieldworkers for great service while still keeping gratuities separate from the booking or invoice amount. It gives admin users a clearer financial record and makes it easier to review worker earnings, payment history, and refund activity.
Features and benefits
- Collect tips during payment: Allow customers to add a tip during supported payment flows.
- Keep gratuities separate from service revenue: Tips are added to the payment total but tracked independently.
- Support flexible tipping: Let customers enter a custom tip or choose from suggested values.
- Track tips by fieldworker: Keep a clear record of gratuities associated with completed work.
- Improve visibility and reporting: View tip values in payment and refund reports.
- Support payroll and payout processes: Because tips are recorded separately, they can be reviewed as part of your normal earnings reconciliation workflow.
- Apply tax where required: If tips are taxable in your region, you can assign a tax rate to them.
- Improve customer experience: A polite tip prompt gives customers an easy way to show appreciation.
- Support performance recognition: Tip visibility can help identify top-performing workers.
Examples of how businesses use tips
- Cleaning businesses: Let customers add a flat tip after a completed job.
- Beauty and wellness businesses: Offer percentage-based suggestions such as 10%, 15%, or 20%.
- Trades and maintenance businesses: Allow customers to add an optional thank-you tip after urgent or exceptional service.
- Mobile service businesses: Let fieldworkers record tips while collecting payment on-site.
- Office-managed businesses: Allow admin staff to record tips when adding payments manually.
How to enable or disable tips
To manage this feature, go to:
Settings > Financial Settings > Tips & Gratuity
Use the Allow adding tips when making payments toggle to turn tipping on or off for your company’s payment pages. If you disable the toggle, the tip option will no longer appear when users add a payment. Your tip setup is not permanently deleted, so you can enable it again later and continue using your saved configuration.
Important: This company-level toggle controls whether tipping appears during payment. It is different from the user role permission discussed later in this guide, which controls whether specific users can access the Tips & Gratuity setting page.
How to configure tips and gratuities
Once you open the Tips & Gratuity settings page, you can configure the display message, tax calculation, tip options, and tip suggestions.

1) Display message
Use the Display message field to add a short message that encourages customers to leave a tip while making a payment. Keep the wording friendly and optional.
Examples:
- Would you like to tip your technician for their work?
- Tips are optional and appreciated by our field team.
- Enjoyed the service? You can add an optional tip below.

2) Tax calculation
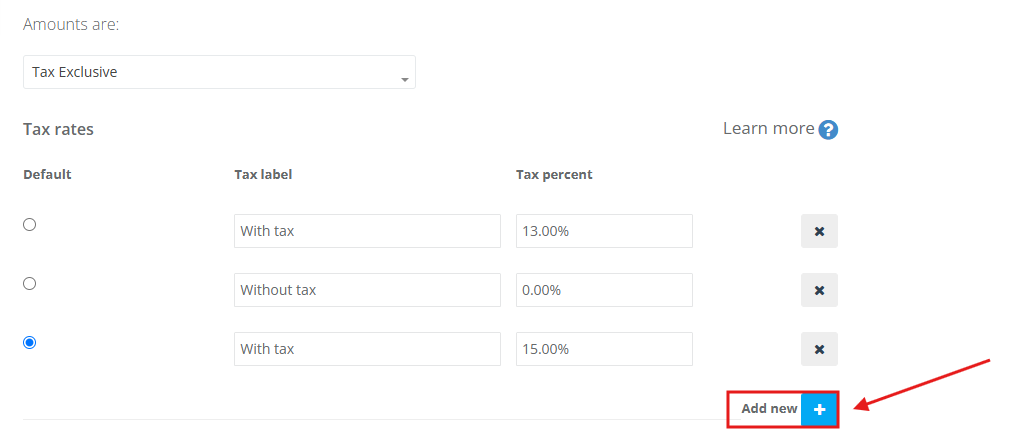
If tips are taxable in your region, you can apply a tax rate to gratuities. The available tax options come from your company tax settings.
To review or create tax rates, go to your company tax settings first, then return to the Tips & Gratuity page and choose the required tax rule.
3) Tip options
The Tip options setting controls how a tip can be entered during payment.
- Amount: Allow a fixed monetary amount only.
- Percentage: Allow a percentage of the payment amount only.
- Amount and Percentage: Let users choose either method.

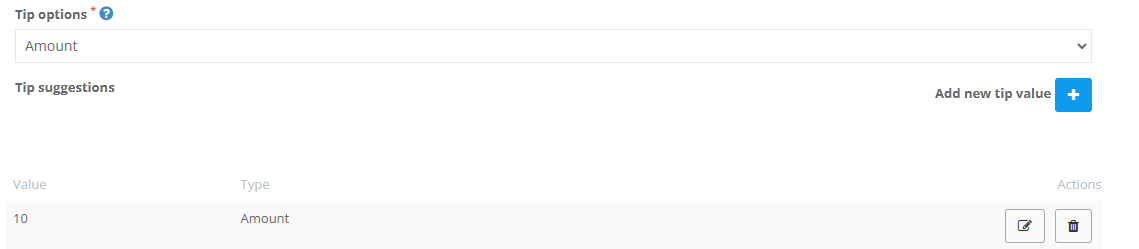
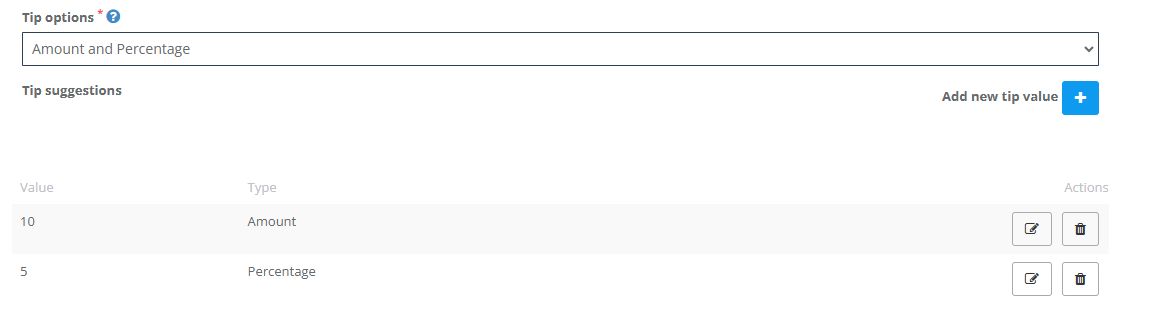
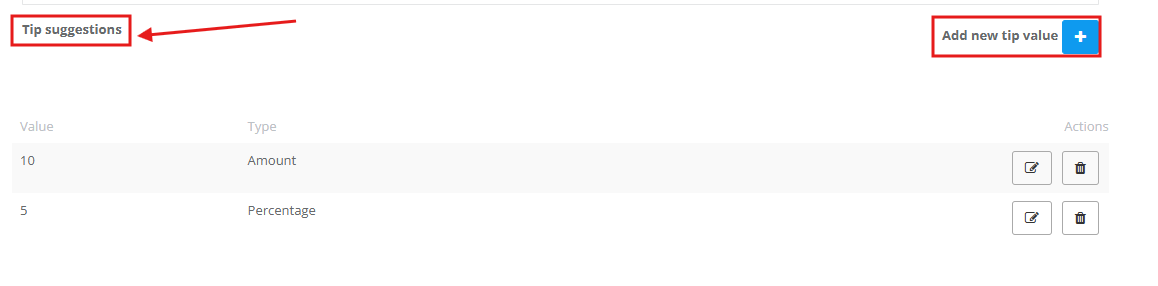
4) Tip suggestions
Tip suggestions appear as quick-select buttons below the tip input field when a payment is being recorded. These suggestions make tipping faster for customers, admin users, and fieldworkers.
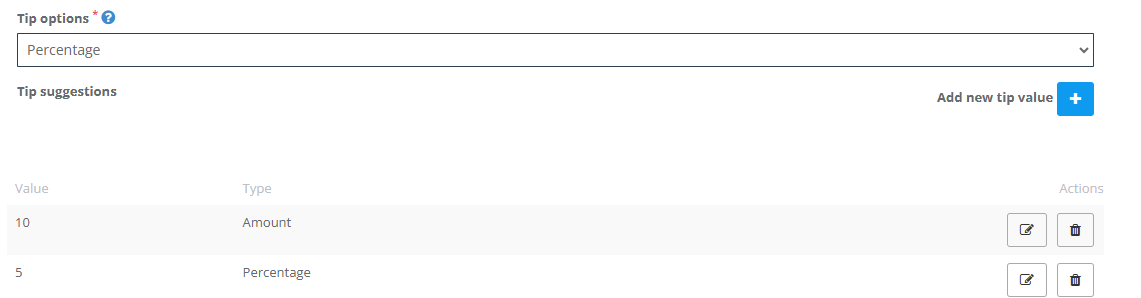
You can create suggestions as:
- Flat amounts such as $5 or $10
- Percentages such as 5% or 10%
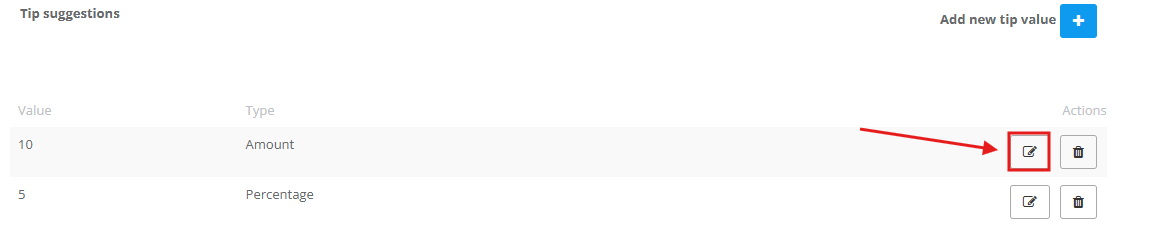
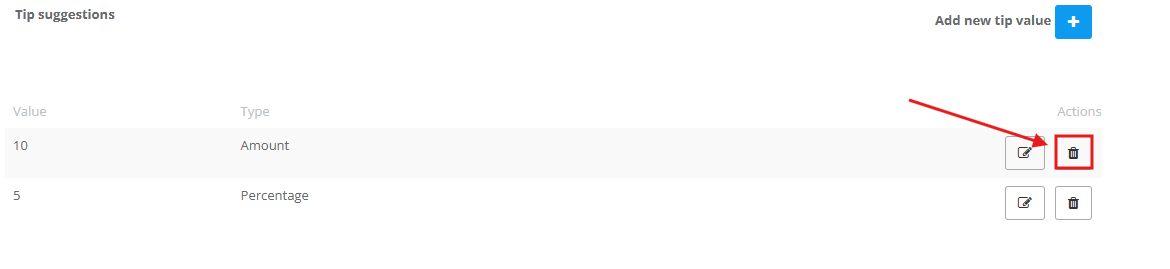
You can edit or delete any suggestion later.
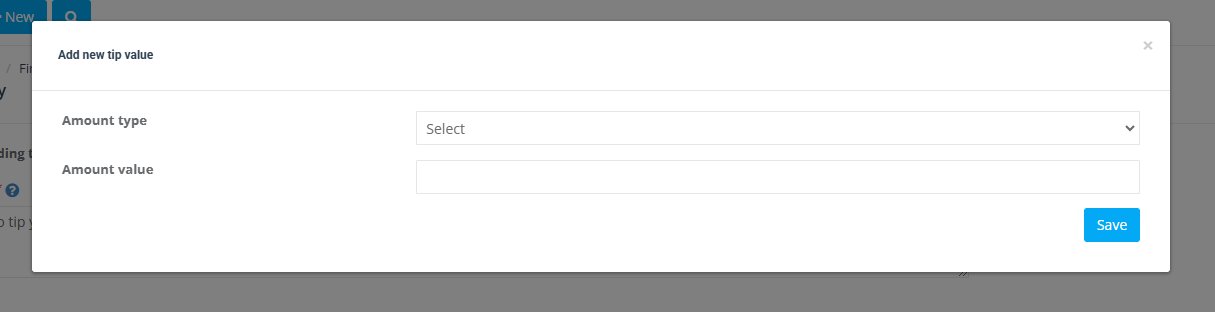
5) Add a new tip value
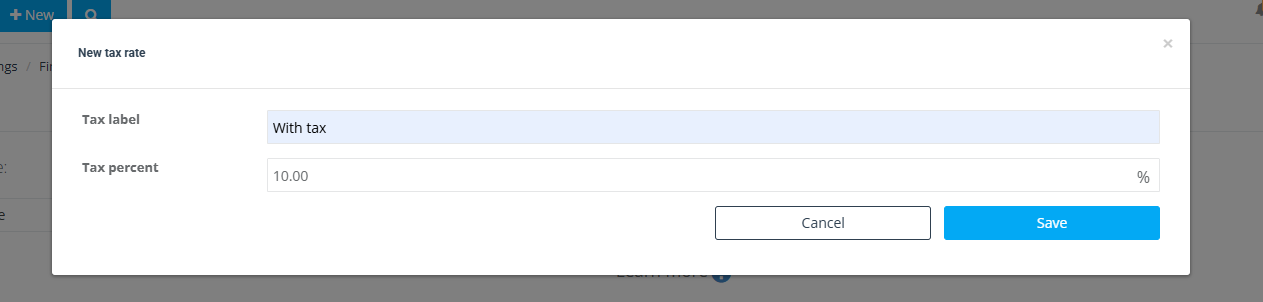
To create a new suggested tip, click Add new tip value.

A popup window will open where you can define the new suggested tip.
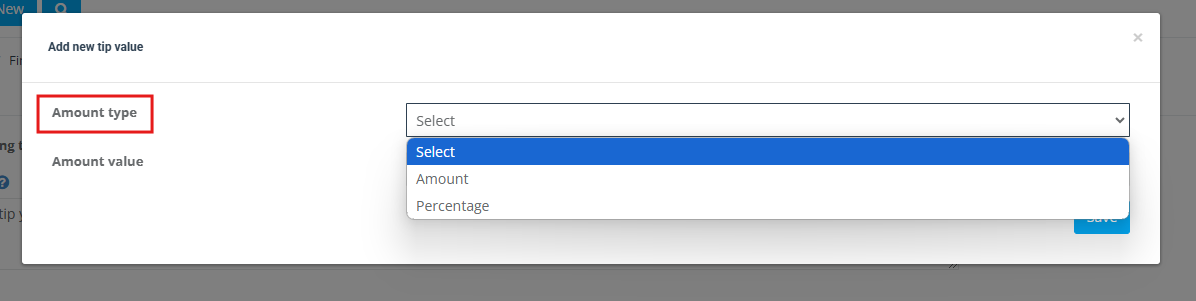
- Amount type: Choose whether the suggestion is a fixed amount or a percentage.
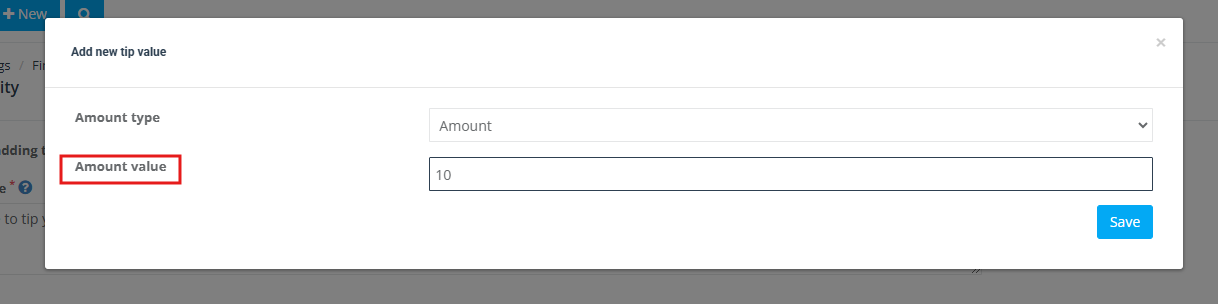
- Amount value: Enter the tip amount or percentage value.
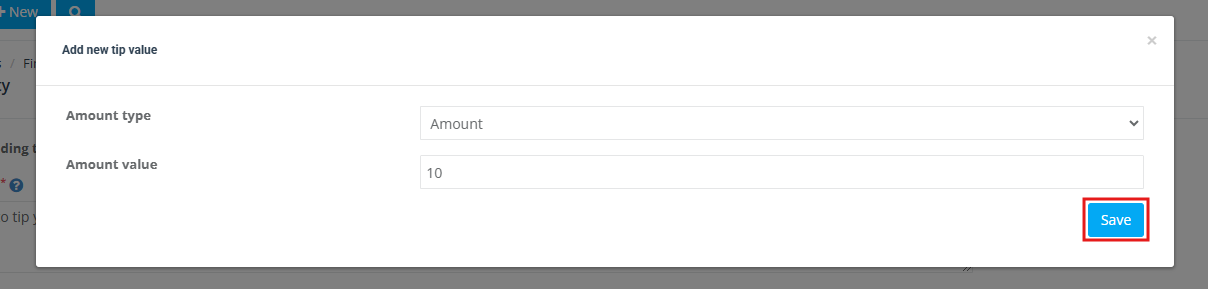
After entering the details, click Save.
How to add tips from admin web view
Admin users can record tip amounts while adding payments from the web portal. Depending on your payment setup, tips can be added when processing a credit card payment or when recording another payment method such as cash or bank transfer.
Adding a tip when processing a credit card payment
Go to:
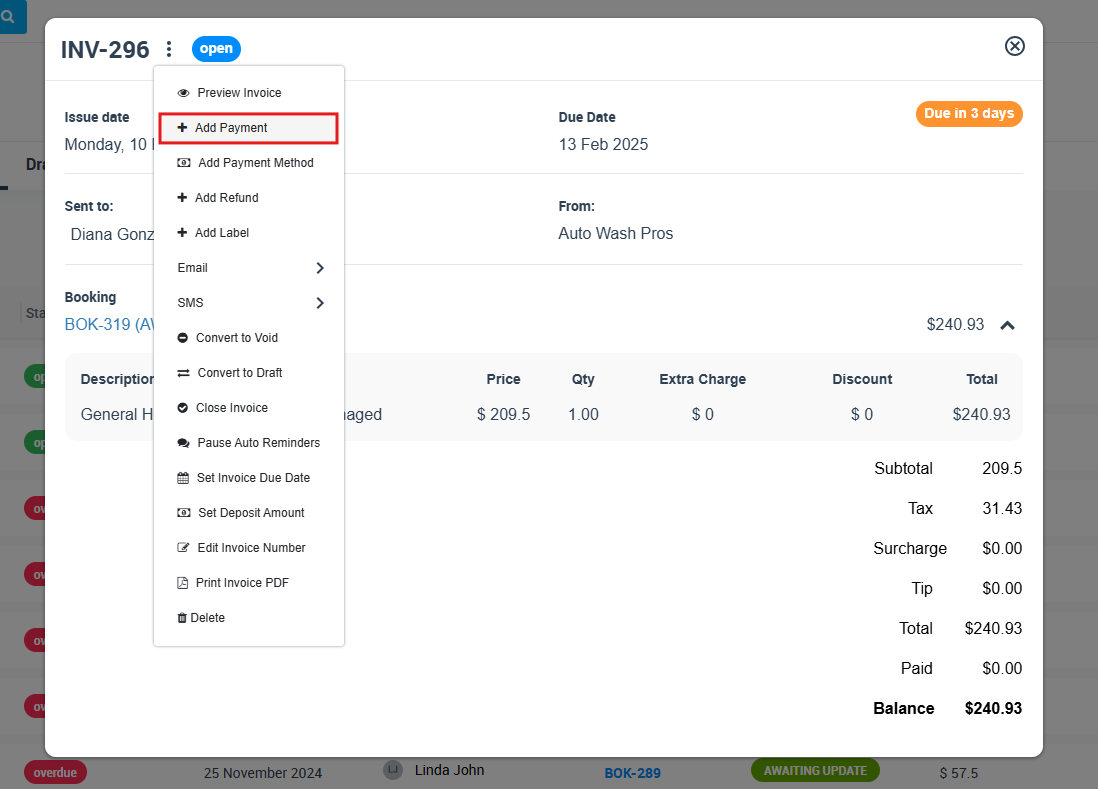
Invoices > All Invoices > Actions > Add Payment
You can also open the invoice first and then choose Add Payment from the invoice view.
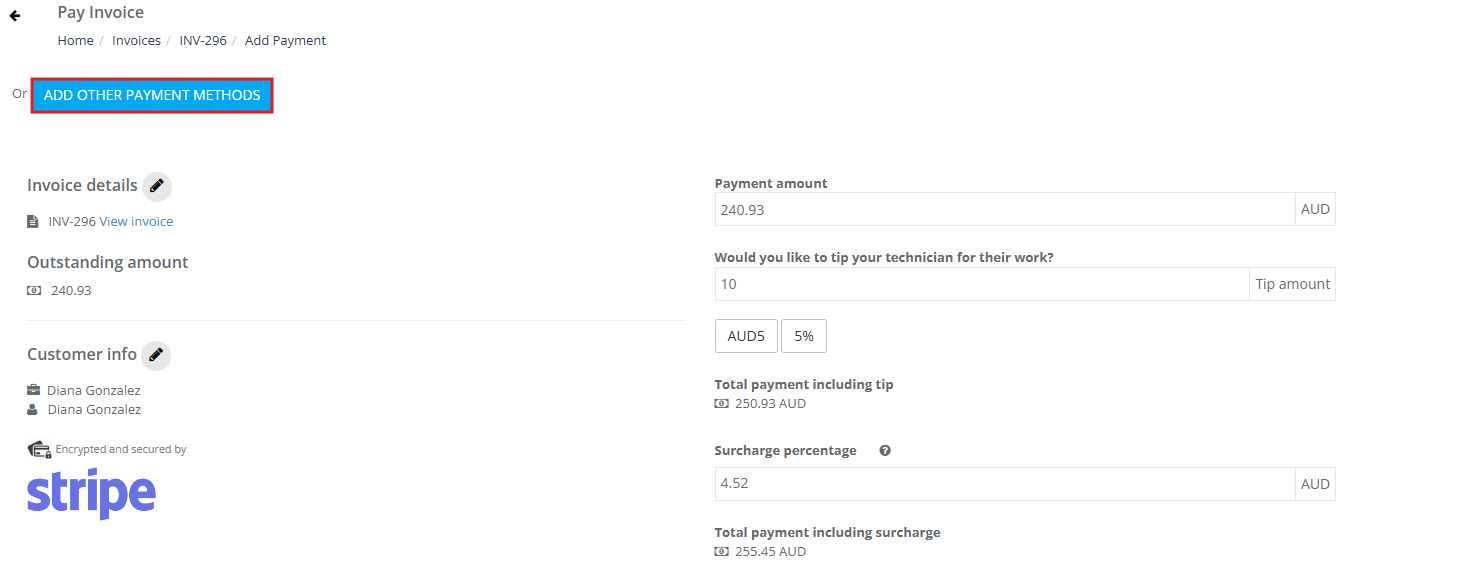
On the card payment page, admin users can:
- See the display message configured in the settings
- Enter a custom tip amount
- Select a suggested tip value
- Review the updated total payment including the tip
Adding a tip using another payment method
If the customer paid by another method, the admin user can still record the tip while saving the payment.
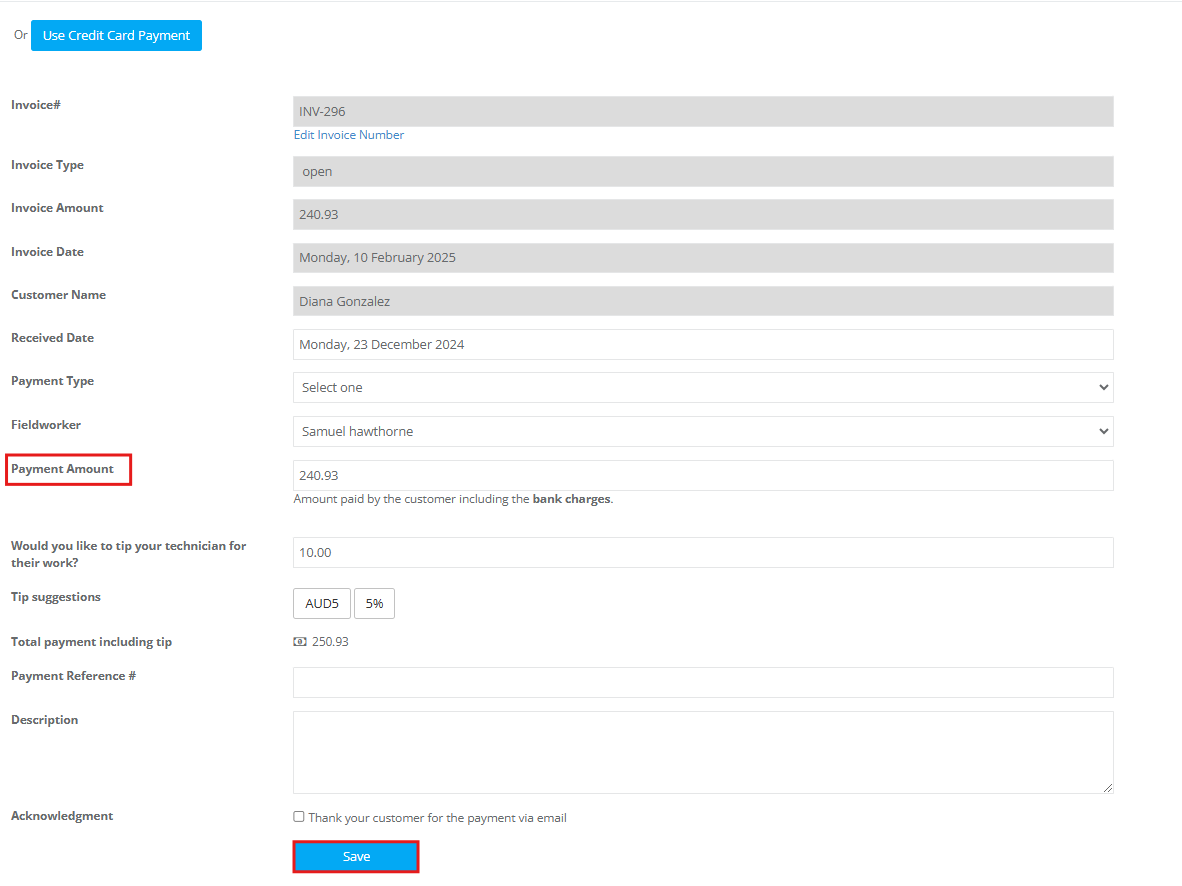
On this page, admin users can enter:
- Payment Amount
- Tip Amount
- Total payment including tip
- Any other payment details such as reference number or description
How fieldworkers can record tips in the app
Fieldworkers can record tips they receive while taking payment in the fieldworker app. This is useful when the customer pays on-site and wants to add a gratuity immediately.
To do this, open the relevant invoice and tap Payments.
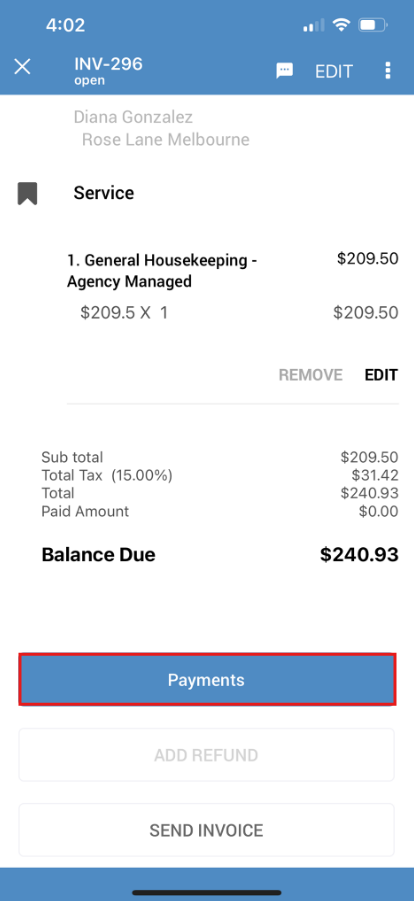
On the payment page, tap + Add tip (optional).
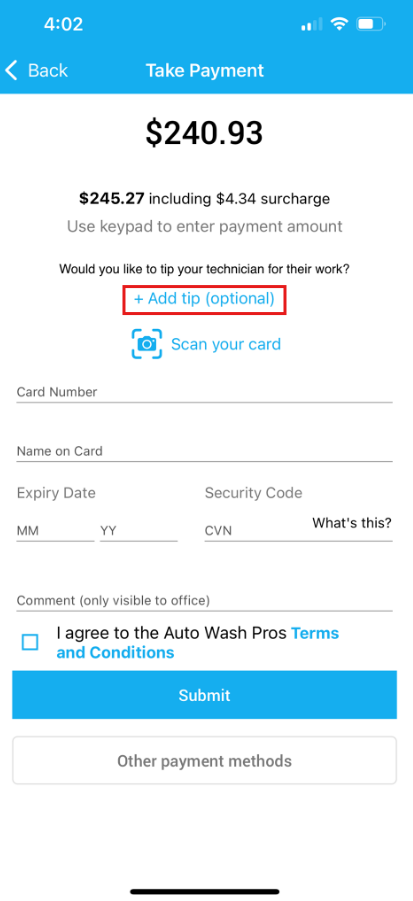
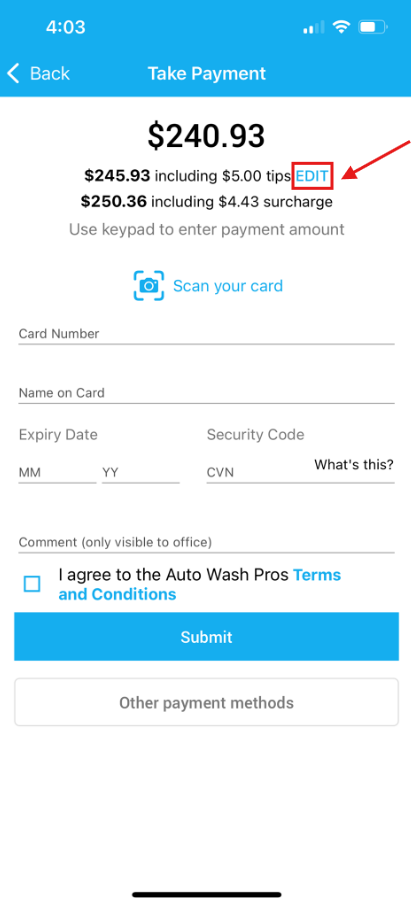
A popup window will appear so the fieldworker can enter a custom tip or choose a suggested tip value.

Once the amount is confirmed, the fieldworker can review, edit if needed, and save the payment.
How customers can add tips
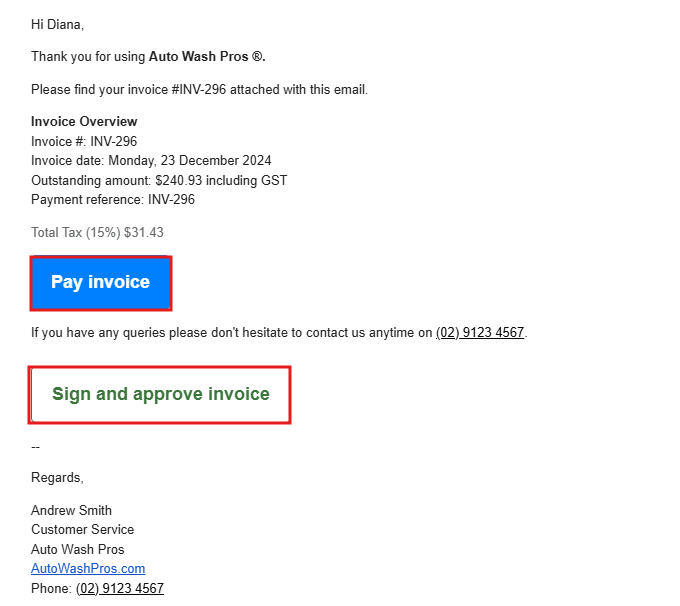
Customers can also add a tip when paying through the invoice payment link they receive by email.
When an invoice email is sent, the customer can click the payment button to open the payment page and complete payment online. If tipping is enabled, they will also be able to add a tip during checkout.
How to view tips and refunded tips
Viewing tip amounts
Admin users can review tips from the payment reports.
Go to:
Reports > Payment Reports > Payment Received
The report includes a dedicated column for Tip payment, making it easier to identify gratuities linked to each payment record.

Viewing refunded tips
If a payment that included a tip is refunded, refund reporting helps you distinguish between the service refund amount and the refunded tip amount.
Go to:
Reports > Payment Reports > Refund History
This helps you review:
- Refund amount
- Invoice refund
- Refund tip

How to control access by user role
If you want to control which users can access the Tips & Gratuity settings page, you can manage this through user roles.
Go to:
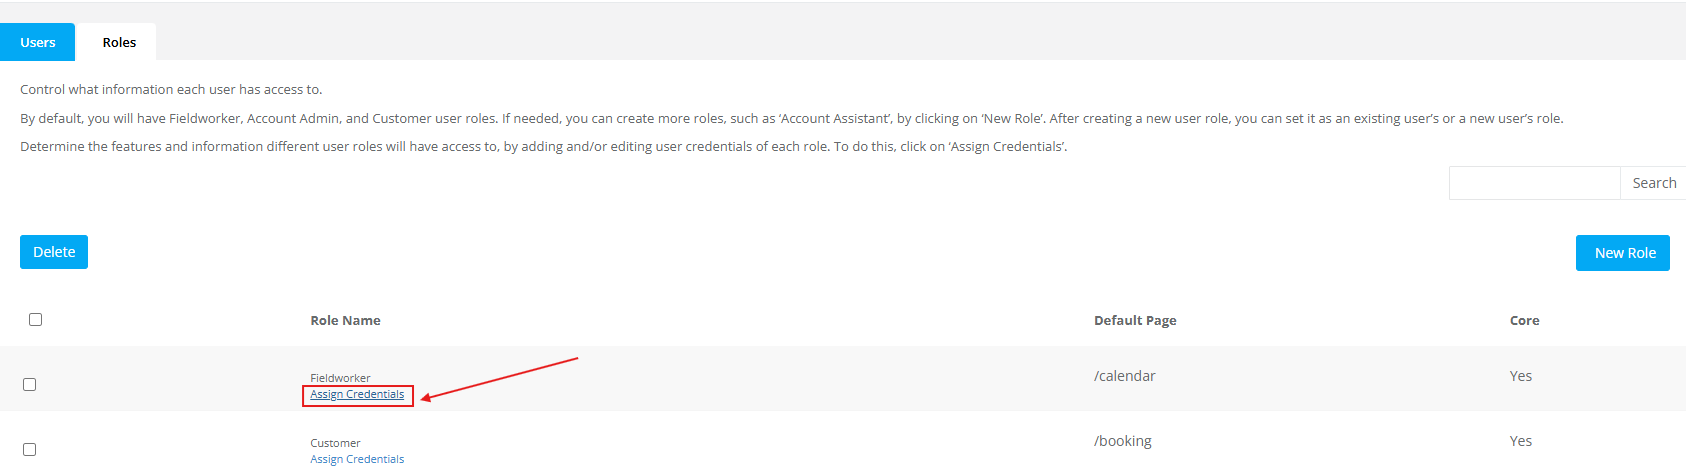
Settings > Company Settings > Users
Then open the Roles tab.
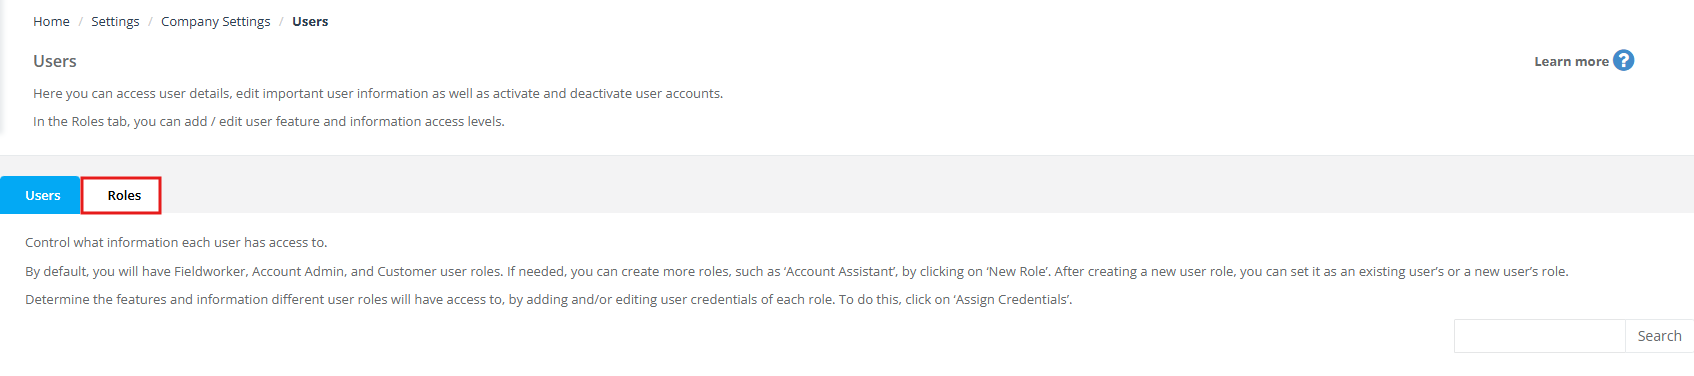
Under the required role, click Assign Credentials.
Open Permissions For Settings.
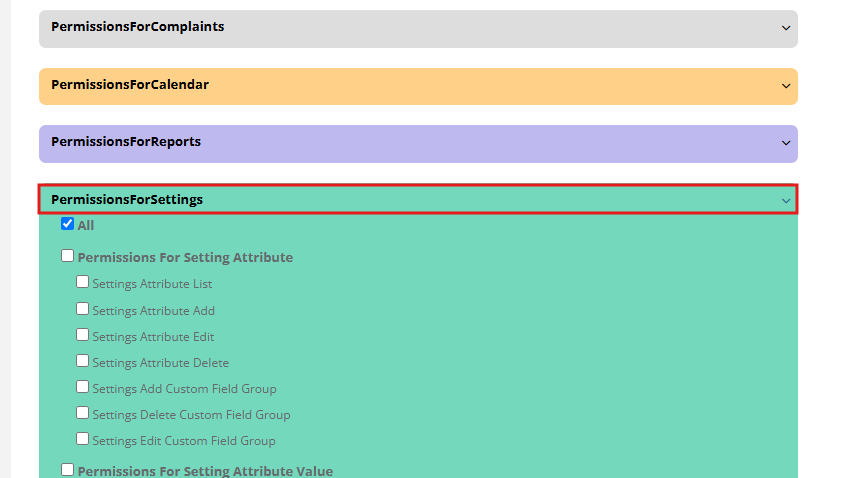
Then enable Settings Company Tip for the relevant role.

After updating the permission, click Save to apply the change.
Best practices
- Keep the tip message short and polite: Customers respond better to a gentle prompt than a pushy one.
- Use clear suggested values: Fixed amounts often work well for lower-value services, while percentages are useful for higher-value invoices.
- Confirm tax treatment before enabling tips: Make sure the correct tax rule is selected if gratuities are taxable in your region.
- Train office staff and fieldworkers: Make sure your team understands how to add, review, and report tip values correctly.
- Review payment and refund reports regularly: This helps with accurate reconciliation and payroll preparation.
- Set a clear internal policy: Decide how tips will be handled in payroll or worker payouts so the process stays transparent and consistent.
Tips and gratuities in OctopusPro make it easier to reward great service, improve the payment experience, and keep gratuities separate from normal service revenue for better visibility and control.
To stay updated, please subscribe to our YouTube channel.