
Import Customer Dependents, Assets & Properties (Customer Properties CSV Import)

The Customer Properties feature (also called Customer Dependents, Assets and Properties) lets you create profiles for the things customers book services for—such as children, pets, vehicles, equipment, or real-estate properties—so you store details once and reuse them across future bookings.
This guide explains how to import Customer Properties using a CSV template, how to fix failed rows, and where to view and edit imported records across the customer profile, bookings, and the customer portal.
Table of contents
- What are Customer Properties?
- Where Customer Properties appear in OctopusPro
- Before you import
- Import methods (single customer vs bulk import)
- How to import properties for one customer
- CSV template rules & formatting requirements
- Troubleshooting failed rows
- How to view & edit properties after importing
- Industry examples
- Advanced: placeholders & saved service locations
- Related guides

What are Customer Properties?
Customer Properties are customizable fields used to capture structured information about a customer’s dependents or assets. Each customer can have multiple properties (e.g., multiple pets, multiple vehicles, multiple service locations), and each property has its own profile and details.
Benefits
- Faster bookings: select an existing dependent/asset instead of re-entering details every time.
- More accurate service delivery: your team can see the right details for the right pet/child/vehicle/site.
- Cleaner CRM: a complete database of customers and what they book services for.
- Better reporting: track service history and data per property (e.g., per vehicle, per property/site).
Where Customer Properties appear in OctopusPro
Once set up, Customer Properties can be accessed in multiple places so your team can use them in real workflows:
- Customer profile: view the customer’s Properties sections (e.g., Pets, Children, Vehicles, Sites), open any record to view/edit.
- Booking workflow: Customer Properties can appear when creating or viewing a booking, so you can select the correct dependent/asset for that appointment.
- Booking overview: you can also view or add customer properties directly from the booking view (customer section).
- Customer portal: you can allow (or require) customers to select/add a property during online booking.
Before you import
- Set up your Customer Properties first (property types + fields). Go to Settings > General Settings > Customer Properties and create/adjust the fields you want to store.
Example: “Pets” (Name, Breed, Age, Notes) or “Vehicles” (Make, Model, Year, Registration). - Decide which import approach you need:
- Single-customer import (this page): upload a CSV for one specific customer.
- Bulk import: import customers and their properties together during customer migration.
Import methods (single customer vs bulk import)
Option A — Import properties for one customer (per-customer import)
Use this when you want to add multiple properties for one customer at a time (e.g., add 12 pets for one customer, or add a fleet of vehicles for a commercial customer).
Option B — Bulk import customers + their properties (migration)
If you’re importing an entire customer database, you can include Customer Properties columns in the same CSV file as your customer data and import them together via the customer import workflow.
How to import properties for one customer
You can access the import from either the customer list or the customer profile.
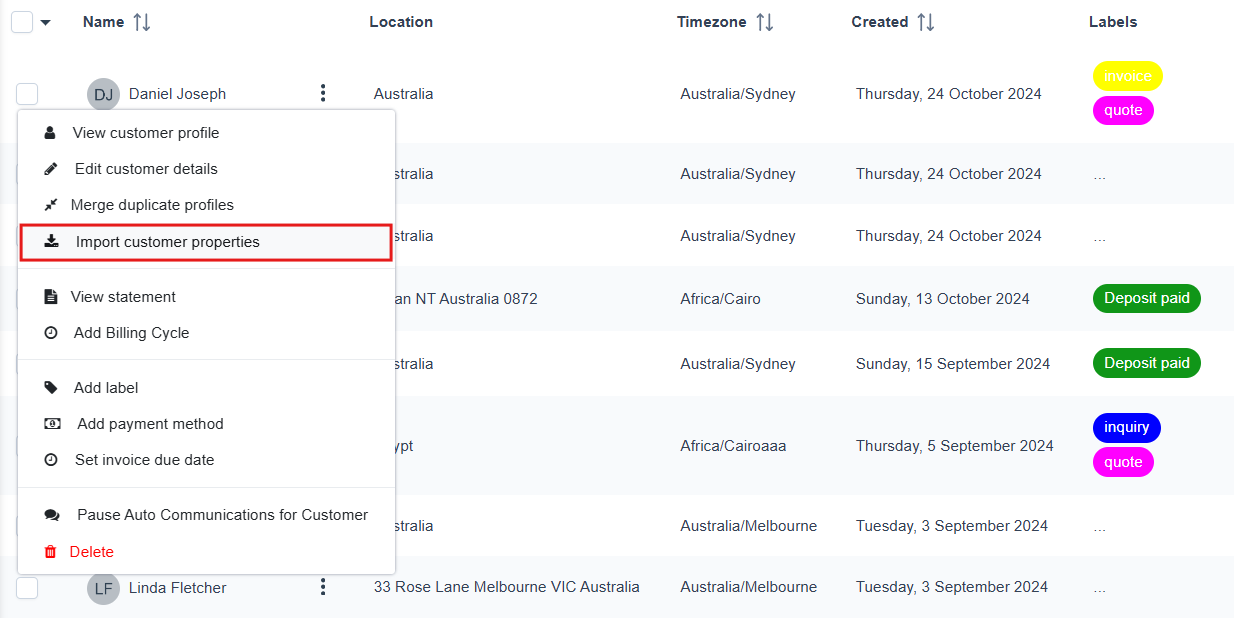
Method 1: From the customer list
- Go to Customers > All Customers.
- Select the customer you want to import properties for.
- Click Actions and choose Import Customer Properties.
- In the pop-up window, click Download template.

- Fill in the template and save it as a .CSV file.
- (Optional) Toggle Includes header row depending on whether your CSV includes the first row headings.
- Click Upload file, choose your CSV, then click Save.
Method 2: From the customer profile
- Go to Customers > All Customers.
- Open the customer and click View Profile.
- Click Actions (top-right), then select Import Customer Properties.

- Follow the same steps: Download template → complete CSV → Upload file.
After upload
- You’ll see a confirmation message showing how many rows were imported.
- If any rows fail, review Failed rows details, correct the CSV, and upload again.
CSV template rules & formatting requirements
- Always use the downloaded template for your account (it reflects your configured Customer Property fields).
- Save as CSV before uploading (Excel/Google Sheets are fine).
- Header row: if your CSV contains the first row headings, enable the Includes header row toggle.
- Required fields: complete all mandatory fields in each row to prevent failed rows.
- Match the field type: dates must be valid dates, number fields must be numeric, etc.
- Dropdown/choice fields: use values that match your configured options (best practice to avoid validation errors).
- Don’t add random columns: if you need a new field, create it in Settings first, then download a fresh template.
Best practice: Import a small sample first (2–5 rows) to confirm the format, then import the full list.
Troubleshooting failed rows
If you see rows under Failed rows details, the import pop-up is telling you which rows didn’t validate. Common causes include:
- Missing mandatory fields (required cells left blank).
- Header mismatch (CSV includes headings but the “Includes header row” toggle is off, or vice versa).
- Invalid formats (e.g., text entered into a number field, or an invalid date).
- Choice mismatch (dropdown/radio values not matching configured options).
Fix the values, re-save as CSV, and upload again. Only failed rows need to be corrected.
How to view & edit properties after importing
- Go to Customers > All Customers and open the customer profile.
- Scroll to the Properties area (tabs are named based on what you set up—e.g., Pets, Children, Vehicles, Sites).
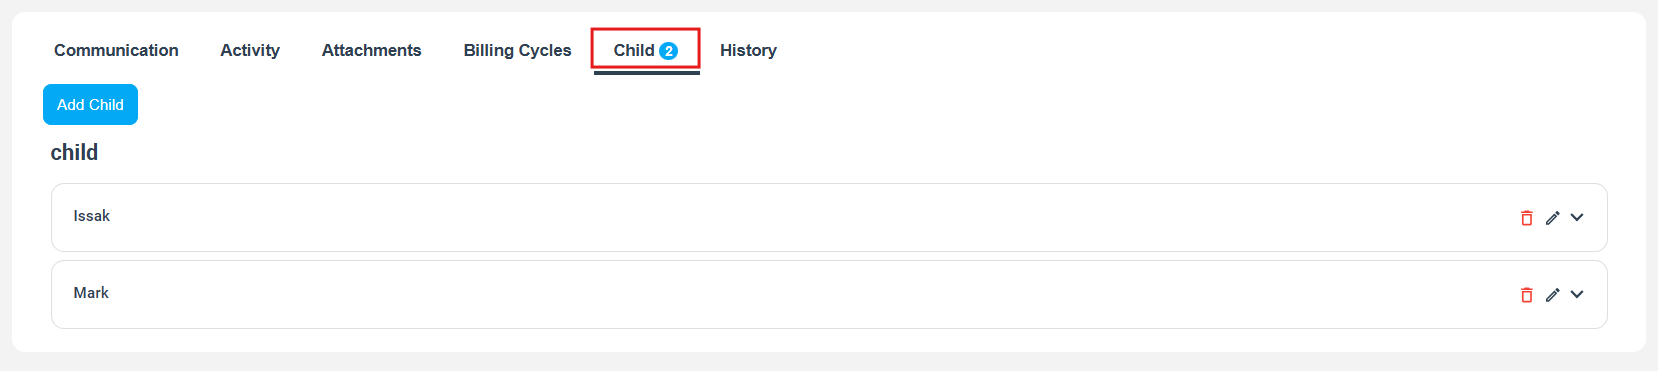
- Click a property record to view details.
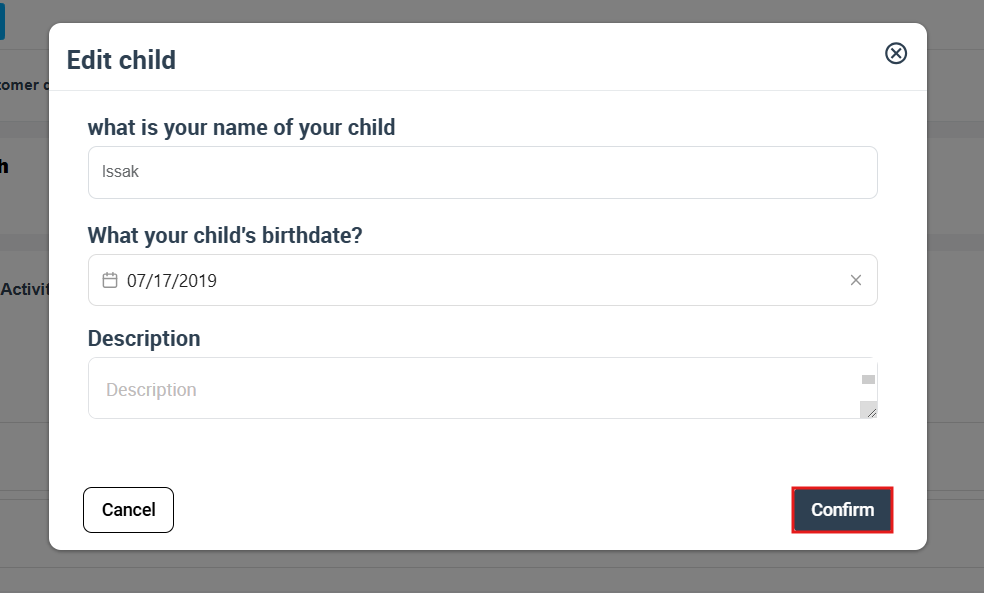
- Edit the information in the pop-up window and click Confirm to save changes.
Tip: Your team can also access customer properties while viewing a booking, so they can quickly confirm they’re servicing the correct dependent/asset.
Industry examples
Child care / tutoring / kids programs
- Property type: Children
- Common fields: Child name, DOB/age, allergies, medical notes, emergency contact, pickup notes
Pet services (grooming, walking, boarding)
- Property type: Pets
- Common fields: Pet name, breed, age, temperament, vaccination notes, handling instructions
Car repair / mobile mechanics / detailing
- Property type: Vehicles
- Common fields: Make, model, year, VIN/rego, odometer, notes
Property management / home services / facilities maintenance
- Property type: Properties or Sites
- Common fields: Address, access instructions, parking notes, site contact, alarm notes
Tip: Rename property tabs to match your industry language (e.g., “Patients”, “Participants”, “Units”, “Assets”, “Sites”).
Advanced: placeholders & saved service locations
1) Use Customer Property fields in emails/SMS (placeholders)
If you want to include dependent/asset information in messages (e.g., child name, pet name, site address), you can use Customer Property placeholders in your templates.
- Placeholder format:
{Property Title_Field Label} - Example: If your property title is Sub Customer and the field label is Customer Name:
{Sub Customer_Customer Name}
Make sure the Property Title and Field Label match your settings exactly (including capitalization and spacing).
2) Saved Service Locations (multiple addresses/sites per customer)
A very common use of Customer Properties is storing multiple service locations under one customer (e.g., Home, Office, Warehouse A). Customers (and staff) can then select the correct saved site during booking instead of retyping addresses.
- Bulk import: include saved sites while importing customers (one CSV).
- Single customer import: upload a CSV containing that customer’s saved sites from the customer profile Actions menu.
- Optional portal control: allow/require customers to select a customer property during portal booking via Flags & Permissions.
Related guides
- Customer Dependents, Assets and Properties (Customer Properties)
- Import Existing Customers (Bulk import customers + customer properties)
- Require/Allow customers to select a Customer Property during the booking process (Customer Portal)
- Viewing booking details (view/add Customer Properties from the booking overview)
To stay updated, please subscribe to our YouTube channel.