
Using Forms & Checklists (Admins, Fieldworkers & Customers)
Forms & Checklists in OctopusPro help you collect and standardize job information across your workflow—so every booking is documented consistently, with less miscommunication and fewer missed steps. Depending on your setup, forms can be completed by:
- Admins (Admin Web Portal)
- Fieldworkers (Fieldworker App or Fieldworker Web Portal)
- Customers (Customer Portal)
Use forms/checklists for inspections, safety/WHS steps, job notes, site assessments, before/after photos, signatures, compliance records, customer intake questions, post-job feedback, and more.

On this page
- What this feature is for
- Before you start (visibility & display rules)
- Where admins can fill forms & checklists
- Where admins can view completed forms
- Fieldworker workflow (app & browser)
- How to test forms in the Fieldworker Web Portal (step-by-step)
- Multiple forms for the same job
- Multiple forms for admins (display option = All)
- Multiple forms for customers (display option = All)
- Best practices & troubleshooting
- Related guides
What this feature is for
Forms & Checklists help you:
- Standardize job execution with repeatable task checklists
- Capture consistent job data (measurements, access notes, conditions, materials used, outcomes)
- Improve quality control with mandatory QA checks and pass/fail steps
- Support compliance (WHS/safety checks, audits, servicing logs, incident reports)
- Reduce disputes with time-stamped records, photos, and customer acknowledgements
- Speed up admin processing by collecting required info before invoicing or close-out

Before you start (visibility & display rules)
For a form/checklist to appear during a booking workflow, it must be configured with two core controls:
- Visibility (Who can see/fill it): Admins, Fieldworkers, Customers, or All
- When to display (Trigger): When it should appear (e.g., Always Displayed, Check-in, Check-out, or All where relevant)
These settings determine who sees the form and at which stage of the booking lifecycle it becomes available.
If your form should appear at milestones (like Check-in or Check-out), ensure your workflow/statuses support those milestones (or the equivalent status triggers you use).
Where admins can fill forms & checklists
After you set up your forms/checklists (and choose their visibility and display rules), admins can fill them out while creating a booking.
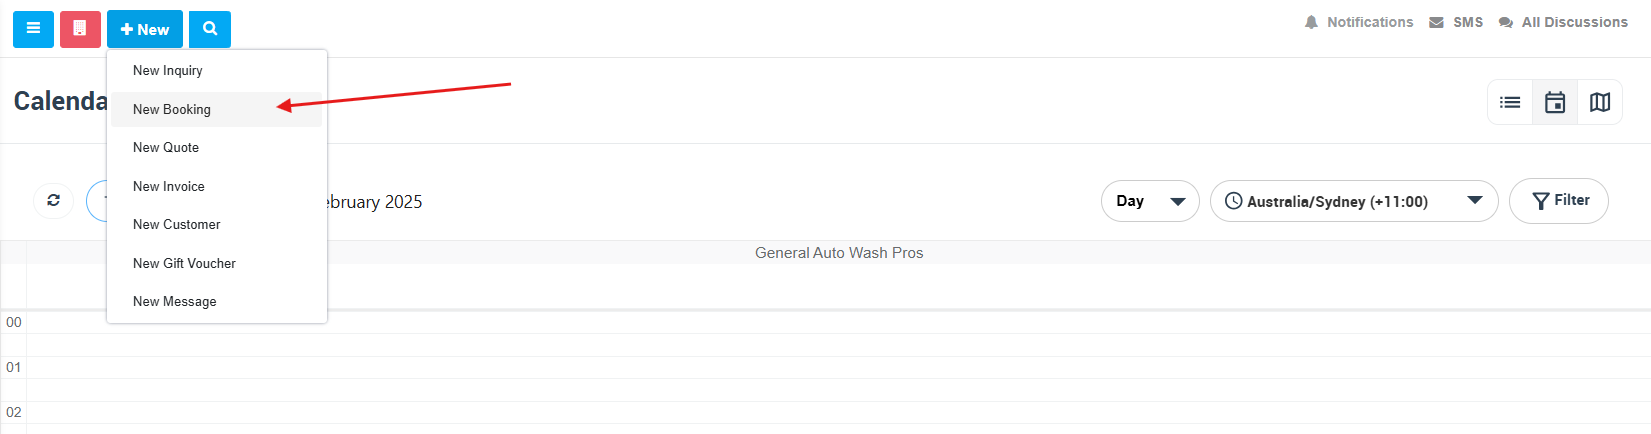
Option 1: Use +New (top bar)

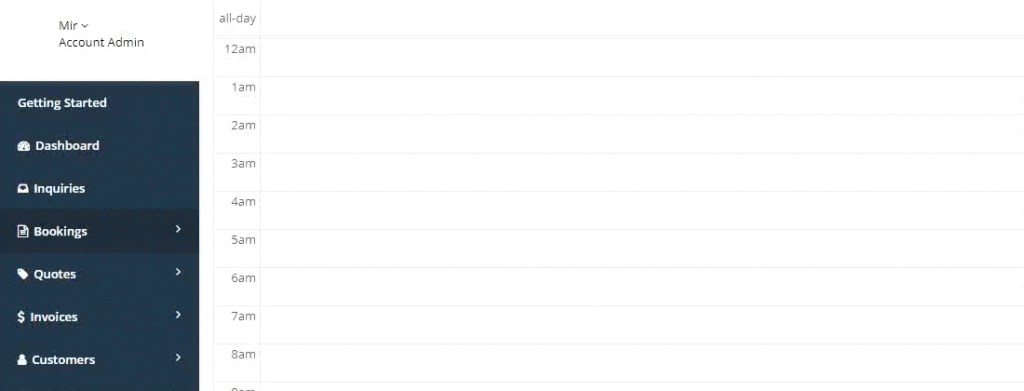
Option 2: Go to Bookings > New Booking (side menu)
Either way, select New Booking to begin:
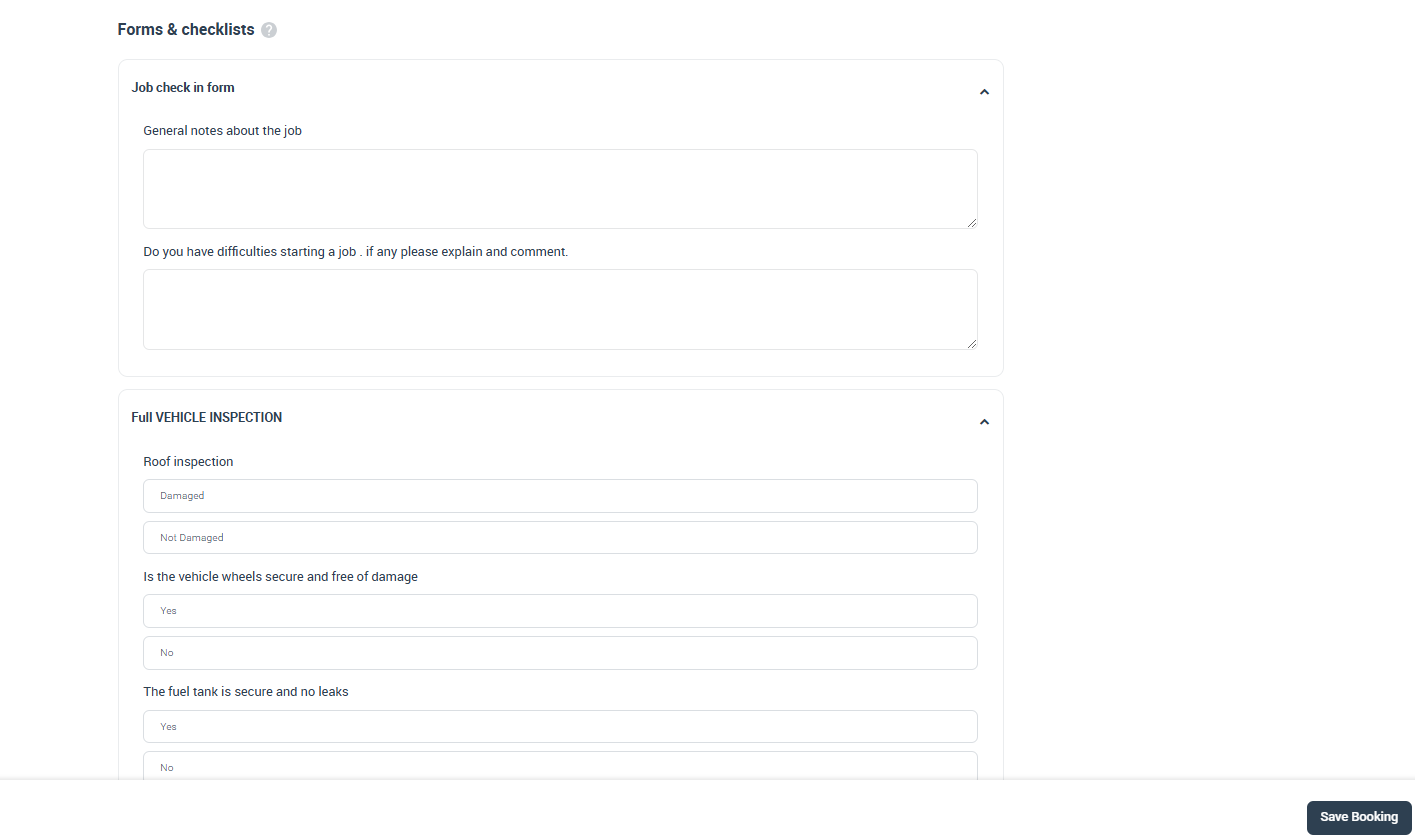
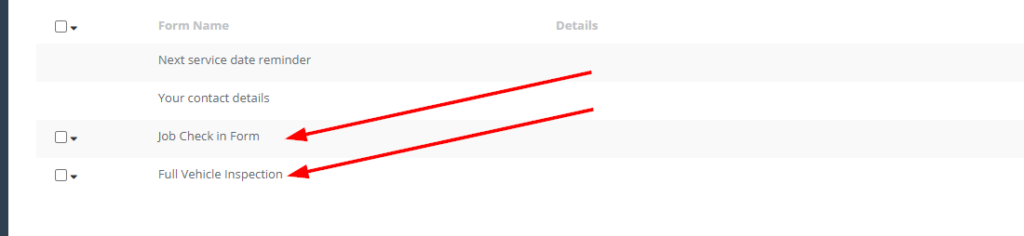
Complete the booking process. When you reach the Forms & checklists section, any forms configured to show for admins at this stage will appear under the Form Name you set up.
Where admins can view completed forms
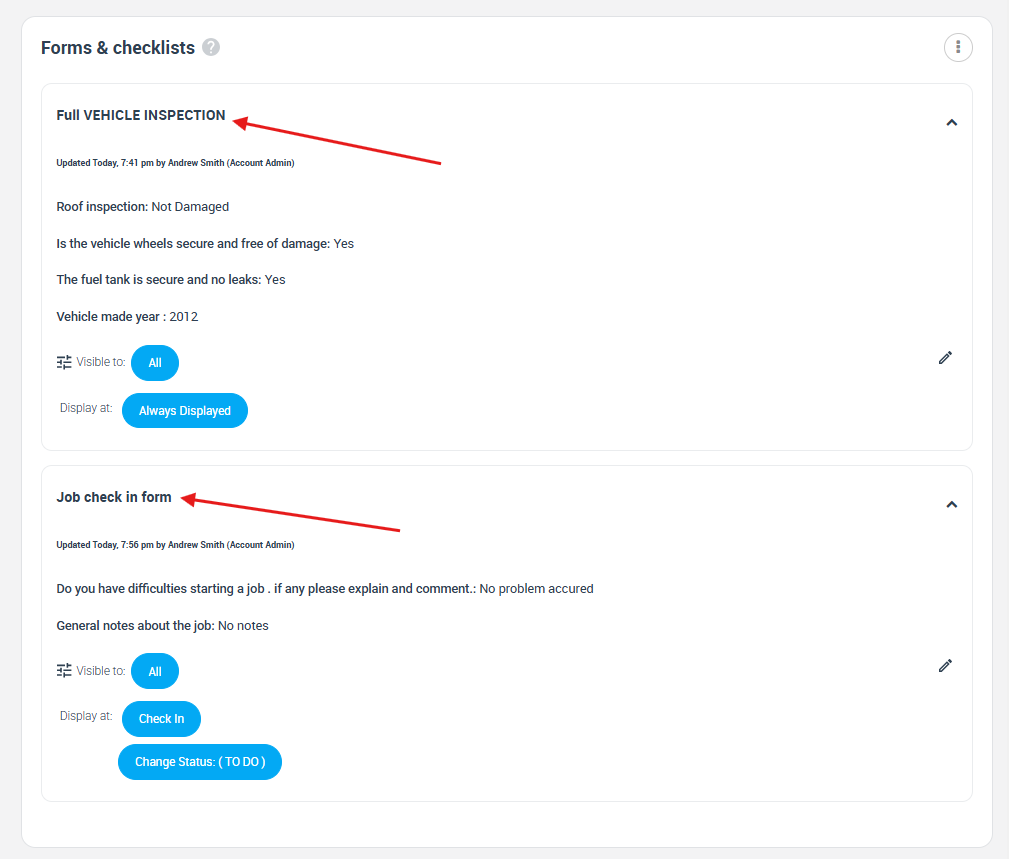
After forms/checklists are completed (by admins, fieldworkers, and/or customers—depending on visibility), admins can view submissions inside the booking record.
Typical path: Bookings > choose the relevant list (Upcoming / Past / Pending / Cancelled / All Bookings) > open a booking > review the Forms & Checklists section.
Tip: This is a great way to store job evidence (notes, inspections, compliance steps, photos, and approvals) against the booking so it’s easy to audit later.
Fieldworker workflow (app & browser)
Collecting job data can be time-consuming—especially when you manage a distributed team. Forms & checklists reduce delays and miscommunication by ensuring fieldworkers submit job details in a consistent, structured format.
Fieldworkers can record and submit job details from anywhere (mobile or desktop). This can include:
- Job safety inspections, risk assessments, and compliance steps
- On-site documentation, access notes, and site facilities
- Accident/incident reporting and audit logs
- Chemical/material tracking and equipment checks
- Before/after photos and proof of work
Completing forms as a fieldworker using the app
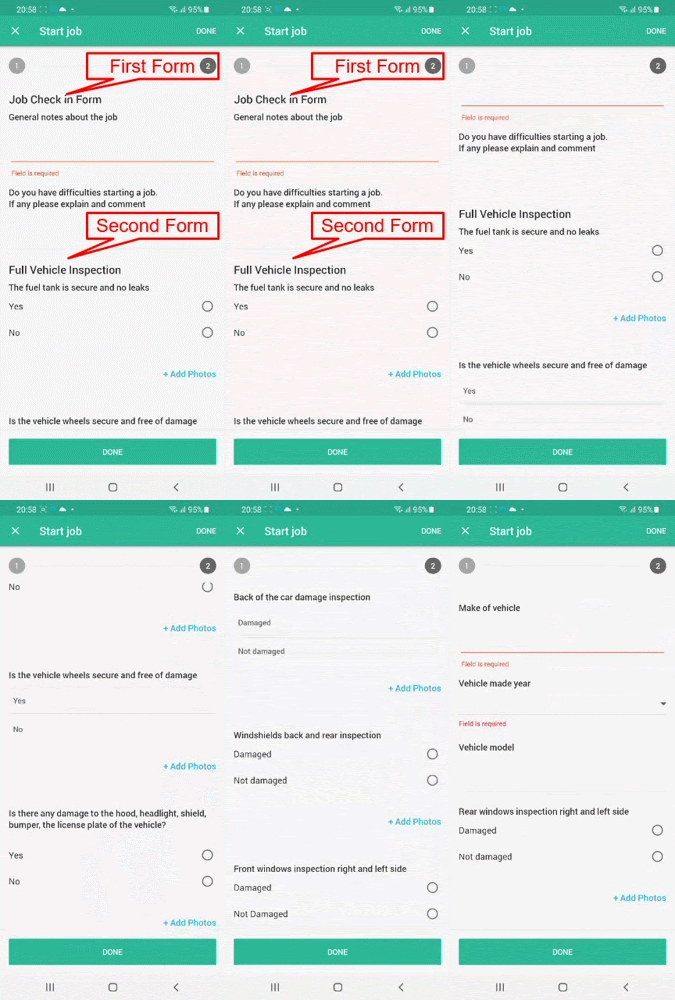
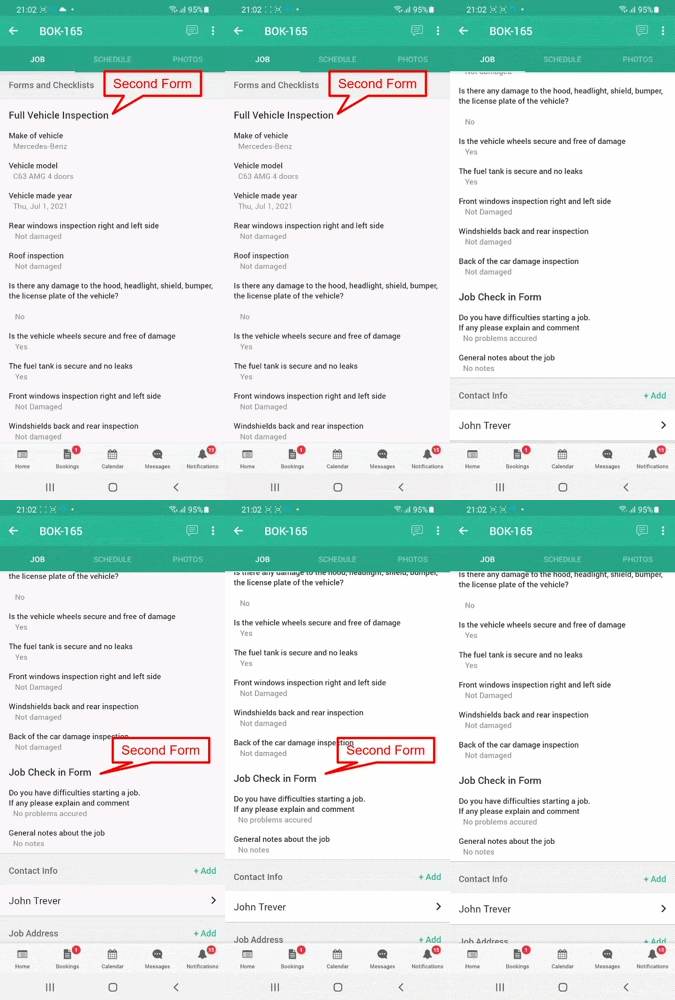
Fieldworkers can access their assigned job forms/checklists directly in the Fieldworker App and complete them on-site. Each form appears under its own title (based on the Form Name in your setup).
Completing forms as a fieldworker using the browser
Fieldworkers can also complete forms from the Fieldworker Web Portal (browser). This is useful for office-based contractors or teams working from laptops/tablets.
How to test forms in the Fieldworker Web Portal (step-by-step)
If you want to confirm how forms appear for fieldworkers in the browser, you can test using the workflow below:
- Log in to the Admin Web Portal.
- Go to Settings > General Settings > Forms & Checklists.
- Click + Create new.
- Set:
- Visibility: All
- When to display: Always Displayed
- Add at least one field/question (any simple question is fine) and save the form.
- Assign the form to a relevant service (if your setup requires service assignment) and save.
- Log out, then log in as a fieldworker in the Fieldworker Web Portal.
- Create or open a booking that uses the assigned service.
- Navigate to Bookings > All Bookings, then use Actions (e.g., Edit/View) to access the booking details—your form will be visible there based on the Always Displayed rule.
Multiple forms for the same job
It’s common to assign 2–3 forms to the same service/booking—for example:
- Job check-in form (job notes + access confirmation)
- Pre-start inspection checklist (vehicle/equipment/site safety)
- Job completion / sign-off (photos, QA, customer approval)
How OctopusPro handles multiple forms:
- If forms use different triggers (e.g., one at Check-in and one at Check-out), each appears at its relevant stage.
- If forms use the same trigger (e.g., both at Check-in), users still see them as separate forms—each with its own title.
Example: fieldworker sees multiple forms separately in the app (each with its own title):
Admins can view multiple submitted forms inside the booking record:
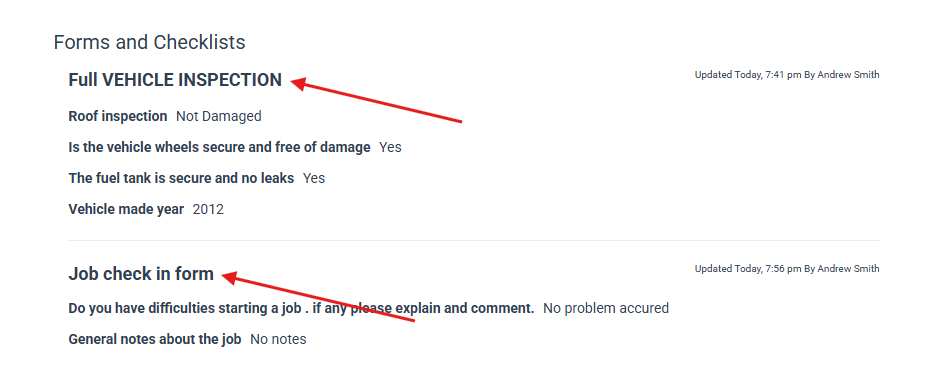
Customers can preview multiple forms from the Customer Portal booking view page (if visibility includes customers):
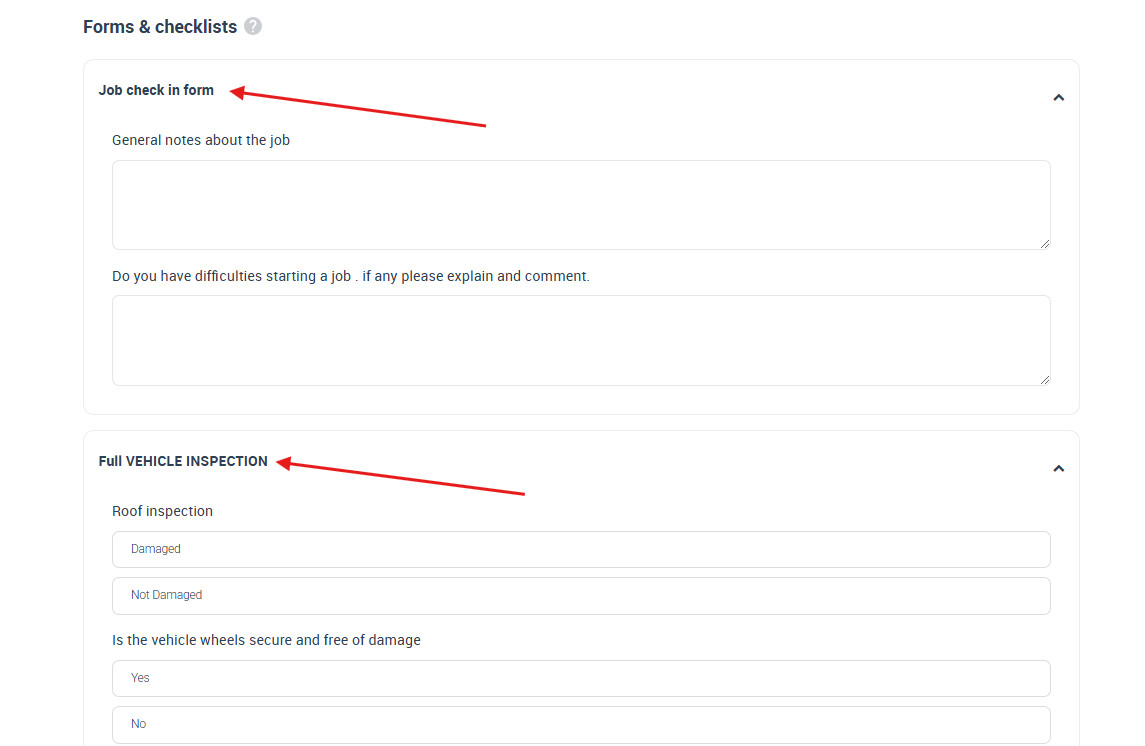
Multiple forms for admins (display option = All)
When forms are configured to appear for admins during booking creation (commonly when the display option is All), each form appears as a separate section under its own title.
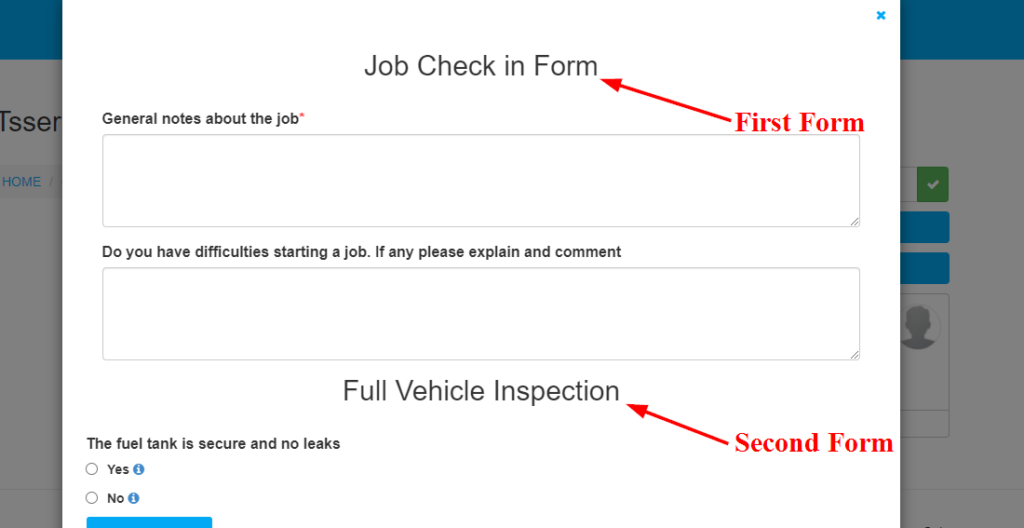
Multiple forms for customers (display option = All)
If visibility includes customers (and the form is configured to appear in the portal workflow), customers can fill out multiple forms separately—each with its own title.
Best practices & troubleshooting
- Name forms clearly (e.g., “Pre-Start Safety Check”, “Vehicle Inspection”, “Job Completion & Customer Sign-off”).
- Use the right trigger:
- Check-in for arrival and pre-start checks
- Check-out / completion for QA and sign-off
- Always Displayed / All for intake questions and always-available documentation
- Keep forms short—split large processes into stages (check-in / during-job / check-out).
- If a form isn’t showing, check:
- Form is active (enabled)
- Visibility includes the current user type
- When-to-display trigger matches the current workflow stage/status
- The form is assigned correctly (service/status rules, if applicable)
Related guides
- Introduction to Forms & Checklists
- Setting Up Forms & Checklists
- Forms & Checklists Field Types (Form Elements)
- Forms & Checklists: Use Cases
- Adding Bookings from the Calendar
- View / Manage a Booking
To stay updated, please subscribe to our YouTube channel.