
Customer Portal General Settings – Brand, Optimise & Monetise Your Online Booking Hub

Your Customer Portal is the public face of your OctopusPro account—where prospects browse services, confirm quotes and pay invoices. General Settings is the command centre that lets you shape that experience: from the URL users type to the pixels that track their journey. Master these controls and you’ll improve brand trust, boost organic traffic, unlock campaign analytics and smooth the checkout flow.
1. Portal URL (White-Label Domain)
 What it is
Replace the default OctopusPro sub-domain with a branded address such as book.yourcompany.com or portal.clean-experts.au.
Why it matters
- Trust & professionalism—customers see your domain, not a third-party URL.
- SEO equity—backlinks point to your brand, strengthening domain authority.
- Seamless omnichannel—use a single address across email signatures, QR codes and ads.
Typical use cases
| Industry | Example URL | Benefit |
|---|---|---|
| Mobile Dog Grooming | appointments.happypaws.co | Memorable link in Instagram bio |
| HVAC Franchise | service.coolair.com.au | Consistent domain across 20 branches |
How to configure
Settings → Customer Portal → General Settings → Portal URL
- Enter the desired subdomain or custom domain.
- Follow the on-screen DNS instructions.
- Click Save; allow DNS to propagate (up to 24 h).

2. Language Settings (Multilingual Portal)
Key points
- Enable any languages your team can support; OctopusPro auto-translates system text, while you control service names and disclaimers per language.
- Customers toggle their preference from a dropdown—great for tourism, expats or bilingual cities.
Example
Tour operator in Barcelona enables English, Spanish and French; conversion rates rise 19 % among French-speaking visitors.
Settings → Customer Portal → Language Settings

3. Booking Disclaimer
Displays on the final booking step. Use it to set expectations: cancellation windows, dress codes, safety rules, pet policies, etc.
Template
“By proceeding you agree to our 24-hour cancellation policy and understand that parking fees, if applicable, will be added to your invoice.”
Benefits
- Reduces disputes and chargebacks.
- Creates a legally documented checkpoint in the booking audit trail.
Settings → Customer Portal → General Settings → Booking Disclaimer
4. Privacy Policy
Data-protection laws (GDPR, CCPA, Australian Privacy Act) require a clear policy whenever personal data is collected.
Quick start
- Draft or paste your policy into the rich-text editor.
- Link directly to external legal-page URLs if preferred.
- Save—OctopusPro inserts a footer link and displays the policy on demand.
5. Homepage Promotions
Showcase time-boxed deals, coupon codes or free-trial banners right on the portal landing screen.
- Cleaning service promotes “20 % off spring cleans this week only”.
- Swim school pushes early-bird enrolment discounts.
Settings → Customer Portal → Homepage Promotions
Toggle on ➜ Create Promotion ➜ Set title, image, expiry, and optional coupon code.
6. Search Engine Optimisation (SEO)
Meta Title & Meta Description
- Meta Title (≤ 60 chars): front-load keyword, finish with brand.
- Meta Description (≤ 155 chars): succinct value prop + CTA.
Settings → Customer Portal → General Settings → SEO
Example
Title: Mobile Car Detailing Sydney | Book in 60 Seconds – ShinePro
Description: On-site car detailing that comes to you. Eco-friendly products, upfront pricing. Book online & get 10 % off first service.
7. Analytics & Tracking
![]()
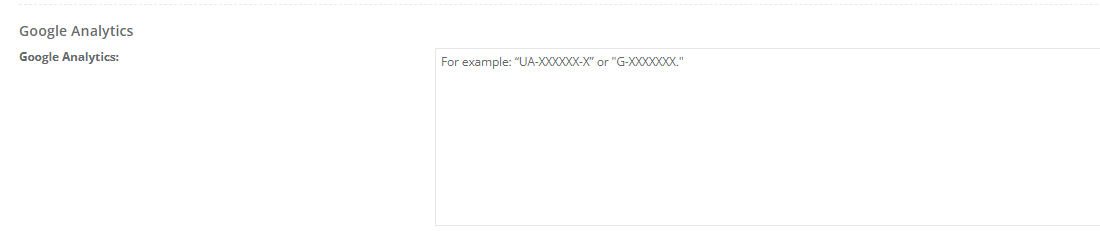
Google Analytics 4
Paste the GA4 Measurement ID once; OctopusPro injects the global script on every portal page.
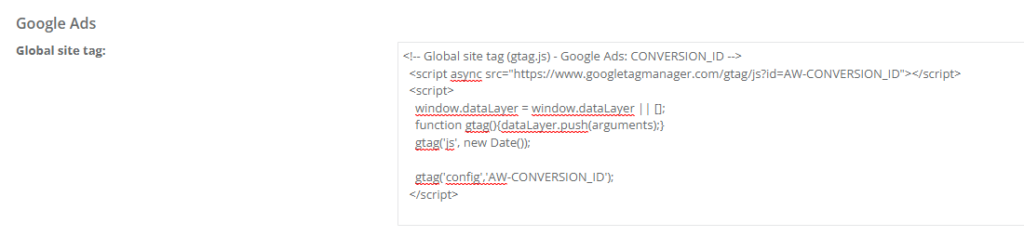
Google Ads (Global Site Tag & Event Snippet)
- Global Site Tag: tracks page views for remarketing lists.
- Event Snippet: fires on the booking confirmation page for conversion tracking.

Meta Pixel
Insert the full base code to unlock retargeting, lookalike audiences and campaign optimisation across Facebook & Instagram. For more information visit Meta Pixel Integration
All three scripts live under Settings → Customer Portal → General Settings. No manual HTML edits required.
8. Payment Methods
 Toggle which payment types appear at checkout:
- Online – Stripe, PayPal, Square, Braintree, etc.
- Offline – Cash, Bank Transfer, Cheque.
- Hybrid – Deposit online, balance on arrival.
Use cases
Wedding florist requires 30 % card deposit, balance via bank transfer 14 days pre-event.
Settings → Customer Portal → General Settings → Payment Methods
For more information visit Customer Portal Payment Methods
9. Best-Practice Workflow
- Secure your custom portal URL; verify SSL is active.
- Write SEO tags aligned with your main keyword (e.g., “mobile dog grooming Brisbane”).
- Add privacy policy & booking disclaimer before going live.
- Connect GA4, Ads & Meta Pixel; test with browser extensions.
- Enable at least one promotion to spark early traffic.
- Offer two payment options—one online, one offline—to maximise conversions.
- Review analytics monthly; iterate disclaimers, promos and tags based on real data.
10. FAQ
| Question | Answer |
| Can I use multiple pixels? | Yes—separate pixels per brand or territory are supported. |
| Will promotions slow my page? | No. Banners are optimised images and lazy-load on scroll. |
| Does OctopusPro auto-translate my custom text? | No. Custom service names, disclaimers and promo copy must be entered for each language you enable. |
Optimising the General Settings tab is a one-time task that pays dividends in credibility, traffic and revenue. Configure it well today and your Customer Portal becomes a round-the-clock sales engine—ready to greet, convert and delight every visitor.
To stay updated, please subscribe to our YouTube channel.