
Allow Fieldworkers to Add New Customers

In OctopusPro, you can allow fieldworkers to create new customer records directly from the Fieldworker App. This is useful when your team is in the field and needs to book a job for a brand-new customer without waiting for office staff to create the customer profile first.
What this setting does
When enabled, fieldworkers can add new customers during the booking flow (or from customer selection screens, depending on your app setup). The new customer is saved in your CRM/customer database and can be used for future bookings, quotes, invoices, and communications.
Common reasons to enable it
- Faster booking creation: your team can convert walk-ins, referrals, and onsite inquiries immediately.
- Cleaner data capture: details can be entered at the source instead of relying on handwritten notes or follow-up calls.
- Higher conversion: fewer delays means fewer lost leads.
When you may want to keep it disabled
- You require centralized data governance (office/admin staff only).
- You have strict rules around privacy, consent, or customer communications.
- You want to avoid duplicates until your team is trained on searching before creating new records.
How to disable the feature
- Go to Settings > General Settings > Fieldworkers Permissions.
- Scroll to Allow fieldworkers to add new customers.
- Turn the toggle OFF to disable it.

Step 1: Enable “Allow fieldworkers to add new customers”
- In the Admin portal, go to Settings > General Settings > Fieldworkers Permissions.
- Find the flag “Allow fieldworkers to add new customers”.
- Turn the toggle ON.
Before you start (common reasons fieldworkers can’t see “New Customer”)
- Confirm the permission is enabled: Settings > General Settings > Fieldworkers Permissions → Allow fieldworkers to add new customers.
- Booking-flow dependency (if using “Create a new booking”): Ensure fieldworkers are allowed to create new bookings in the app; otherwise they won’t reach the customer selection screen in the booking workflow.
- Role access: If you restrict menus by role, confirm the fieldworker role can access the Customers area in the app (and any relevant customer view/edit permissions you apply).
Tip: If you want to limit risk, enable this feature for a small group of trusted fieldworkers first, then expand access once your process is stable.
Governance option (recommended for data control)
If you want fieldworkers to capture customers in the field but still keep admin oversight, review your Fieldworker Permissions settings related to whether fieldworker changes require office approval (so changes can be held for review before they are applied). This is helpful if you have strict CRM data standards or you want managers to verify customer details before they go live.
See: Fieldworker Permissions & Access Control
Step 2: How fieldworkers add a new customer (Fieldworker App)
Fieldworkers can add a new customer either:
- From the Customers tab (recommended if they’re capturing details before creating a booking), or
- During booking creation (when they’re creating a job for a new customer immediately).
Option 1: Add a customer from the Customers tab (Fieldworker App)
- Open the Customers tab in the Fieldworker App.
- Tap New Customer (or the + / Add button, depending on your app layout).
- Enter the customer details, then tap Add New Customer to save.
Tip: Ask fieldworkers to search by mobile number or email before creating a new record to avoid duplicates.
Once the permission is enabled, fieldworkers can create a new customer during booking creation:
A) Start a new booking
- Open the app menu.
- Tap Create a new booking.
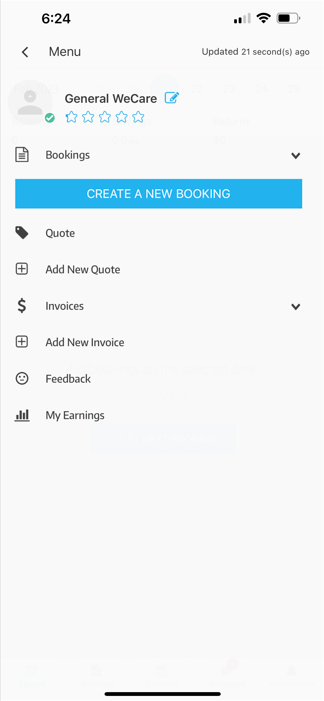
B) Select customer or create a new one
- On the Select Customer screen, search for an existing customer first.
- If the customer doesn’t exist, tap New Customer.

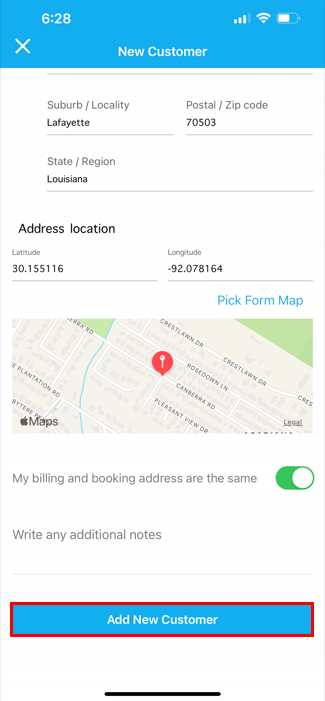
C) Enter customer details (Personal or Business)
Choose whether the customer is a Personal or Business customer, then enter the key details such as:
- First name / last name (or business name)
- Mobile number and email address
- Service address (and optional unit/building details)
- Address location (e.g., pick from map, if enabled)
- Optional notes (if your form includes an notes field)

D) Save the customer
- Confirm all details are correct.
- Tap Add New Customer to save.
Optional: Notify admins when a fieldworker creates a customer
If you want admin users to be alerted when a fieldworker creates a new customer, enable the notification permission for the relevant admin user(s):
- Go to Settings > Company Settings > Users > User Credentials.
- Scroll to Permissions for notifications.
- Enable New customer has been created.

Notifications can then be reviewed from the system Notifications area.

Customer visibility: can other fieldworkers see those customers?
Fieldworkers viewing customers they created
Fieldworkers can view customers they created. If you want to control whether they can open customer details more broadly, review user credential permissions.


Allow fieldworkers to access the full customer database (optional)
If you want fieldworkers to select from all customers (not only customers they created), enable the flag:
Settings > General Settings > Fieldworkers Permissions → “Allow fieldworkers to view your entire customer database when making new bookings”

Important privacy note: Enabling this means fieldworkers may be able to view customer contact details (phone numbers, emails, and addresses). Only enable it if it matches your access-control and privacy requirements.
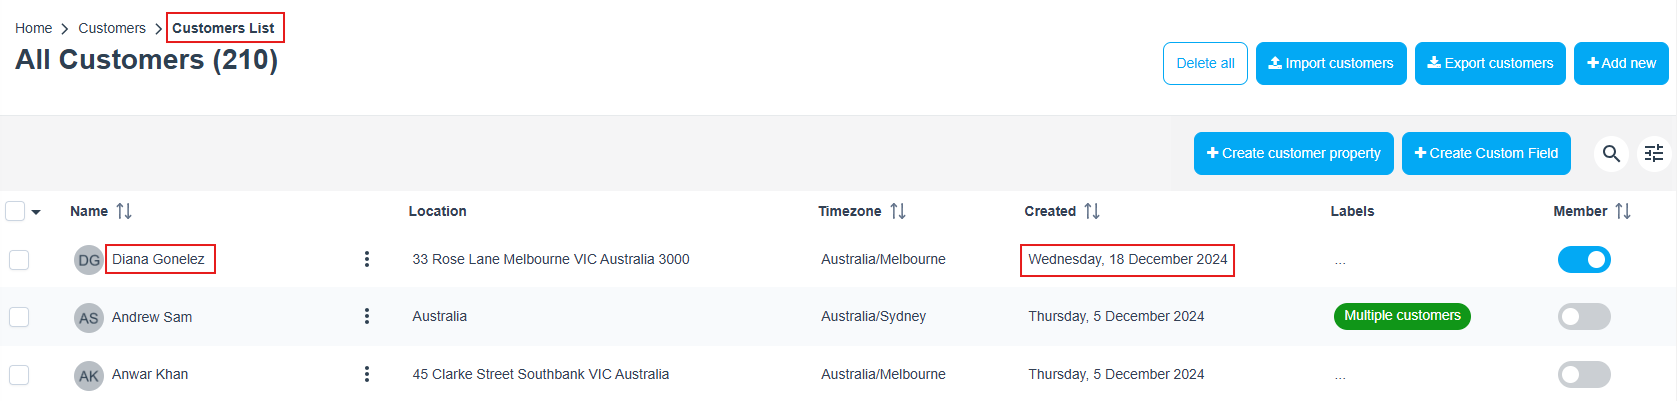
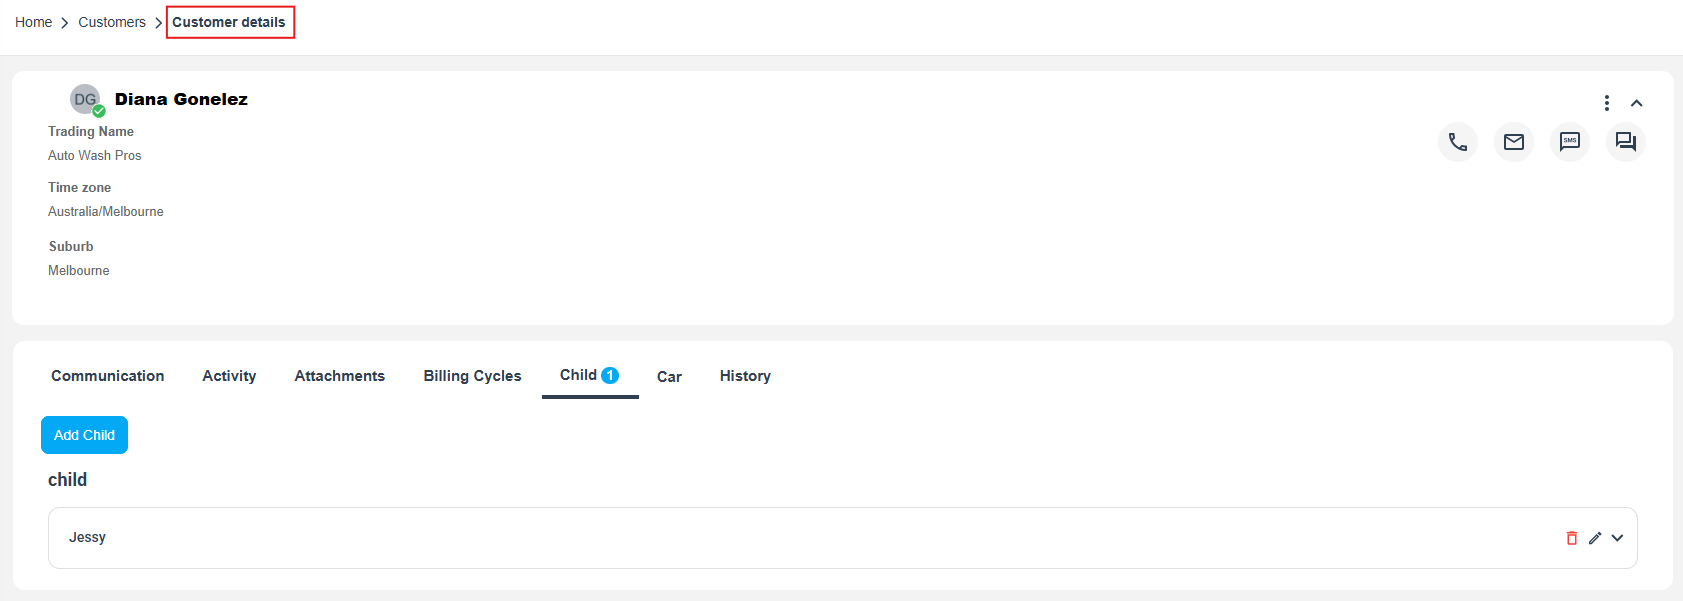
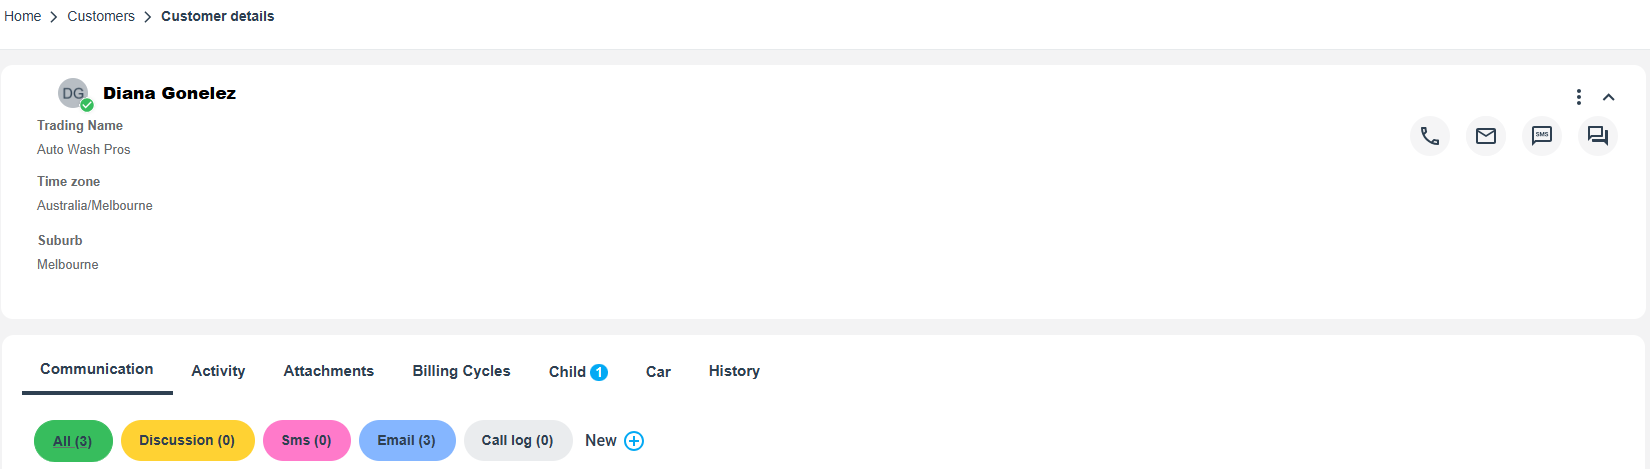
How admins review customers added by fieldworkers
- Go to Customers > All Customers.
- Locate the customer record and review the details.
- Open the customer profile and check History (or audit trail) to see who created/updated the record.
Avoiding and merging duplicate customers
Best ways to prevent duplicates
- Search first using phone number or email before creating a new customer.
- Use consistent formatting (country codes, email spelling, suburb/state).
- If you operate in multiple regions, standardize address entry and map pin selection.
How to merge duplicates (admin)
- Go to Customers > Find Duplicate Customer.
- Click Find Duplicate Customer.
- Select the similar records and proceed to the cleanup/merge screen.
- Choose which record to keep as primary (where applicable), then Save.


Viewing and deleting customers (admin vs fieldworker)
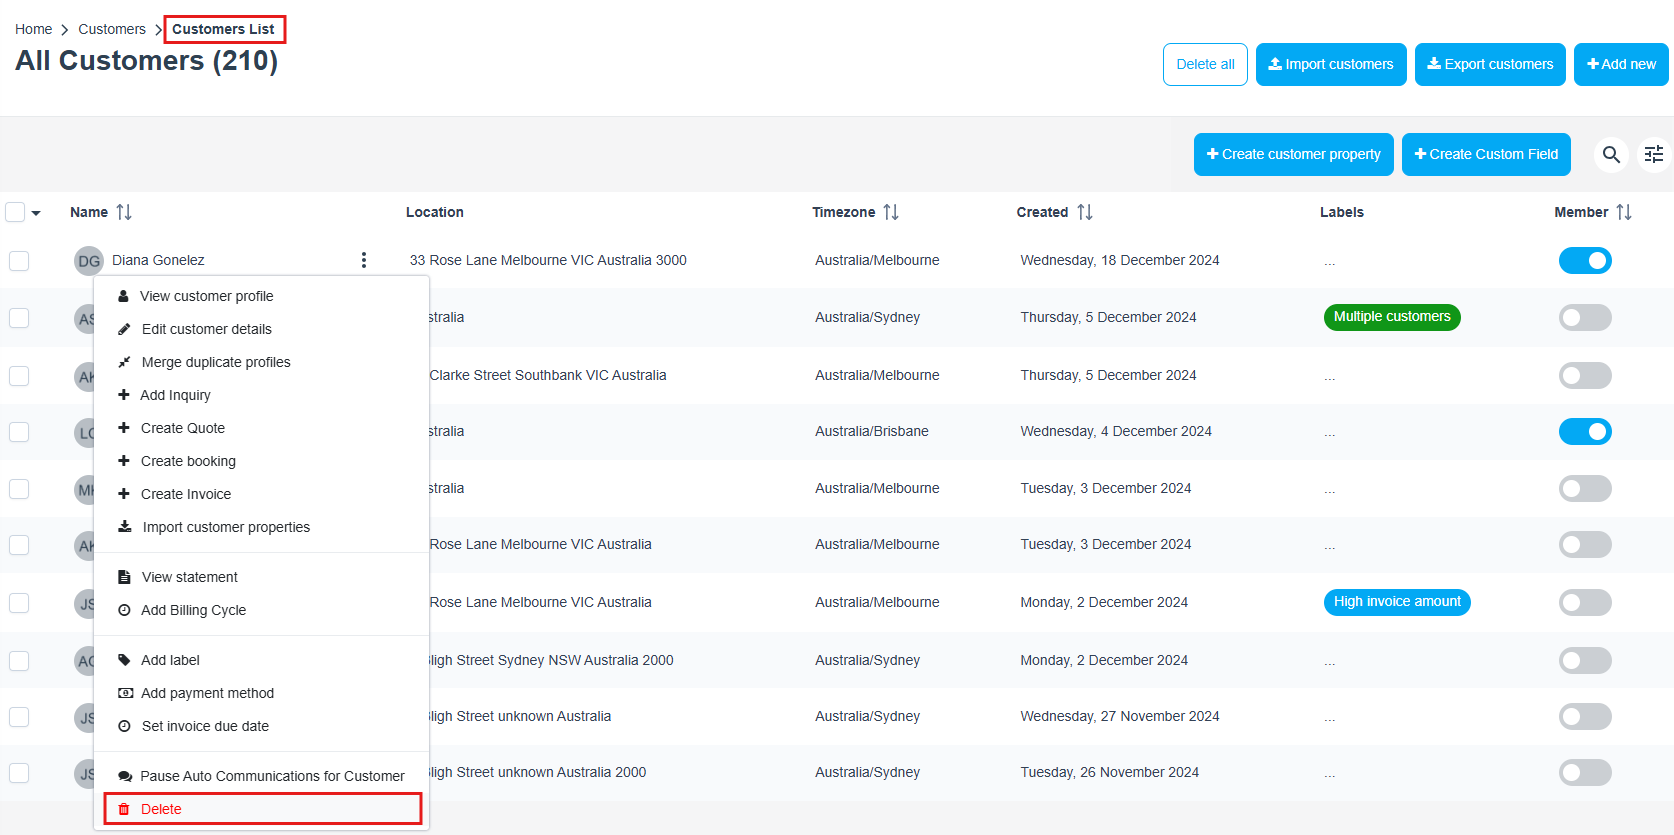
Admin: delete customers
- Go to Customers > All Customers.
- Use the Actions menu for the customer record.
- Select Delete.
Fieldworker: can they delete customers?
Fieldworkers can delete customer records only if you allow it via permissions. In the Fieldworker App, they typically delete by locating the customer, then swiping left to reveal actions such as Edit/Delete.

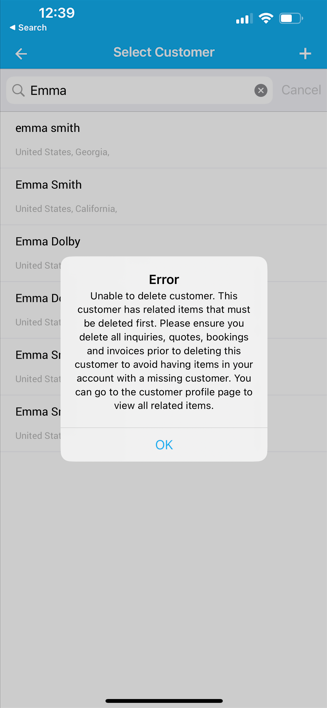
Important: deletion restrictions
If the customer has related items (e.g., inquiries, quotes, bookings, invoices), deletion may be blocked until those related records are removed.
Restore vs Delete Forever (important)
In OctopusPro, deleted customers are typically moved to the Deleted Customers archive first, where they can be:
- Recovered (restored) if the deletion was accidental, or
- Permanently deleted (Delete Forever) if you want irreversible removal.
Warning: Delete Forever is irreversible and the customer cannot be restored afterward.
Learn more: Restore (recover/undelete) deleted customers
Enable/disable Customer Delete permission
- Go to Settings > Company Settings > Users > User Credentials.
- Scroll to Permissions for customers.
- Enable (or disable) Customer delete.

Best practices
- Train fieldworkers to search first: phone/email searches reduce duplicates dramatically.
- Limit who can see the full database: only enable “view entire customer database” if necessary.
- Use notifications for oversight: admins can quickly review new records and fix issues early.
- Prefer merging over deleting: merging preserves booking/invoice history while cleaning the database.
- Lock down deletion: consider allowing deletion only for admins (or disable for fieldworkers) to protect historical reporting and accounting trails.
Troubleshooting
- Fieldworker can’t see “New Customer”: confirm the “Allow fieldworkers to add new customers” flag is enabled and the user has the correct role/access.
- Other fieldworkers can’t find the customer: you may have the “view entire customer database” flag disabled, meaning each fieldworker only sees their own customers during booking creation.
- Can’t delete a customer: remove related records first (inquiries/quotes/bookings/invoices), then try again.
- Admins not receiving notifications: enable “New customer has been created” under that admin user’s notification permissions.
Related resources
- Fieldworker Permissions & Access Control
- Allow Fieldworkers to Create New Bookings
- Allow fieldworkers to view your entire customer database
- Restore (recover/undelete) deleted customers
To stay updated, please subscribe to our YouTube channel.