
-
- Managing Leads & Inquiries
- Adding Customer Inquiries
- Website Lead Capture Form
- Display Contact / Lead Capture Form
- View Inquiry Details
- Edit Inquiry Details
- Deleting Inquiries
-
- Booking Dashboard Overview
- Create a New Booking
- View / Manage a Booking
- Edit Booking Details
- Set Up Recurring Bookings
- Delete a Booking
- View Booking History Log
- Export Booking to PDF
- Handle Multi-Address Bookings
- Find Fieldworker Availability
- Proximity-Based Scheduling
- Assign Multiple Fieldworkers
- Accept Booking for Fieldworker
- Approve Fieldworker Changes
- Push Booking to Google Calendar
- Transfer Booking Ownership
-
- Invoice & Billing Overview
- View an Invoice
- Edit Invoice Breakdown
- Change Invoice Number
- Claim Invoice Ownership
-
- Scheduling and Dispatching
- Calendar Month View
- Calendar Week View
- Calendar Day View
- Calendar List View
- Fieldworkers & Subworkers
- Fieldworker Management
- Add Fieldworkers
- Bulk Manage Fieldworkers Lists
- Fieldworker Industry Label
- Fieldworker Booking Summary
- Fieldworker Activity Log
- Booking Settings Configuration
- Fieldworker Job Assignment Methods
- Fieldworker Permissions
- Fieldworker Profile Customization
- Customer Profile Customization
- Customer Dependents / Properties
- Importing Customer Dependents
- Managing Booking Status
- Managing Booking Complaints
- Lead Sources List
- Decline Job Request Form
- Booking Property Types Setup
- Label Management
- Creating Forms & Checklists
- Forms & Checklist Introduction
- Setting Up Forms & Checklists
- Forms & Checklists Usage
- Forms & Checklists Fields Types/Elements
- Forms & Checklists: Use Cases
Company Branding and Logo Configuration
This guide explains how to configure your company’s visual identity across OctopusPro. You can upload and manage multiple logo assets—including your default company logo, invoice logo, and signature logo—to ensure consistency across internal dashboards, customer-facing documents, and email communications. Additionally, if you operate multiple sub-brands or divisions, you can assign distinct logos and images at the trading name level, so that each brand’s identity is maintained while all data remains centralized under one account.
1. Setting Your Default Company Logo
OctopusPro allows you to manage your company’s visual identity by uploading three distinct logos. These logos ensure that your brand is consistently represented across all areas of the platform—from internal dashboards to customer-facing documents.
Profile Logo
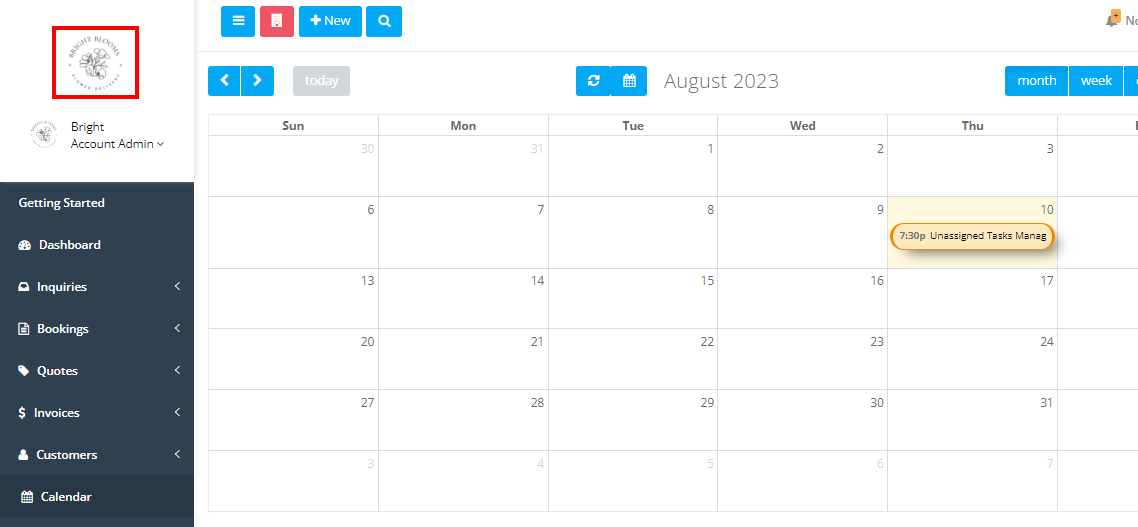
The Profile Logo is your primary company identifier. It appears on your company profile and throughout the OctopusPro admin interface, such as at the top of the left menu. This logo is the first point of brand recognition for both internal users and customers.
How to Upload:
- Navigate to Settings > Company Settings > Branding.
- Under the “Logo” section, click on Logo Upload.
- Choose your preferred logo file (recommended format: JPG) and click Upload.
Invoice Logo
The Invoice Logo is used exclusively on customer-facing documents, including invoices, quotes, and booking PDFs. If a trading name does not have its own logo, this default logo is displayed to maintain consistent branding on financial communications.
How to Upload:
- In the Branding section, click on Invoice Logo Upload.
- Select the appropriate file and click Upload.
Signature Logo
The Signature Logo can be a stylized version of your company’s signature or an additional branding element. It is used in official communications, such as email signatures, contracts, and other digital correspondence, to add a personal touch to your messaging.
How to Upload:
- Under the Branding section, click on Signature Logo Upload.
- Choose your file and click Upload.
Important Considerations
- Use high-resolution images in the recommended format (JPG) to ensure optimal display on both digital and printed materials.
- Each logo serves a specific purpose: the Profile Logo for overall system branding, the Invoice Logo for financial documents, and the Signature Logo for formal communications.
- If your business operates multiple sub-brands, you can override these defaults by configuring unique logos for each trading name via Settings > Company Settings > Trading Names. Only one trading name can be set as the default, and its logo will be used if no specific trading name is linked to a transaction.
By setting up these branding elements, you ensure that every touchpoint—whether in the admin dashboard, customer portal, or printed document—consistently reflects your company’s professional identity.
2. Configuring Trading Name Logos
If your business operates multiple sub-brands or divisions, you can upload unique logos for each trading name. This allows you to customize the visual identity for different brands while still managing them under one OctopusPro account.
Steps to Configure Trading Name Logos:
- Go to Settings > Company Settings > Trading Names.
- For each trading name, click on the trading name to edit its settings.
- Upload a specific logo for that trading name. You may designate one trading name as the default; when an invoice, quote, or booking PDF does not have a trading name explicitly linked, the system uses the default trading name’s logo.
- Save your changes.
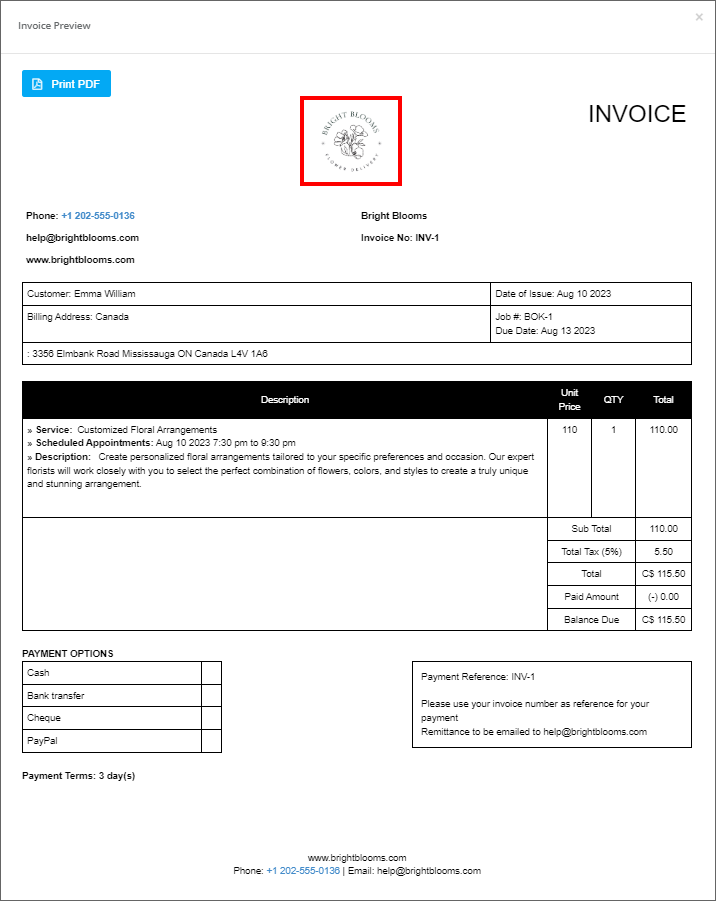
How It Affects Invoice PDFs
When you generate an invoice (or quote/booking PDF) for a particular trading name, OctopusPro will display that trading name’s logo at the top of the PDF. If the trading name does not have its own logo, the system falls back to your default company logo.
3. Assigning Email Template Images
In addition to logos for invoices and internal use, you can customize email templates with brand-specific images. This feature allows you to assign different images for different email templates (for example, for booking confirmations or invoice emails).
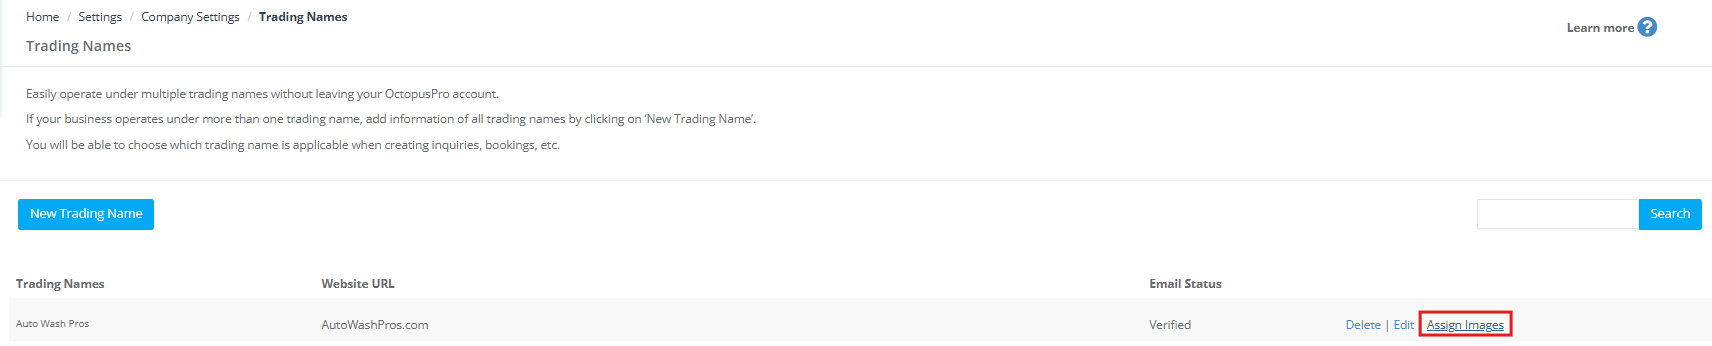
How to Assign Email Template Images:
- In Settings > Company Settings > Trading Names, locate the desired trading name.
- Click on the “Assign Images” link.
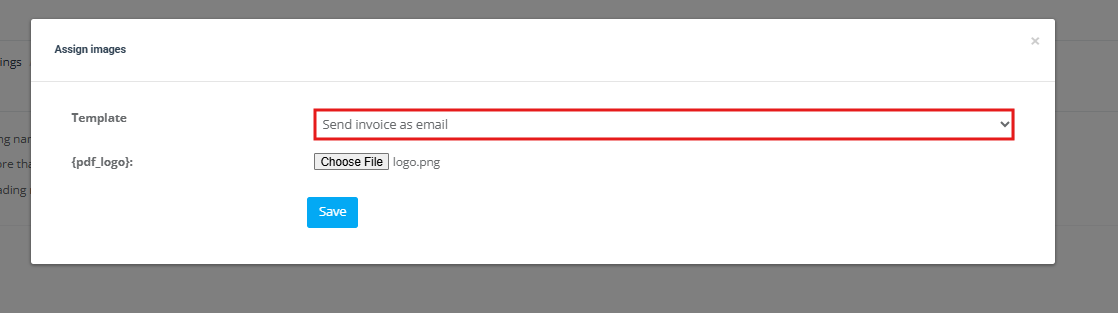
- Select the email template you wish to customize (e.g., “Booking Confirmation”, “Invoice Email”).
- Upload or choose an image to be used for the corresponding placeholder (e.g., {img_1}, {img_2}, {img_3}).
- Save your changes.
Important Distinctions Between Email Placeholders and Invoice PDF Logos
Images assigned via email placeholders (e.g., {img_1}, {img_2}, etc.) are used exclusively in email communications. They do not replace or affect the logo shown on invoice PDFs (which include invoices, quotes, and booking PDFs). Invoice PDFs always display the logo configured in your trading name settings, or if none is provided, your default company logo.
Quick Summary:
- Invoice PDFs: These documents display the trading name logo if available; otherwise, they default to the company logo. Adjustments to email template images do not impact the PDF logo.
- Email Templates: Email communications use images assigned through placeholders. Each trading name can have unique images for different email templates, independent of the logo used on invoice PDFs.
This separation ensures that both your email communications and your PDF documents maintain consistent and professional branding, each using its designated visual assets.
Benefits of Multiple Logos & Image Assignments
By effectively managing your branding settings, you achieve several benefits:
- Consistent Visual Identity: Ensure that all internal and external communications reflect your brand, increasing recognition and trust.
- Flexibility: Easily update or change logos and images as your branding evolves or for seasonal campaigns.
- Distinct Sub-Branding: For businesses with multiple trading names, maintain unique brand identities for each division while keeping data centralized.
- Professional Appearance: A well-designed, consistent look across invoices, quotes, emails, and dashboards reinforces your company’s professionalism and reliability.
By setting a default company logo and configuring trading name–specific logos and email template images, you ensure that every touchpoint—from the admin dashboard to customer invoices and emails—consistently reflects your brand. This integrated approach not only enhances brand recognition but also supports compliance and professional communication across all channels.
To stay updated, please subscribe to our YouTube channel.