
Deleting Customer Profiles – Managing Customer Lists
In OctopusPro, administrators have the ability to manage customer profiles, which includes both soft deletion and permanent removal. This comprehensive guide will walk you through each step of these processes.
Table of Contents
- Soft Deletion vs Permanent Deletion
- Deleting a Customer’s Profile (Soft Delete)
- Permanently Deleting a Customer’s Profile
- What Happens When a Customer Profile is Permanently Deleted?
- Impact on Synced Accounting Data
- Managing User Permissions for Deleting Customers
Soft Deletion vs Permanent Deletion
In OctopusPro, there are two ways to remove a customer from your database:
-
Soft Delete: This removes the customer from your visible list but retains their information within the system database.
-
Permanent Delete: This option completely removes all traces of a customer from the database.
Note: Please be aware, that you will need to remove all related inquiries, bookings, quotes, and invoices linked to a customer profile before proceeding with either deletion method.
Deleting a Customer’s Profile (Soft Delete)
Here’s how you can execute a soft delete, removing a customer’s profile from your active list while retaining their information within the system.
Deleting from the Customer Profile Page
- Select the customer from the list and click on “View customer Profile”.
- From the top right corner, click on the “Actions” button to reveal a dropdown menu.
- Select “Delete”.
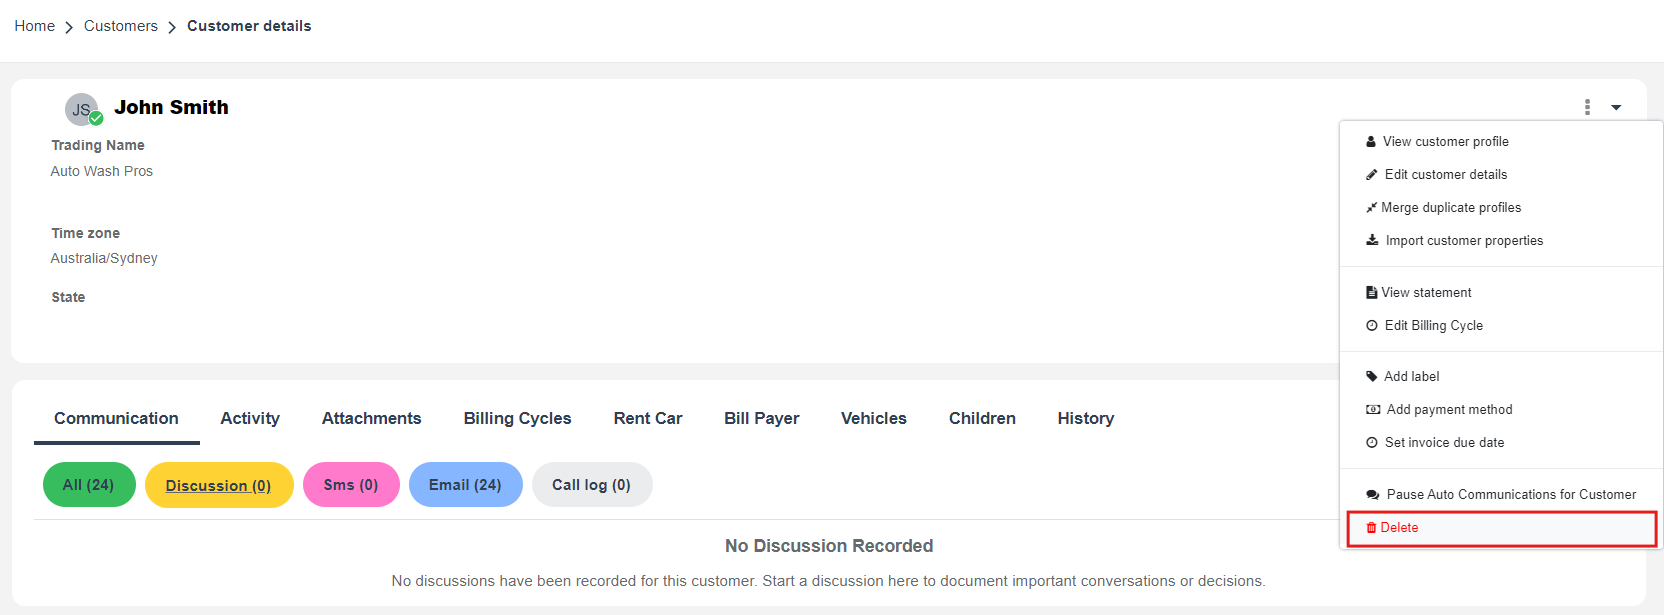
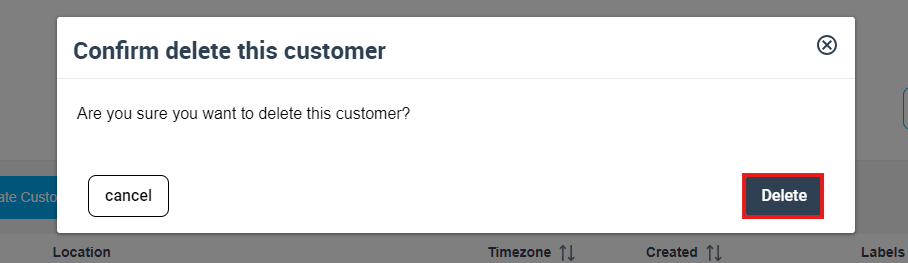
4. A popup window will ask for confirmation. Click on “Delete” to confirm the action.
Remember, if the customer has any related items (bookings, invoices, etc.), you must delete these first. To find and delete these related items, go to the customer’s profile page, scroll down, select the related item from the tabs, and remove them by clicking on ‘Show All’ and deleting each one.
Deleting from the Customer List
- Navigate to the ‘Customers’ option on the Admin sidebar and select ‘All Customers’.
- Locate the customer profile you wish to delete. You can use the search bar or scroll through the customer list.
- Click on the “Actions” button, and select “Delete”.
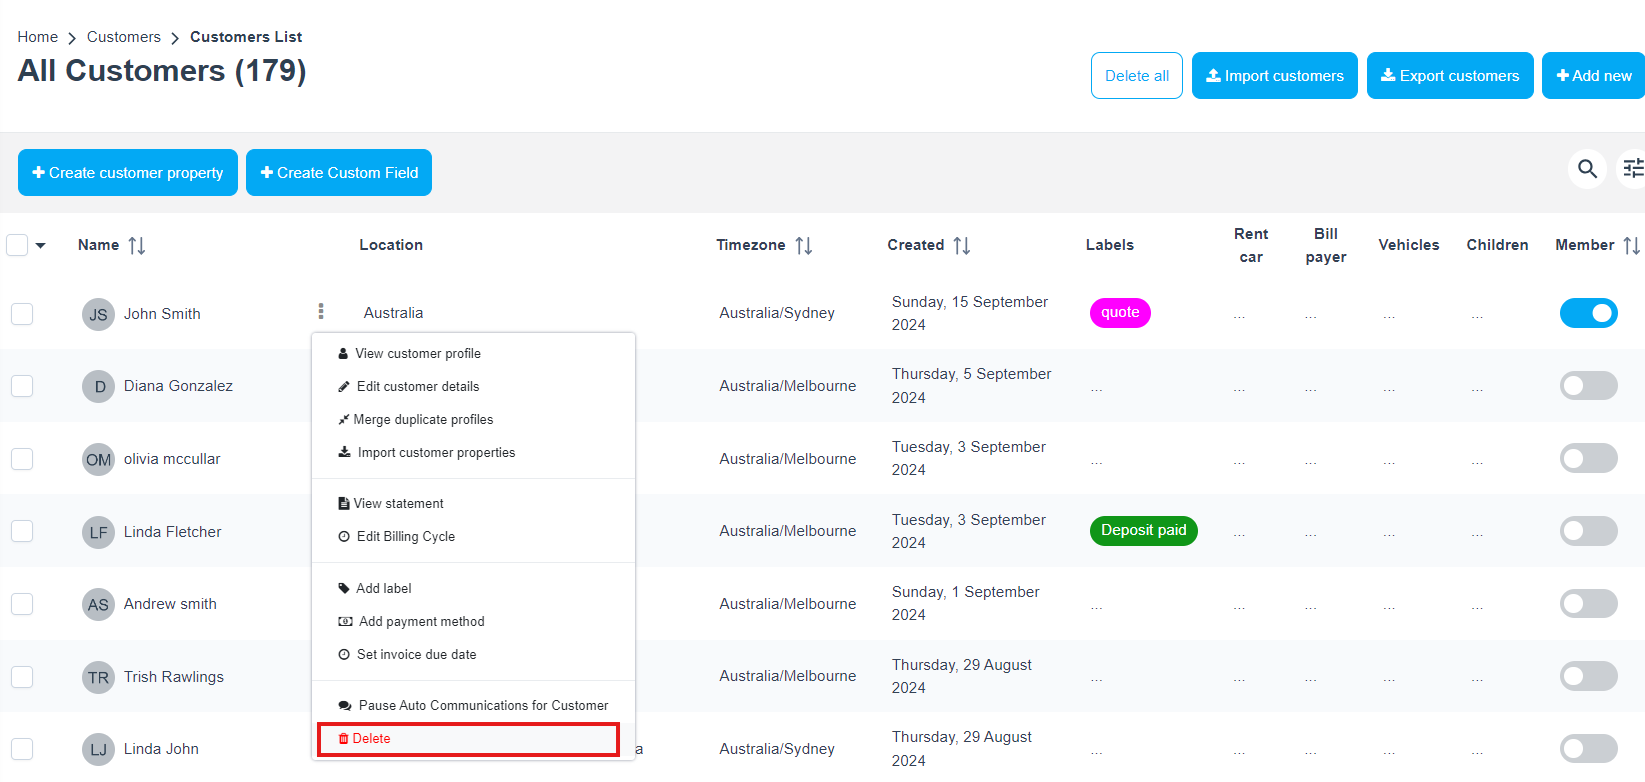
4. A popup window will appear, asking for confirmation. Once you’ve confirmed, click on “Delete”. The customer will be removed from your active list.

Deleting Multiple Customers from the Customer List
To delete multiple customers in OctopusPro, you can follow these steps:
-
Navigate to the “All Customers” page in your OctopusPro account.
-
On the overview of the customers, you want to delete, click on the checkbox next to each customer’s name to select them.
-
At the top of the list, click on the dropdown menu icon located next to the checkboxes. From the dropdown menu, select the “Delete” button.
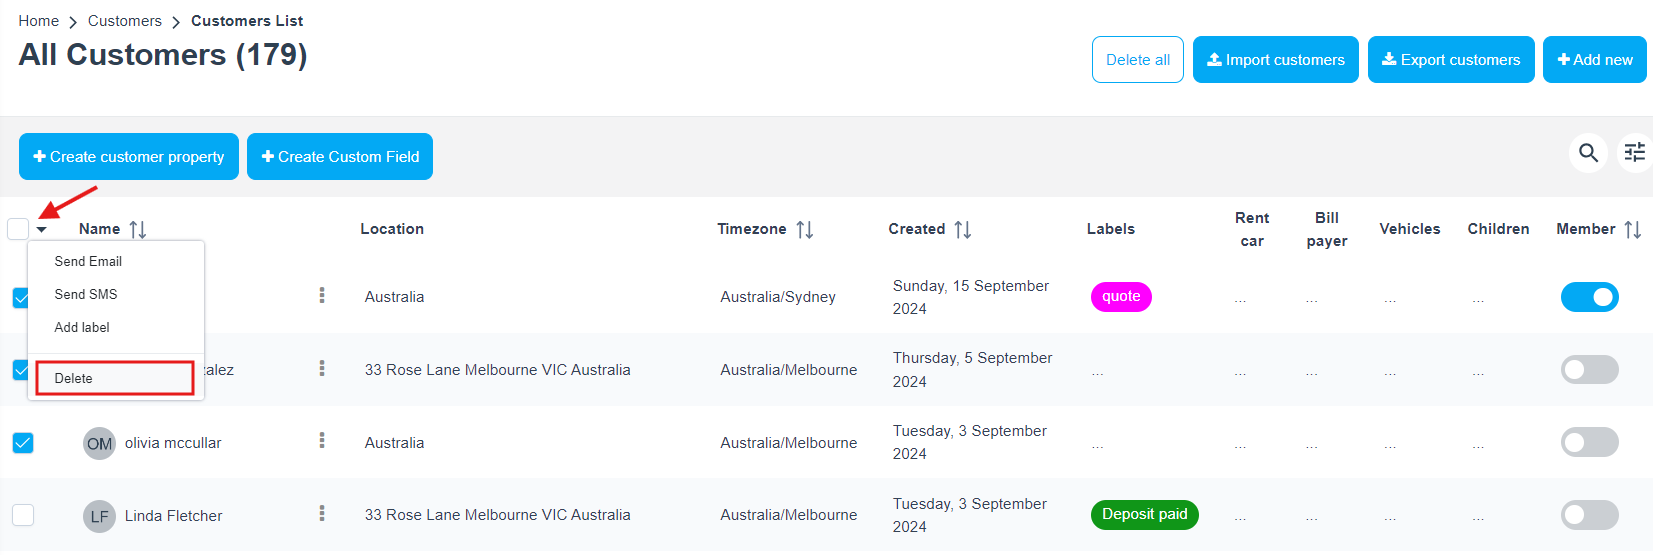
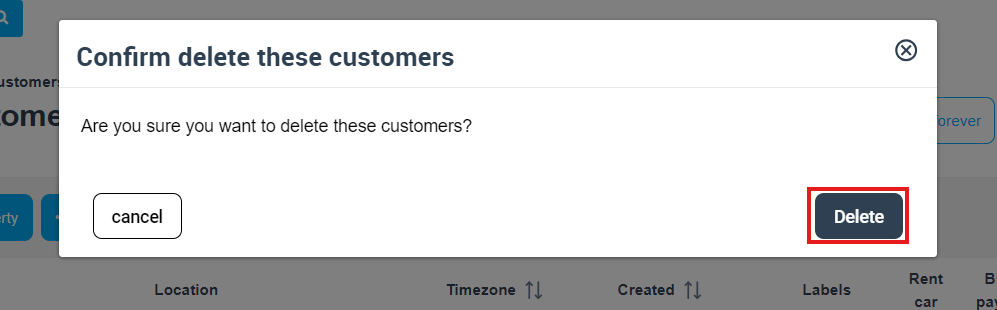
4. A popup window will appear, requesting confirmation of the deletion action. Once you confirm by clicking on the “Delete all forever” button, the selected customers will be removed from your account.
Additionally, if you want to permanently delete customers, you can visit the “Deleted Customers” page. Follow these steps:
-
Go to the “Deleted Customers” page in OctopusPro.
-
Tick the checkbox next to the customers you wish to delete permanently.
-
Click on the dropdown menu icon located at the top of the list and select the “Delete” button.
If you want to delete all customers on the “Deleted Customers” page, you can click on the “Delete all” icon to remove them.
Deleting Related Items (Bookings, Invoices, etc.)
Before removing a customer profile from the system, it’s essential to first delete all related items including bookings, invoices, quotes, or inquiries. This process is not only a procedural necessity but it also has significant benefits for maintaining the integrity of your data.
Why this step is necessary:
OctopusPro ensures that no customer can be deleted while they still have existing items linked to their profile. This safeguard prevents instances where you might encounter items in your account that appear to be without an owner, creating a state of confusion and possible inaccuracies in your data.
This comprehensive clean-up ensures data consistency, avoids orphaned data, and reduces potential issues in the future. Moreover, it aligns with best practices in data management, ensuring you have accurate and meaningful records. Also, for customers, this practice ensures that once they’re no longer a part of your system, their related data doesn’t linger, thereby respecting their privacy and ensuring compliance with data protection regulations.
Here’s how you can do this:
- Navigate to the customer’s profile page. You can do this by selecting the customer from your list and clicking on “View Profile”.
- Scroll down the profile page until you find the tabs representing related items from “Activity” section. These will typically be labeled as ‘Bookings’, ‘Invoices’, ‘Quotes’, ‘Inquiries’, etc.
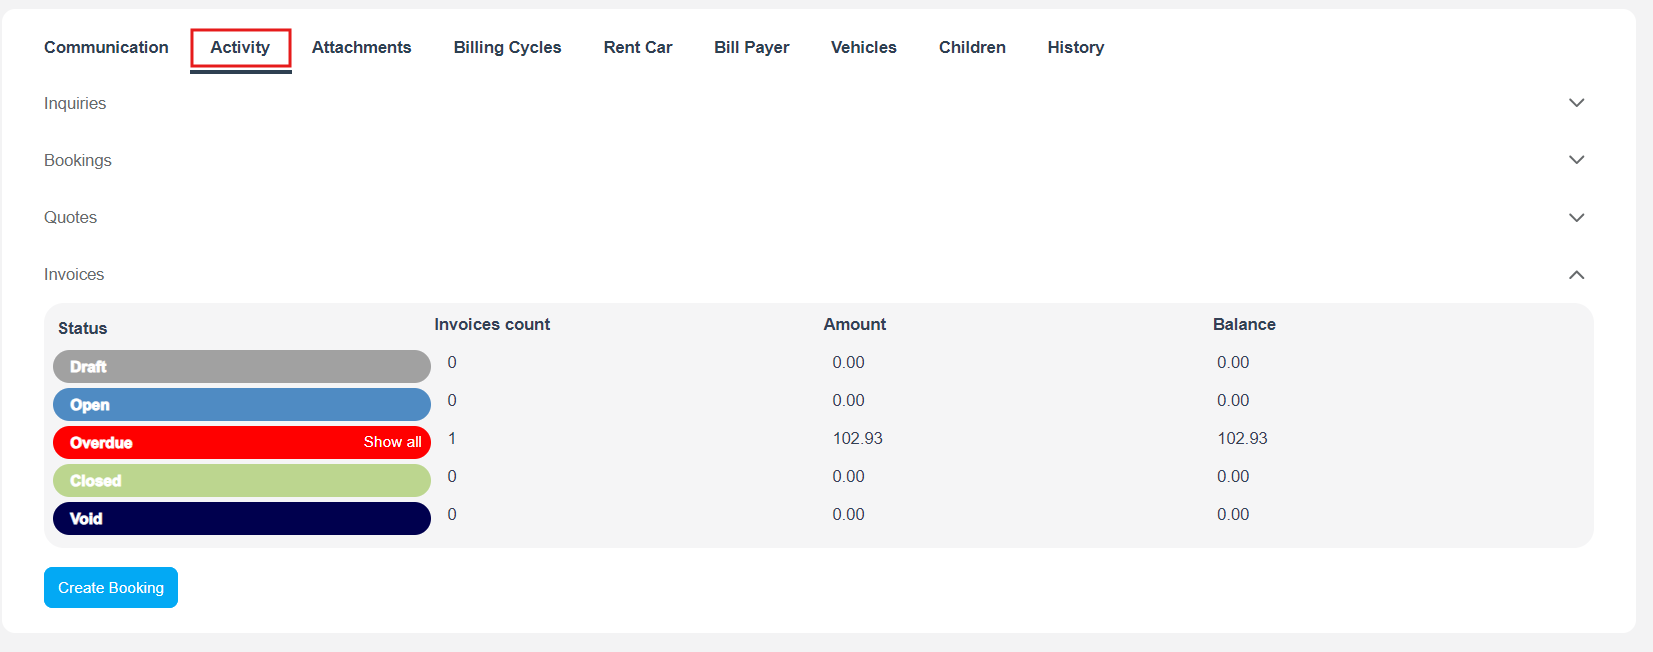
- Select the tab for the type of related item you wish to delete. This will bring up a list of all such items related to the customer.
- Press on “Show All” to display the list of items.
- To delete a specific item, locate it in the list and click on “Delete”.
- A popup window will appear, asking for confirmation. Click “Delete” to confirm the action.
- Repeat these steps until all related items have been deleted.
Remember, it’s important to delete all related items before deleting a customer profile. This ensures data consistency and prevents any issues with orphaned data.
Deleting All Customers at Once
- Navigate to the “Customers” list.
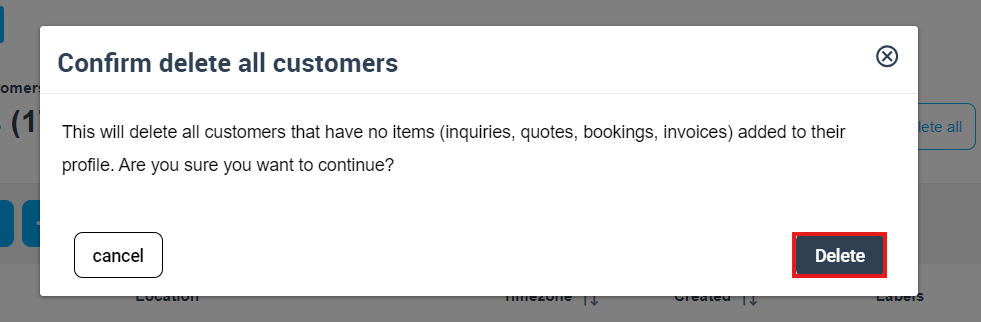
- In the top right corner, click on the “Delete All” button.

3. A popup window will appear, requesting confirmation for this action click on “Delete”.
Permanently Deleting a Customer’s Profile
To ensure a customer’s data is completely removed from the system, you’ll need to perform a permanent delete.
Permanently Deleting an Individual Customer
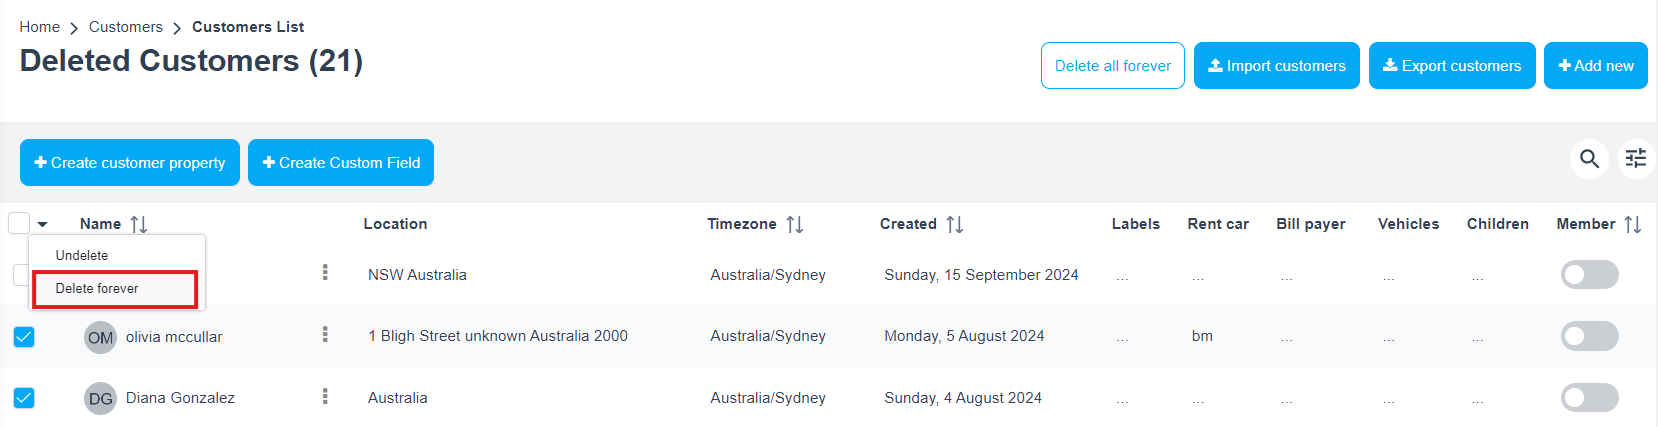
- Go to “Deleted Customers” on the Admin sidebar. This will redirect you to the list of soft-deleted customers.
- Select the customer profile you wish to delete permanently.
- Click on the “Actions” button, and select “Delete Forever”.
4. A popup window will ask for confirmation. Click “Delete” to confirm the action.
Permanently Deleting Multiple Customers from the Soft-Deleted List
Managing your customer database effectively in OctopusPro includes the capability to completely erase all customer profiles from the soft-deleted list.
Here’s how you can do it:
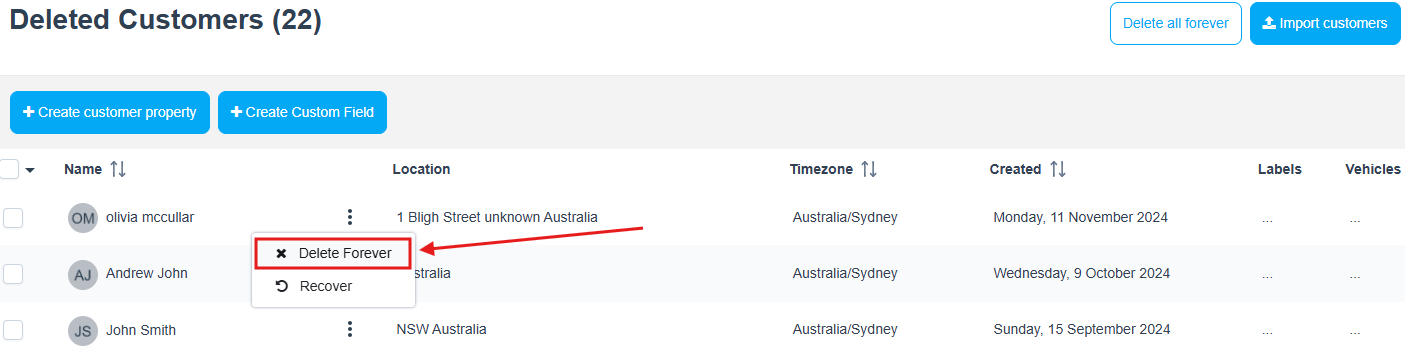
- Navigate to the “Deleted Customers” list.
- Select the customers that you wish to delete permanently.
- Locate the checkbox at the top left corner of the list, click on the arrow beside it, and select “Delete Permanently”.
- Confirm your action when a popup window appears requesting confirmation.
- Click “Delete” to finalize the erasure of all selected customer profiles from the list.
By following these steps, you can efficiently manage your customer database in OctopusPro.
Note: once a customer profile is permanently deleted, it can’t be restored at all. It’s also important to mention that the ability to delete and permanently delete customers is tied to user permissions. Only users with the correct permissions can delete or permanently delete customer profiles.
What Happens When a Customer Profile is Permanently Deleted?
When a customer profile is deleted permanently in OctopusPro, the following customer-related data is typically removed:
-
Basic Information: This includes the customer’s name, contact details, and any other custom fields associated with their profile.
-
Address Details: Any addresses saved in the customer’s profile, such as home address, work address, or additional locations, will be deleted.
-
Saved Payment Methods: Any credit card details or saved payment methods linked to the customer’s profile will be removed.
-
Dependents: Any dependents created via customer properties, such as information about children, pets, or vehicles, will be deleted.
-
Profile Photos: All profile photos associated with the customer’s profile will be removed.
-
History Log: The entire history log of activities and interactions with the customer, including appointments, notes, and any other logged information, will be deleted.
-
Documents: Any documents uploaded to the customer’s profile, such as insurance documents or other attachments, will be removed.
-
SMS Log: Any SMS communication log or history associated with the customer will be deleted.
-
Email Log: The email communication log or history with the customer will be deleted.
-
Discussions: Any discussions or messages exchanged with the customer through OctopusPro’s communication features will be removed.
-
Billing Cycle Details: Information related to the customer’s billing cycle, such as invoices, payment history, or subscription details, may also be deleted.
Impact and Implications on Synced Data with QuickBooks/Xero
Regarding the impact on accounting software like Xero or Quickbooks, once a customer is permanently deleted in OctopusPro, the customer will no longer be synced. Any future changes or transactions will not be updated in the accounting software for the deleted customer. Please consult the specific guidelines of your accounting software for handling such cases.
Managing User Permissions for Deleting Customers
The permissions for soft deleting and permanently deleting customers are managed through user roles in OctopusPro. Only users assigned the relevant roles and permissions can perform these actions. It’s critical to review and set these permissions carefully, ensuring only authorized users have the capability to delete or permanently delete customer profiles.
The management of user permissions for deleting customers is done through User Role settings, which can be accessed through Settings > Company Settings > Users and finding the “Roles” tab. Here, you will find the relevant permissions that can be enabled or disabled for specific user roles. It is crucial to review and carefully set these permissions to ensure that only authorized users have the ability to delete or permanently delete customer profiles in OctopusPro.
Following these steps ensures that you can efficiently manage your customer database in OctopusPro, either by soft deleting or permanently removing profiles as needed.
To stay updated, please subscribe to our YouTube channel.