
How to Attach Files to Bookings
Elevate your service management experience with OctopusPro’s dynamic File Attachment feature. This utility allows for seamless attachment of files and photos to bookings, fostering efficient communication among admins, fieldworkers. Every stakeholder in the process – be it an admin, fieldworker can add relevant documents, images, or instructions at different stages of the booking process, creating an all-inclusive platform for sharing and accessing vital information.
In the fast-paced field service industry, the clarity of instructions is pivotal for delivering top-notch services. OctopusPro empowers you with the ability to share precise instructions, requirements, or reference images directly within a booking. This significantly reduces any scope for misunderstandings and helps in delivering services exactly as per customer expectations.
Admins can effortlessly manage attachments from the backend, and fieldworkers can access these files directly from their app. This powerful feature also allows for attachments to be added to inquiries and quotes, keeping the information flow consistent and clear before they’re even converted into bookings.
Table of contents:
- Adding attachments to a booking from the booking details page as admin
- Viewing attachments uploaded to a quote before it is converted to a booking
- Viewing and adding attachments uploaded to an inquiry before it is converted to a quote/booking
- Viewing attachments added from the fieldworker app
Adding attachments to a booking from the booking details page as admin
- You can manage to add attachments to your customers’ bookings by navigating to All Bookings> Booking details page to add an attachment to the booking or the service you offer.
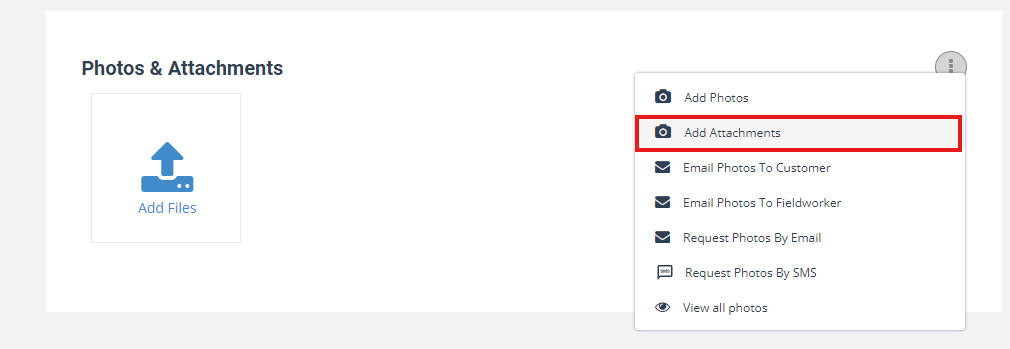
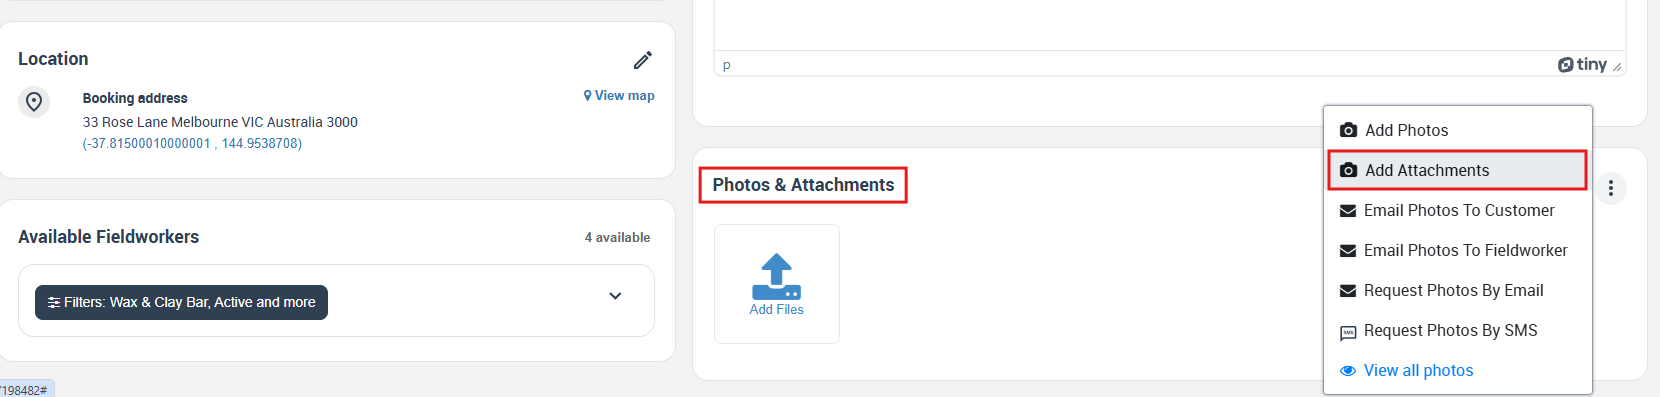
- From Photos & Attachments section at the bottom of the booking overview page, select “Add Attachments”
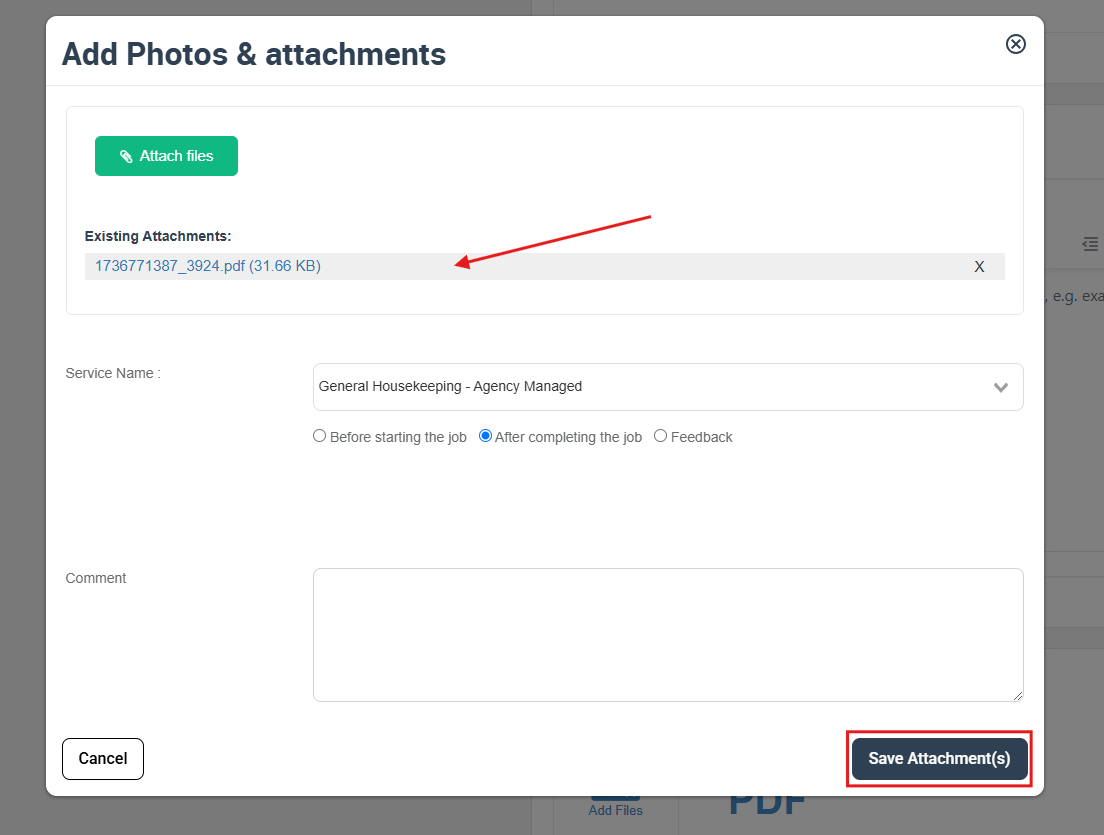
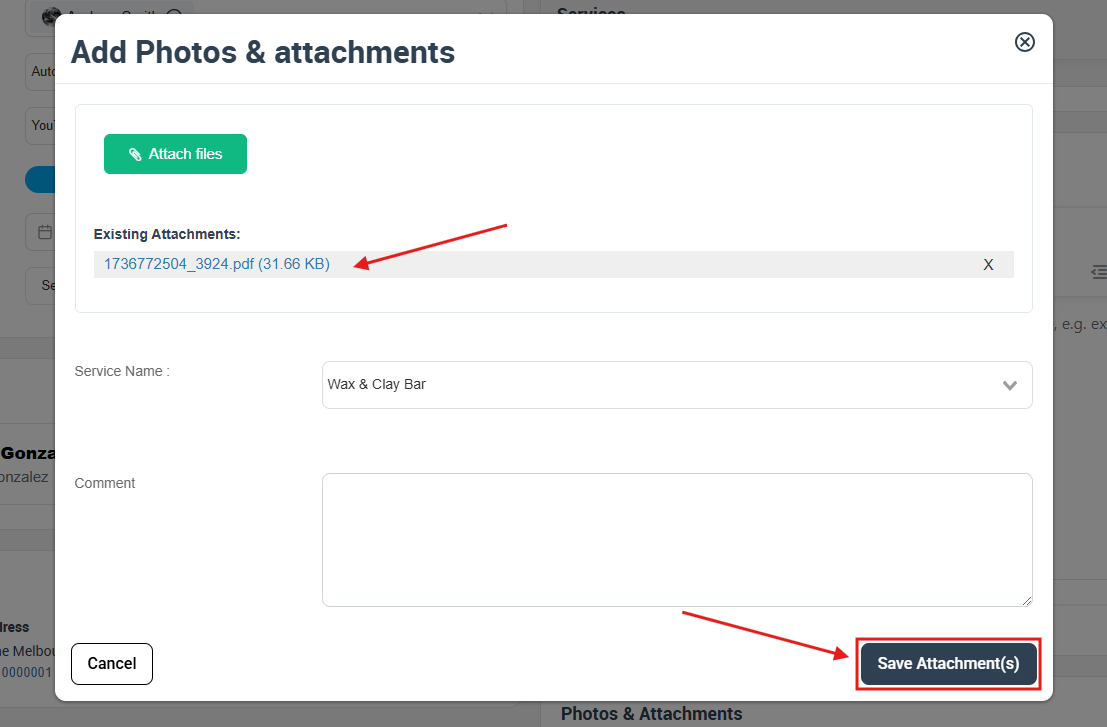
A pop-up window will appear, click on the files to upload and select the service name, to upload an attachment to your booking.
You can write a description with detailed information about the uploaded file to be more clear from the text box and, Then click on the “Save Attachment” button.
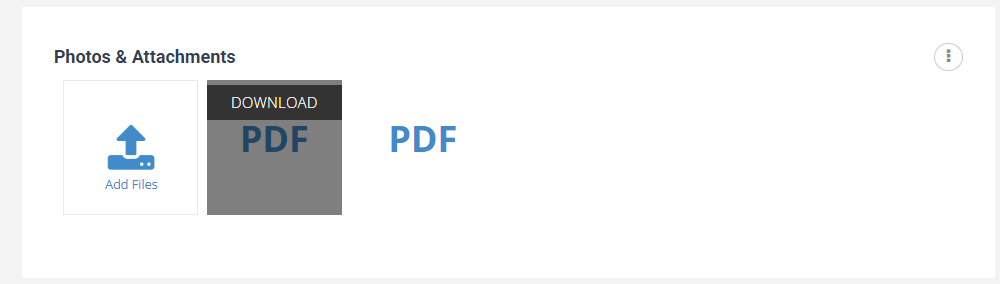
The uploaded file will be displayed on the booking overview page, to your fieldworkers and customers on their booking overview page.
Viewing attachments uploaded to a quote before it is converted to a booking
To view uploaded files before a quote is converted to a booking, go to Quotes > All Quotes, then select the quote that you need to view attached files from by selecting “View attachments” from the drop-down menu that will appear when you select the actions button.

You’ll be redirected to the “Booking Attachments” page to view uploaded files and you can also add an attachment there.

Viewing and adding attachments uploaded to an inquiry before it is converted to a quote/booking
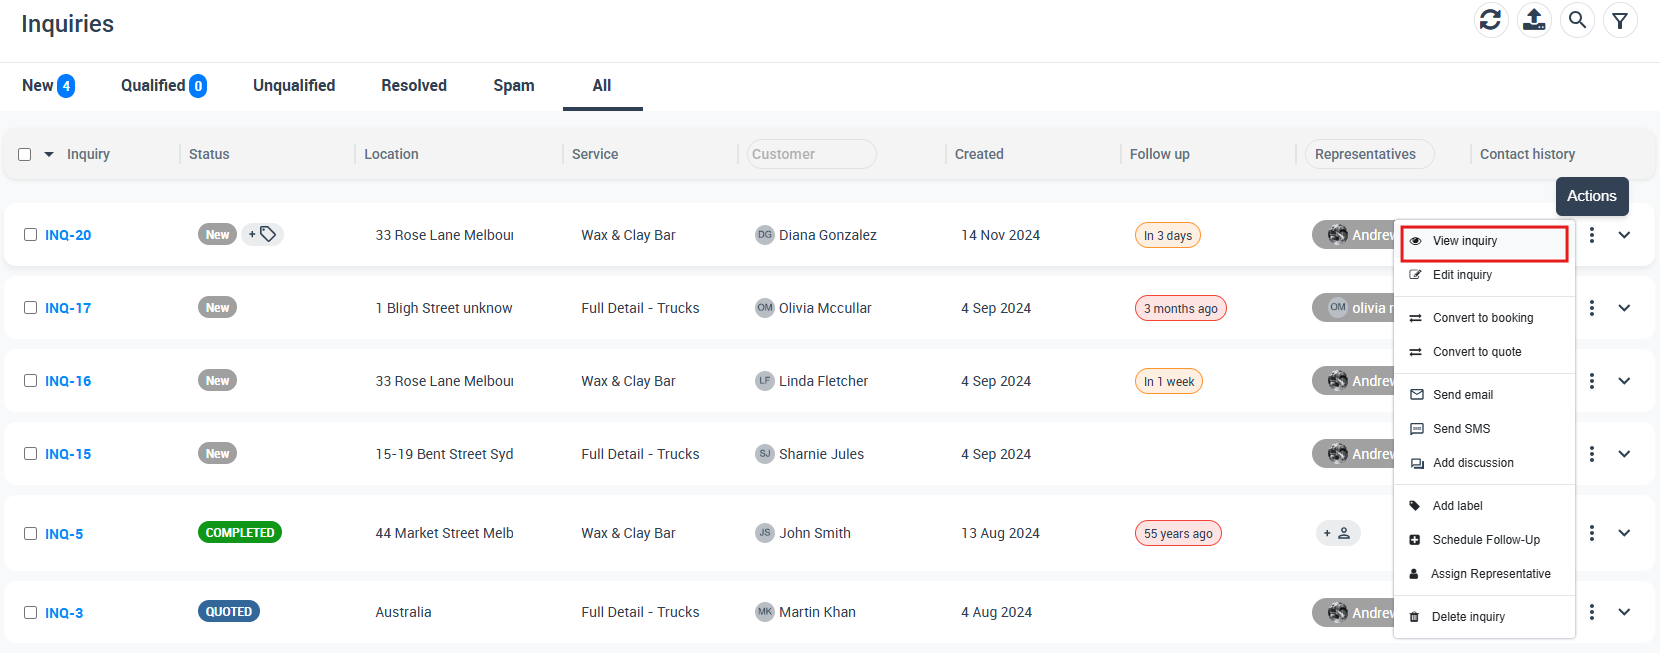
To view or add files before an inquiry is converted to a booking, go to Inquiries > All Inquiries, then select the inquiry that you need to view files from by selecting “View Inquiry” from the drop-down menu that will appear when you select the actions button.
You’ll be redirected to the “Inquiry Details” page, where all added files will be displayed on this page. To view or add files to your inquiry, Click on the actions button from the Photos & Attachments section ,Select “Add Attachments” from the drop-down menu that will appear
A pop-up window will appear, click on the files to upload and select the service name, to upload an attachment to your booking.
You can write a description with detailed information about the uploaded file to be more clear from the text box and, Then click on the “Save Attachment” button.
Alternatively
Scroll down on the inquiry details page, select the “Attachments” button, and click on “Upload files” to add new attachments.

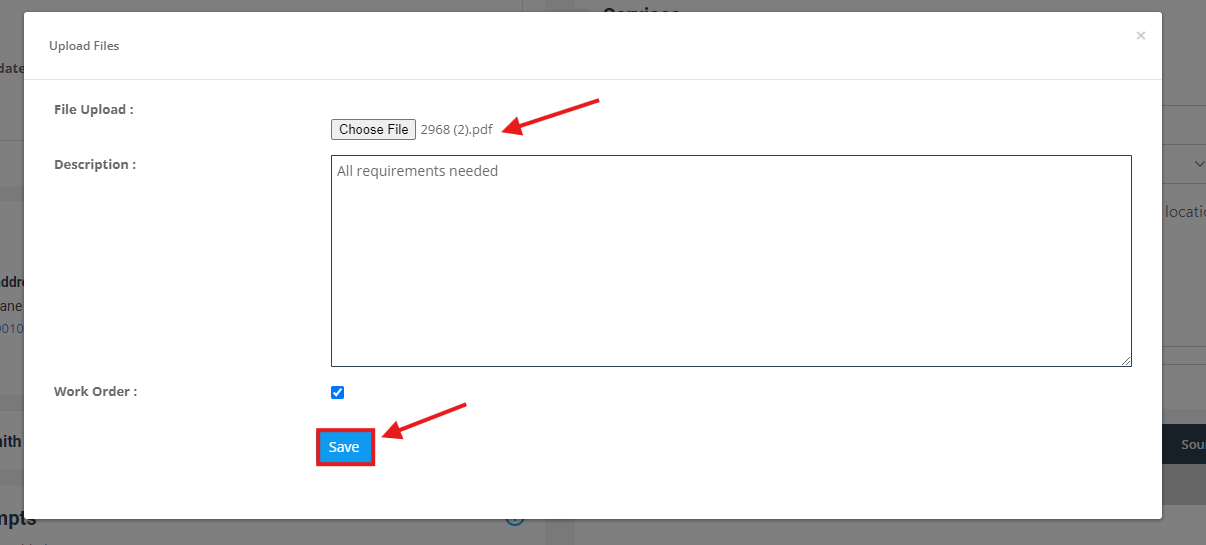
A pop-up window will appear, click on the “Choose File” button to upload a file from the saved documents and files on your PC.
You can write a description with detailed information about the uploaded file to be more clear from the text box and, you can also control the “Work Order” of the booking by selecting the check box below. If you check the check box, then the booking work order will run according to the attached file added to the booking.
Then click on the “Save” button.
 To view files attached to your inquiry, scroll down on the inquiry details page and select the “Attachments” button.
The added files will be displayed by their description, size, and the user who attached these files to the inquiry.

Viewing attachments added from the fieldworker app
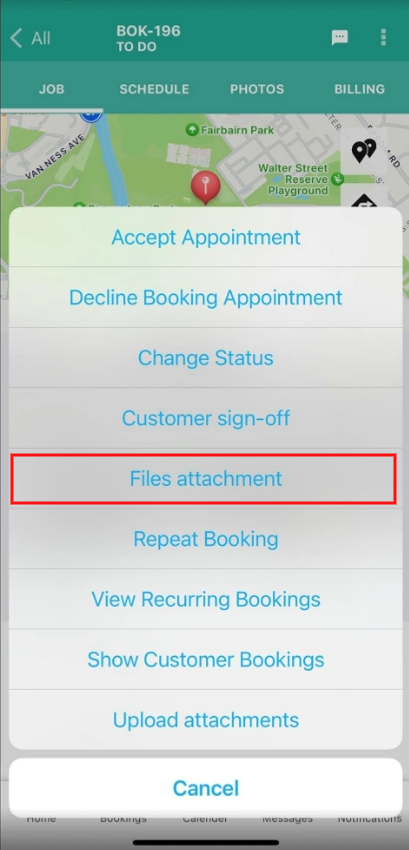
Fieldworkers can view added files to their bookings through the fieldworker app. To view uploaded files, go to “Bookings”, select the booking you wish to view, and click on the actions button from the top right of the page.

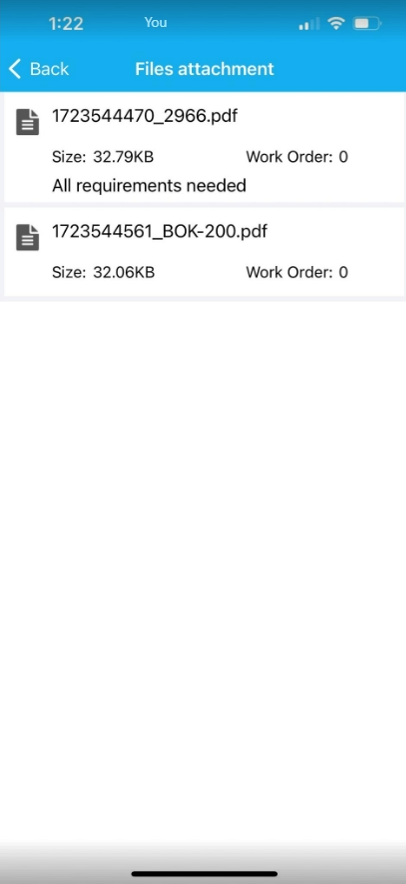
A pop-up window will appear, select “ Files Attachment” to view the files added to the booking.
They’ll be redirected to the attachments page to view the files added to the booking, then they’ll select the attachment they wish to view.
OctopusPro’s File Attachment feature offers a dynamic tool for admins, fieldworkers, and customers to upload and share vital files and images in bookings. This feature boosts communication clarity, enabling service delivery as per precise customer requirements. Our guide details the use and management of this powerful tool, showcasing how to add and view attachments at different stages and roles, thus enhancing your overall service management experience.
To stay updated, please subscribe to our YouTube channel.