
Attaching images to a booking
Images can be attached to your bookings as an option to allow your customers to upload photos through the booking page on your customer portal.
Suppose your services need additional information that requires your customers to upload or attach additional files to their bookings. In that case, you can enable this option from your settings to make your customers’ requirements more accurate when offering the service.
Table of contents:
- Adding images to a booking from the booking details page as an admin
- Viewing images uploaded to a quote before it is converted to a booking
- Viewing images uploaded to an inquiry before it is converted to a quote/booking
- Attaching images as a customer while creating a booking through the customer portal
- Attaching images as a customer from the booking page through the customer portal
- Uploading before and after photos as a fieldworker through the app
- Viewing uploaded photos from the fieldworker app
Adding images to a booking from the booking details page as an admin
- You can manage to attach images to your customers’ bookings by navigating to bookings > All Bookings from your sidebar menu, and select the booking you need to add photos .
- To add an image to the booking or the service you offer. Select “Add photos” from the “Photos & Attachments” section on the booking overview page.
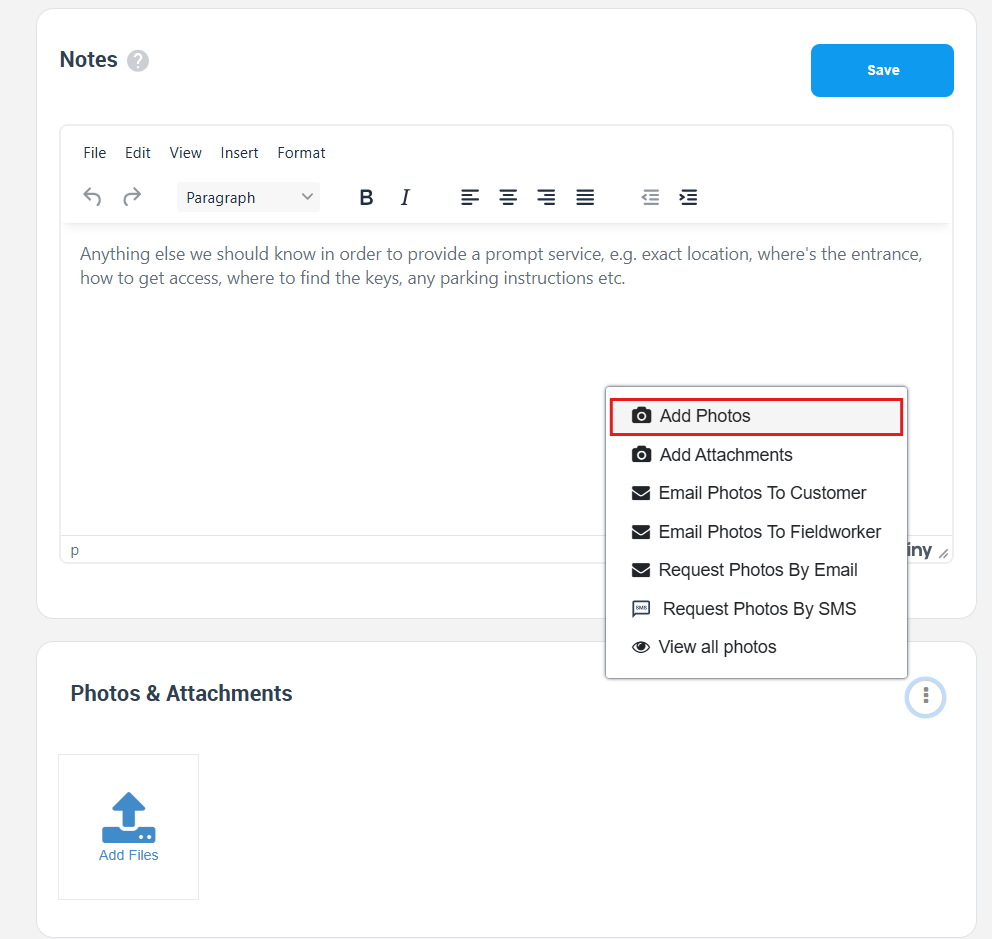
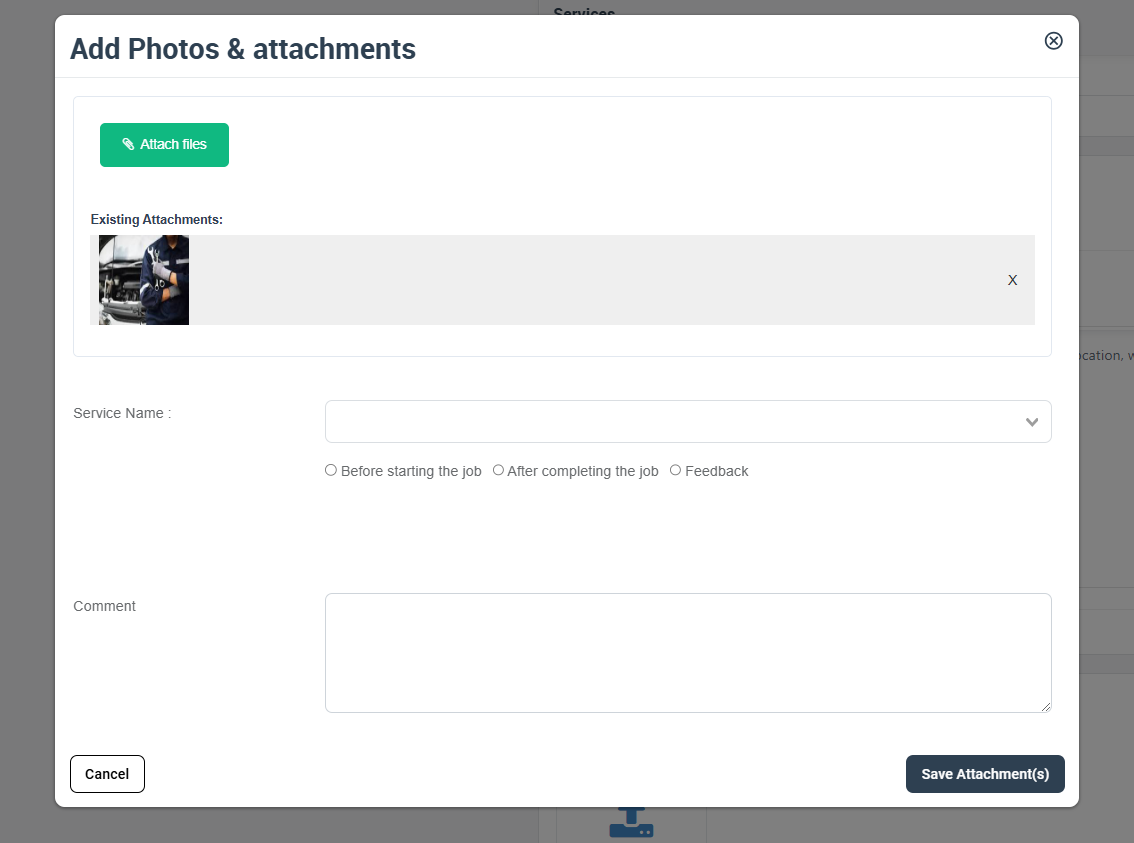
- A pop-up window will appear, click on the image field to upload a photo and select it from your gallery. After uploading it, you’ll choose the service name and select to upload it whether after completing the job, before starting the job, or as a feedback image.
- Then select “Save Attachments”.
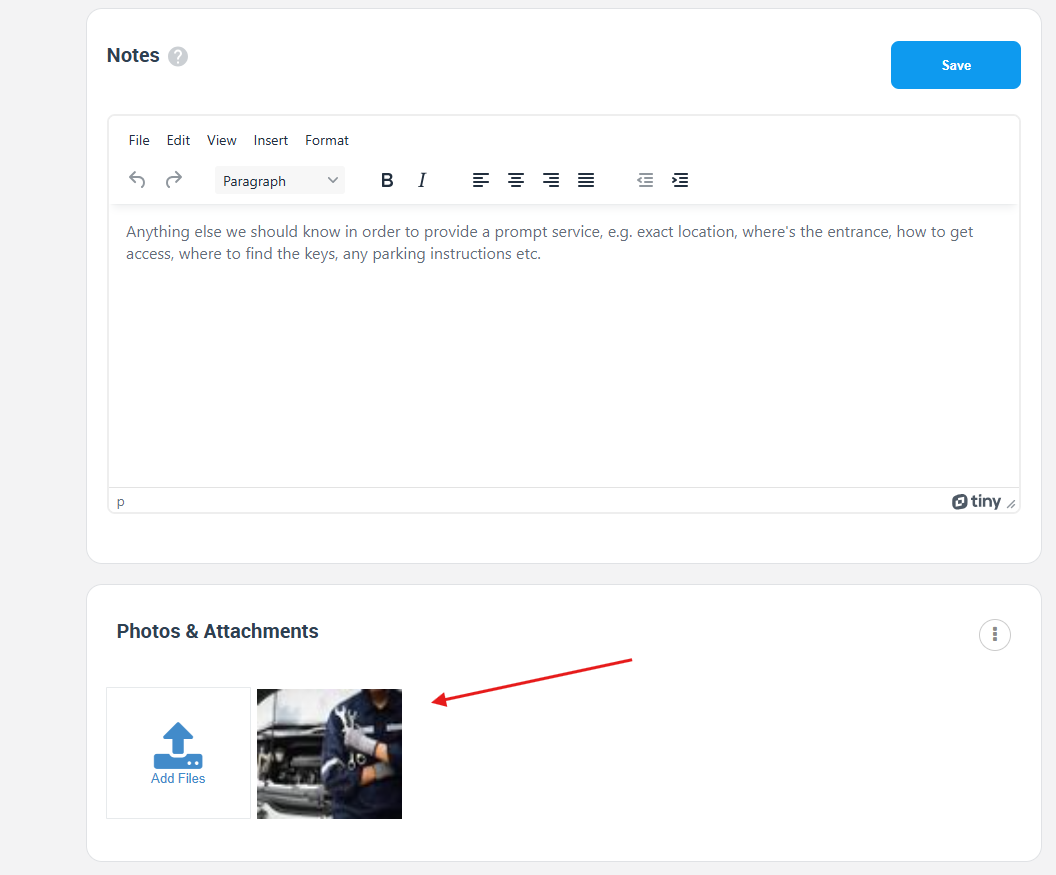
- The uploaded photo will be displayed at the bottom left side of the page.
Viewing images uploaded to a quote before it is converted to a booking
- To view uploaded images before a quote is converted to a booking, go to Quotes > All Quotes, then select the quote that you need to view photos from by selecting “view quote” from the drop-down menu that will appear when you select the actions button.

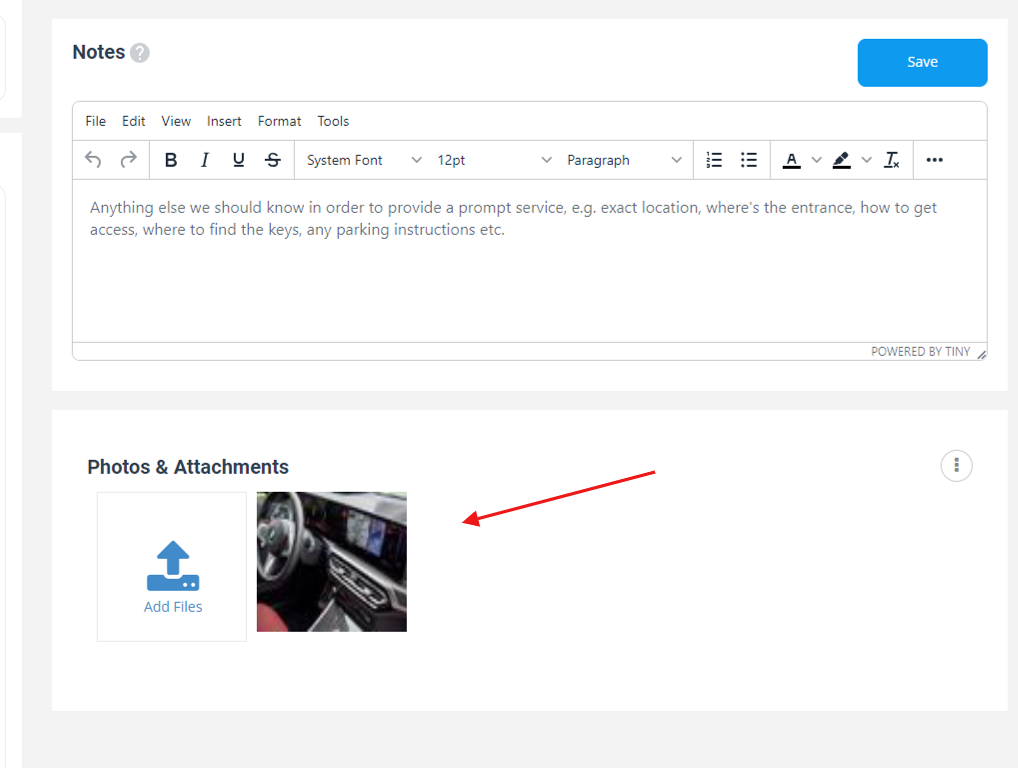
- You’ll be redirected to the “Quote Details” page, where all added photos will be displayed on this page.
- After a quote is converted to a booking, uploaded images will be displayed on the booking view page and booking overview page as well for your customers.
Viewing images uploaded to an inquiry before it is converted to a quote/booking
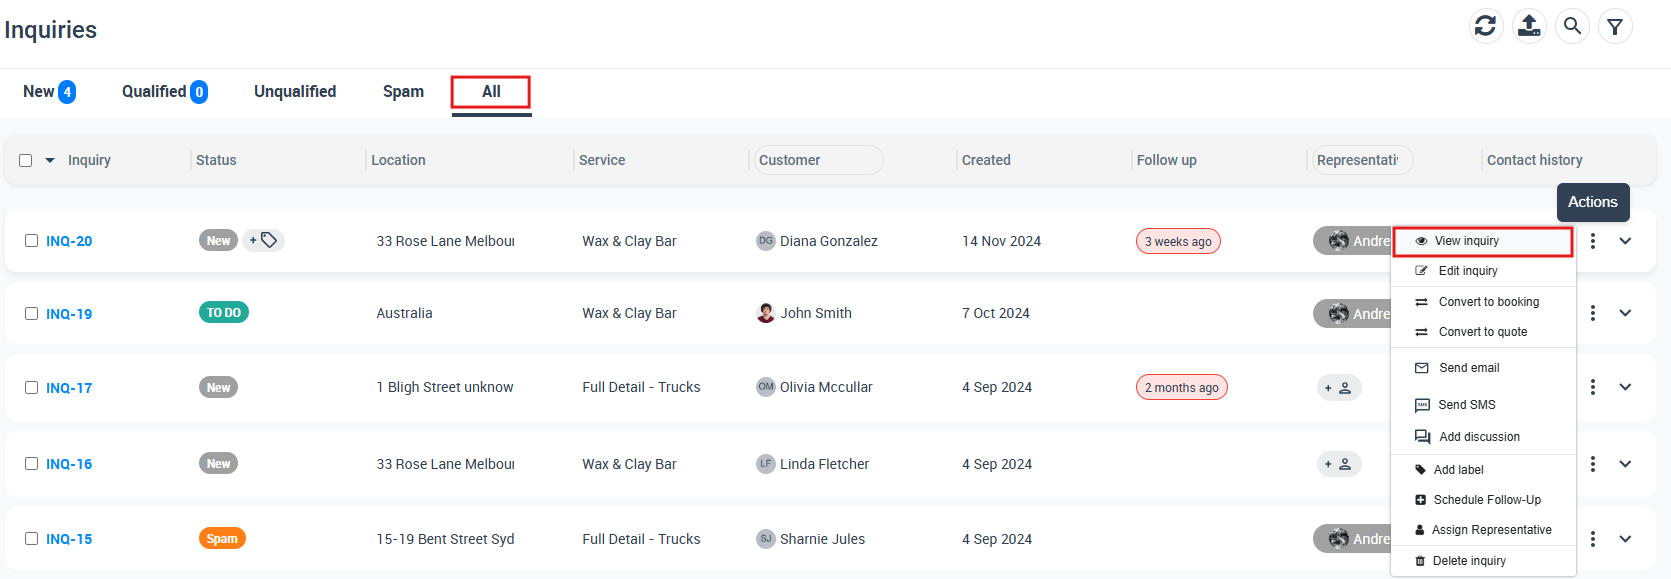
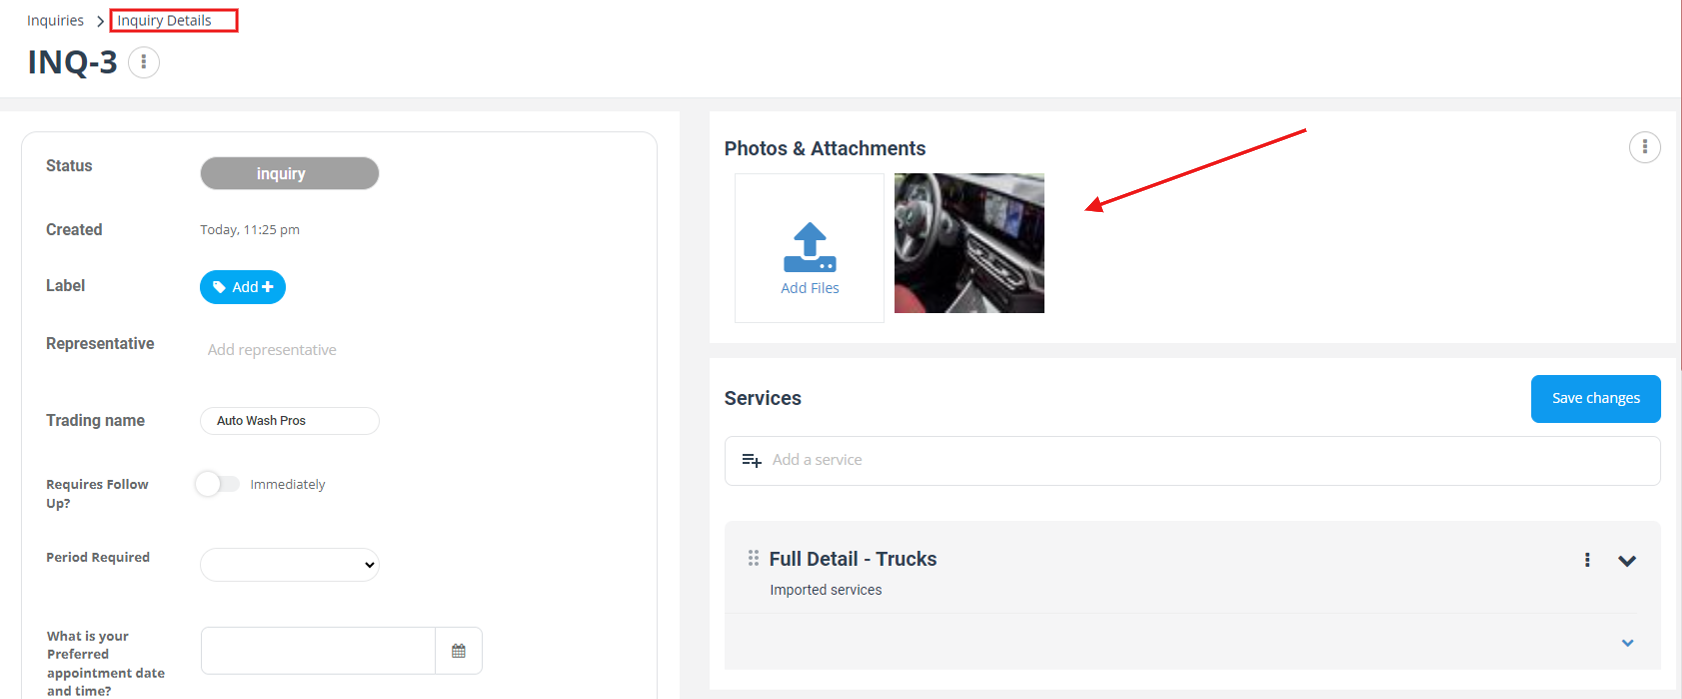
- To view uploaded images before an inquiry is converted to a booking, go to Inquiries > All Inquiries, then select the inquiry that you need to view photos from by selecting “view inquiry” from the drop-down menu that will appear when you select the actions button.
- You’ll be redirected to the “Inquiry Details” page, where all added photos will be displayed on this page.
- After an inquiry is converted to a quote/booking, uploaded images will be displayed on the booking view page, quotes, and booking overview page as well for your customers.
Attaching images as a customer while creating a booking through the customer portal
- Customers can upload photos to their booking while scheduling an appointment from the customer portal.
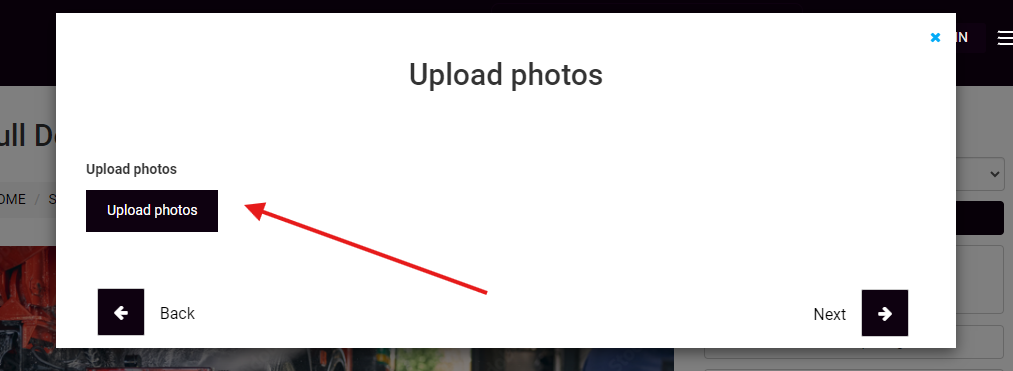
- While your customer is scheduling an appointment, they can upload photos after selecting their service date, time, etc… The “Upload Photos” window will be displayed during the process to choose to upload a photo from your saved ones.
- Select the “Upload Photos” button to choose a photo that will be added to your booking.
- An upload photos field will appear, your customer can click on that field to upload their selected photos to their booking, they will be able to choose from their gallery and the photos will be added after selection.
- Then click on the “Next” button.

- The uploaded photo will be displayed at the top right of your customer’s booking confirmation page to be added to their booked service.
Attaching images as a customer from the booking page through the customer portal
- Customers can attach images while scheduling an appointment, these images will be displayed on the booking view page when customers view their bookings through the customer portal.
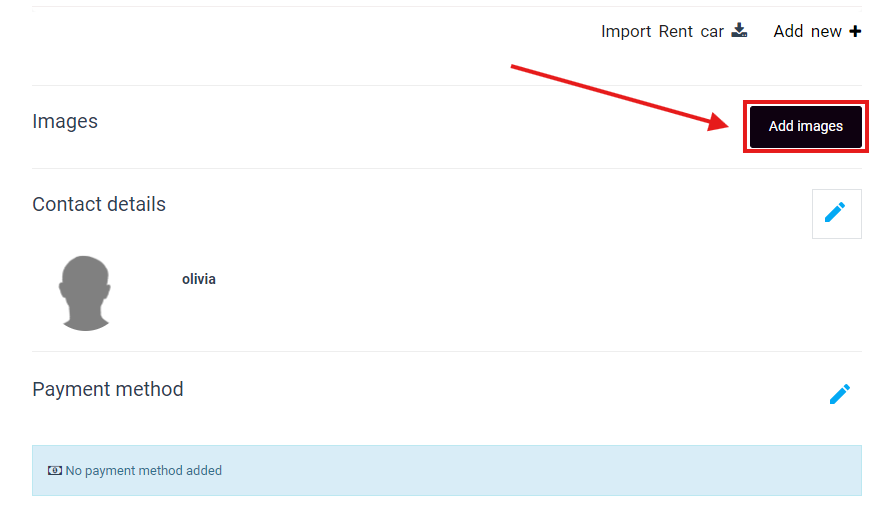
- Customers can also attach images from the booking view page through the customer portal by signing in to their account or by their booking number to view the booking.
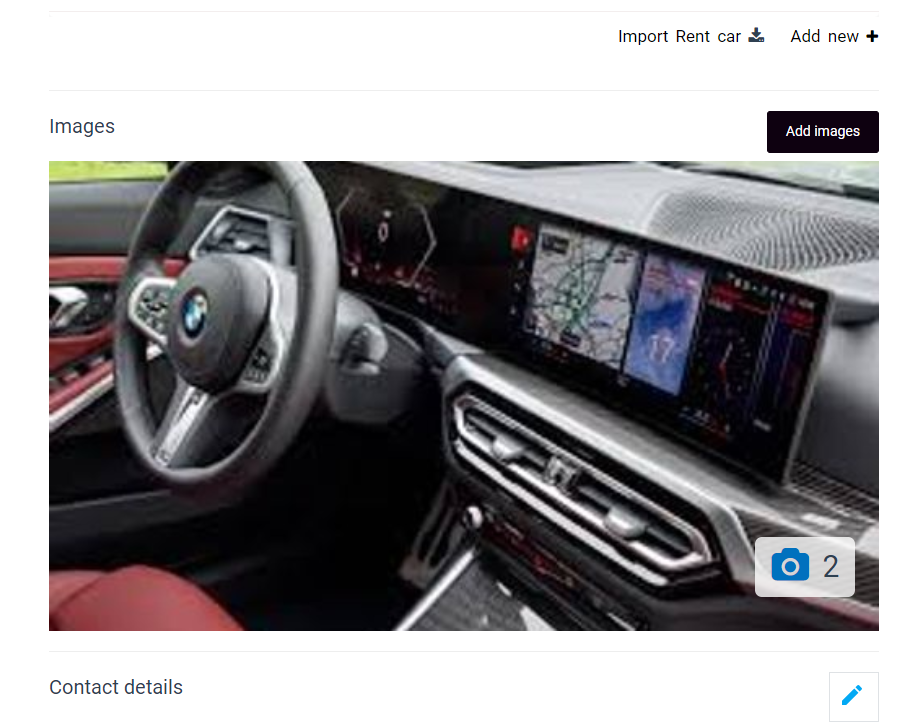
- Scroll down at the bottom of the page and select “Add images”.
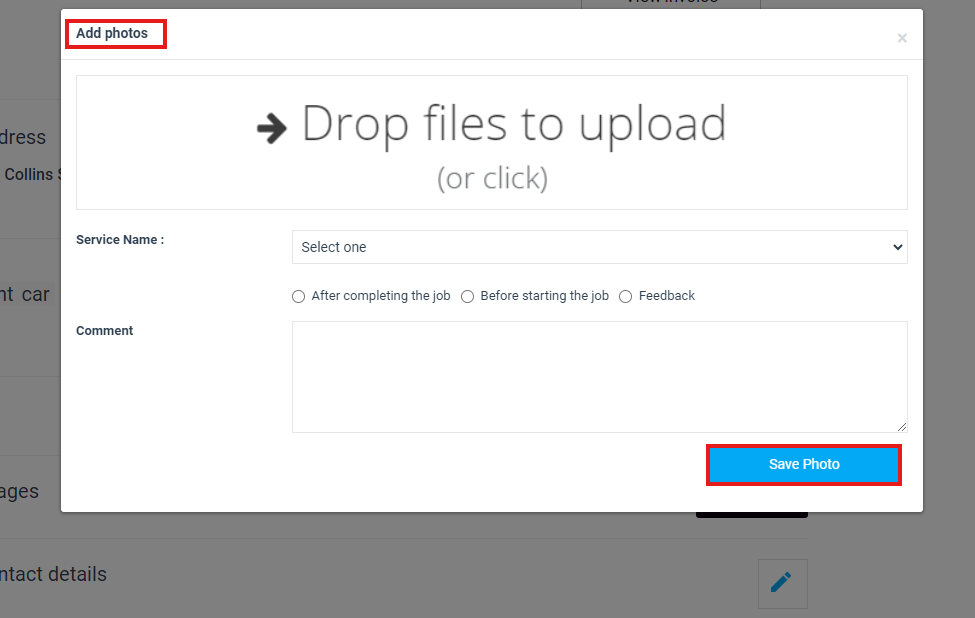
- A pop-up window will appear, click on the image field to upload a photo and select it from your gallery. After uploading it, you’ll choose the service name and select to upload it whether after completing the job, before starting it, or as a feedback image. You can also write a comment in the text box below.
- Then select “Save photos”.
- After saving the uploaded photo, it will be displayed on the customer’s booking view page as follows:
Uploading before and after photos as a fieldworker through the app
- Fieldworkers can upload images to customers’ bookings through the fieldworker app. They can attach images to a booking after accepting the appointment.
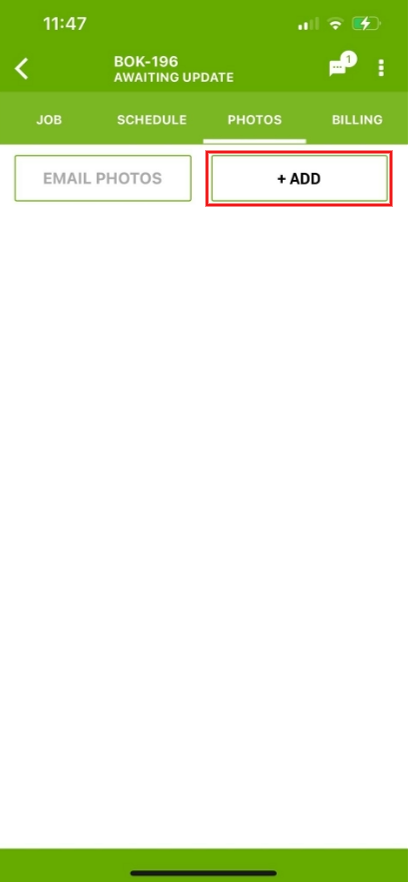
- When fieldworkers view a booking, they can add an image by selecting the “Photos” button from the top of the page, then clicking on the “ADD” button.
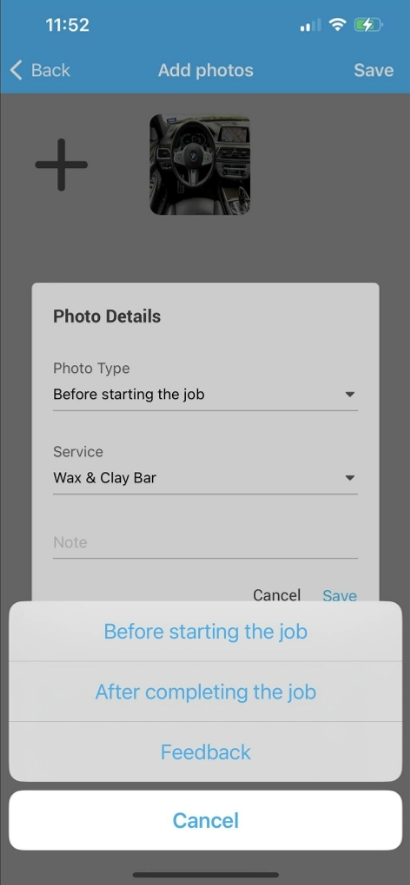
- After selecting the add button, a pop-up window will appear to add more details to the selected image. The fieldworkers will select from the drop-down menu whether to upload the image before starting the job, for example; if the job requires a before and after photo. They can also select to upload the photo after completing the job or upload it as feedback for the booking.
- They can select the service that they will upload a photo from the drop-down menu, and they can write down a note in the text field below. Then click on the “Save” button.
- The uploaded photo will be saved to the booking and will be displayed on the booking view page to the fieldworker, customer, and admin user.

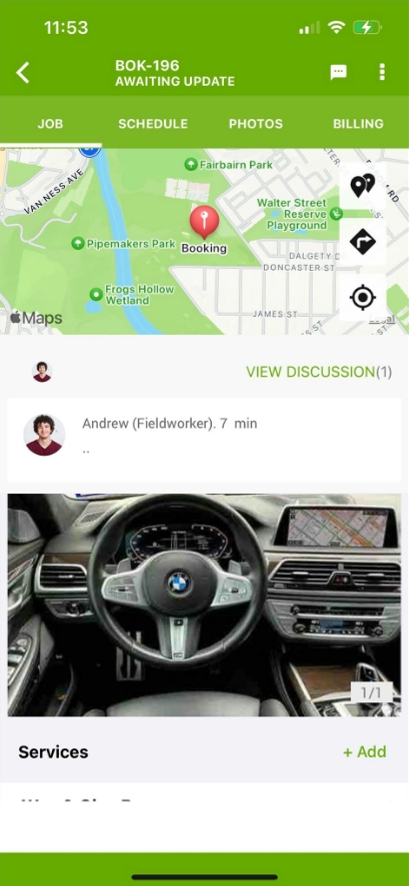
Viewing uploaded photos from the fieldworker app
- When customers upload photos while scheduling appointments, these photos will be viewed by fieldworkers in the app by going to “Bookings”, selecting the booking to view it and it will be displayed at the top of their page in the job specification.
For more information please visit Octopuspro user guide, and subscribe to our youtube channel.