Viewing and Managing Issues & Complaints in OctopusPro
OctopusPro allows you to effectively view and manage issues and complaints in order to resolve them efficiently. This user guide will walk you through the steps to view issue details and contact fieldworkers and customers as needed.
Table of Contents
Viewing and Accessing Issue Details
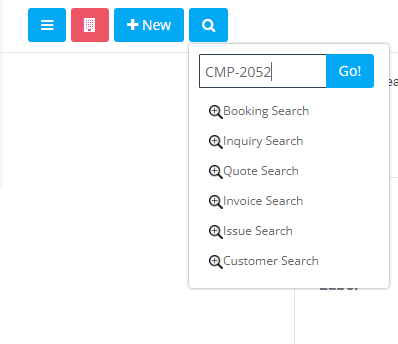
- Locating an Issue using the Issue Number:
- If you have the issue number (beginning with CMP-), type it into the search bar to locate the issue quickly.
- Viewing Issues through the Issues & Complaints Section:
- Alternatively, you can access issues by navigating to the Issues & Complaints section.
- Choose the category of the issue you wish to view or click on “All Issues” to see a comprehensive list.
- An overview of each issue will be displayed, with the CMP number visible. Click on the CMP number to view the issue in more detail.

Contacting Assignee
- Contacting Assignee from the Issue Overview:
- In the issue list, locate the contact icons beneath the customer’s name.
- Click on the appropriate icon (Email or SMS) to initiate contact with the assignee.

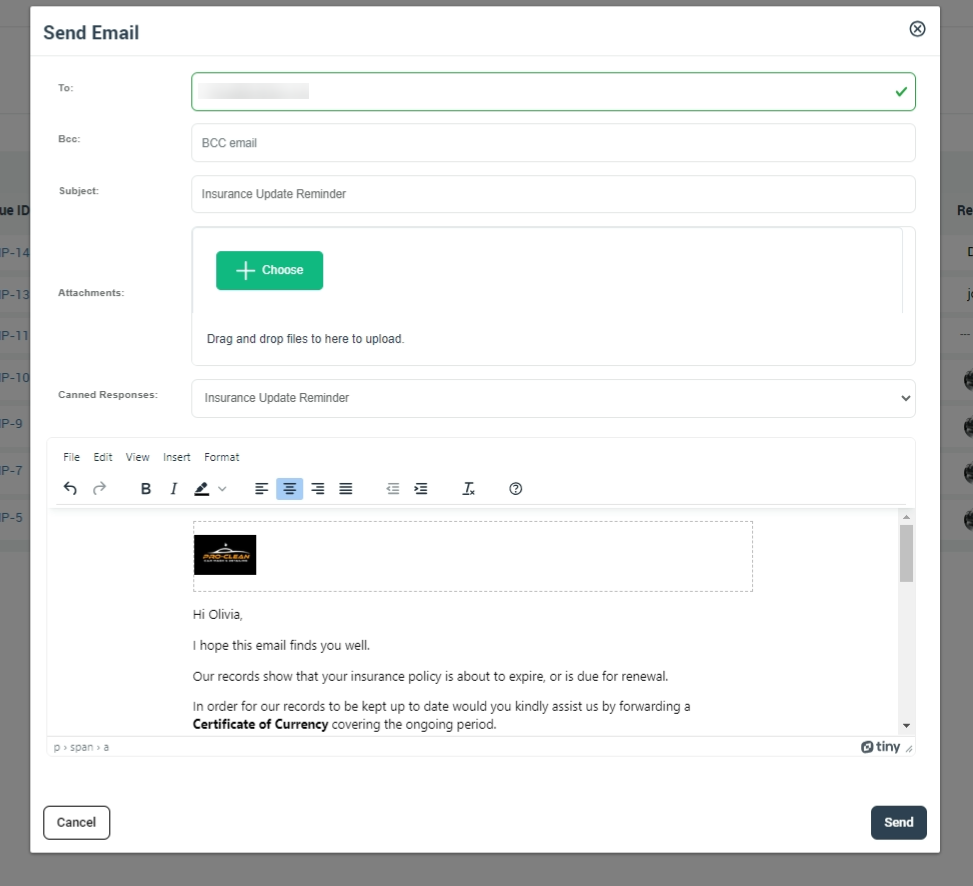
- Sending a Message to the Assignee:
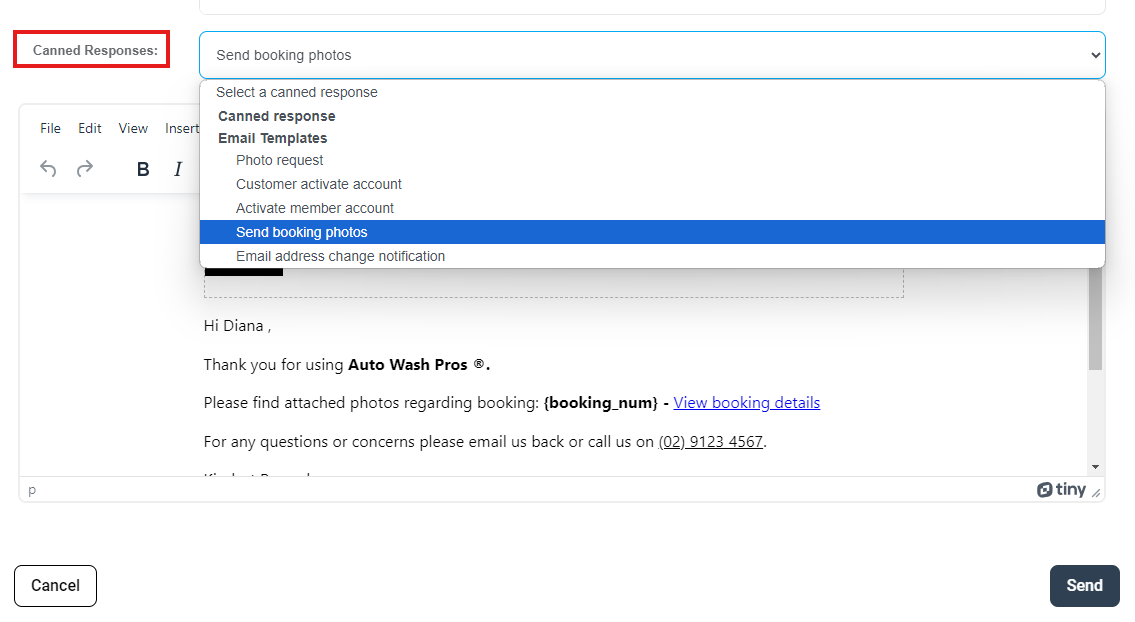
- Choose a pre-written canned response or compose your own message.
- Click “Send” to transmit the message.
Contacting Customers
- Contacting Customers from the Issue Overview:
- Find the contact icons beneath the customer’s name in the issue overview.
- Click on the suitable icon (Email or SMS) to start communication with the customer.

- Sending a Message to the Customer:
- Choose a pre-written canned response or write a personalized message.
- Click “Send” to deliver the message.

To stay updated, please subscribe to our YouTube channel.


