
Allow Guest Bookings in the Customer Portal (No Login Required)

OctopusPro lets you choose whether customers must sign in to book online, or whether they can complete a guest checkout (book without creating an account). When guest bookings are enabled, new customers can schedule an appointment faster with fewer steps—often improving conversion, especially on mobile.
Table of contents
- What guest bookings are
- Benefits and common use cases
- How to enable (Admin)
- Customer experience (enabled vs disabled)
- Guest vs logged-in bookings (important behavior)
- How guests access bookings later (booking number login)
- Best practices (recommended)
- Troubleshooting
- Related guides
What guest bookings are
Guest bookings allow customers to create bookings through your Customer Portal without logging in or registering. Guests enter their contact details during checkout, confirm the appointment, and receive booking details via your automated emails/SMS (depending on your communication settings).
Benefits and common use cases
- Higher conversion: fewer steps for first-time customers (no account/password required).
- Faster checkout: ideal for mobile bookings and urgent requests.
- Great for one-off services: customers can book quickly even if they won’t return often.
- Marketing-friendly: send traffic directly to your portal/booking widget without forcing registration.
If you prefer an account-required experience (e.g., memberships, saved details, repeat bookings, customer-only pricing), you can disable guest bookings and require login.
How to enable “Allow guests to make bookings through customer portal” (Admin)
- Go to Settings > Customer Portal > Flags & Permissions.
- Under Booking Flags, enable Allow guests to make bookings through customer portal.
- Click Save (if shown).
Customer experience (enabled vs disabled)
When guest bookings are enabled
Customers can book immediately without signing in. If the customer later creates an account, they can manage bookings from their profile.
When guest bookings are disabled
Guests cannot proceed with checkout until they log in or create an account. A pop-up message will block the booking flow.

Guest vs logged-in bookings (important behavior)
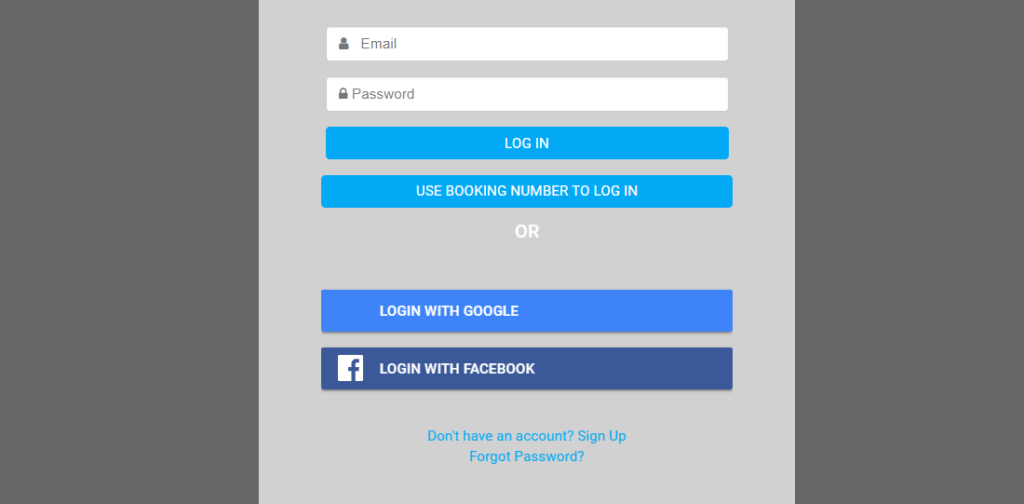
Login options (when login is required or preferred)
Customers can log in using their email and password, and may also have additional sign-in options depending on your setup (e.g., social login). Customers can also use booking number login to access an existing booking.
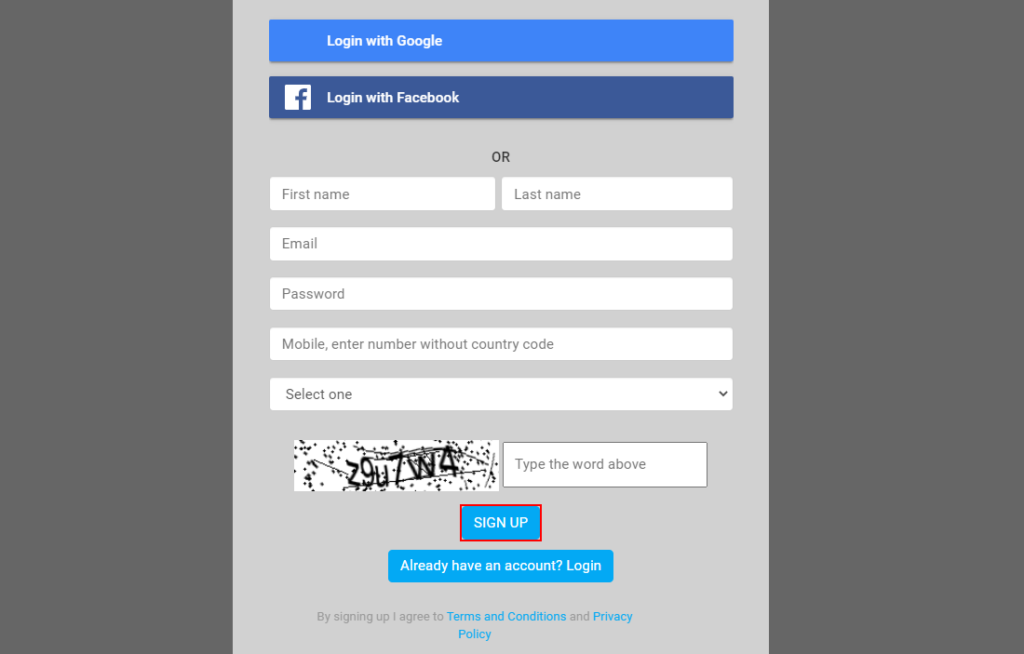
Account creation (sign-up)
If a customer doesn’t have an account, they can select Create account and complete sign-up to manage bookings, save details, and speed up future checkouts.
Existing customers booking as guests
If a customer enters an email address that already has an account, they may see a prompt offering Continue as guest or Login.
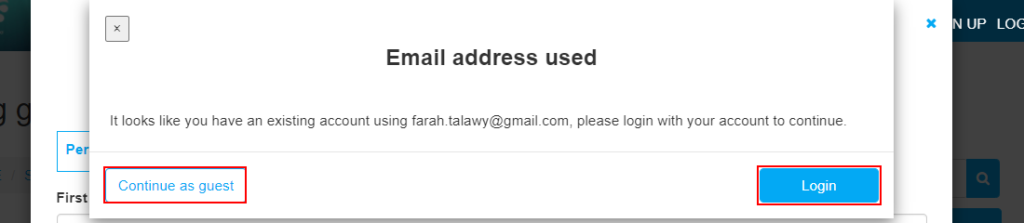
Important: If an existing customer chooses Continue as guest, the new booking will not be saved to their portal profile, and they will need to use booking number login (or log in) to view booking details later.
Optional setup reference: Social Login (Facebook / Google)
How guests access bookings later (booking number login)
Guests who book without creating an account can still access booking details using the automatically generated booking number. This is especially important if you allow guest checkout.
- From your Customer Portal homepage, the customer clicks Login.
- They select Use booking number to log in.
- They enter their email address and booking number to open the booking.
Learn more about customer portal access methods here: Customer Portal Profile Management
Best practices (recommended)
- Enable guest bookings if you want the fastest checkout and higher booking conversion (especially for new customers).
- Disable guest bookings if you require account-only workflows (repeat customers, memberships, customer-only access control).
- If guest bookings are enabled, ensure customers can reliably access their booking later: include booking numbers in booking confirmation communications and keep booking number login available.
- Collect the right details during guest checkout using Custom Fields (e.g., property type, access instructions, special requirements).
- Confirm your portal and online booking setup is complete: Enable Online Bookings Through Your Website.
Troubleshooting
- Guests still can’t book: confirm the guest booking flag is enabled and changes were saved.
- Customer can’t find their booking: advise them to use booking number login (or log in if they have an account).
- Existing customer booked as guest by mistake: advise them to log in before booking next time so bookings are stored in their profile.
- Social login not visible: confirm Google/Facebook login is enabled and configured (if you plan to offer it).
Related guides
- Customer Portal Flags & Permissions
- Customer Portal Profile Management
- Enable Online Bookings Through Your Website
- Custom Fields (Collect extra booking details)
- Social Login (Facebook / Google)
To stay updated, please subscribe to our YouTube channel.