
Displaying the “Contact Us” Link in the Customer Portal Menu
OctopusPro lets you add a “Contact Us” link to your Customer Portal or Booking Widget, giving customers a direct way to inquire about your services.
Activating the “Contact Us” Link
- Go to Settings > Customer Portal > Flags & Permissions.
- In the Website Flags section, enable the flag that says “Display Contact Us Link in Menu.”
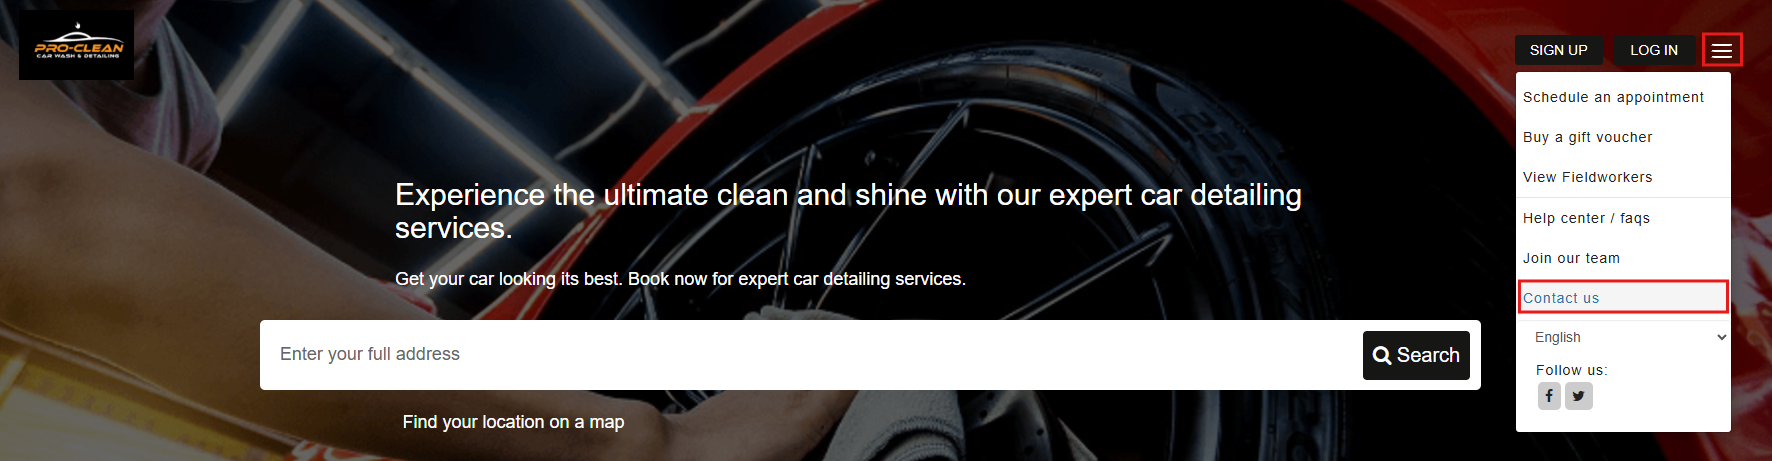
After you enable this setting, a “Contact Us” link will appear at the top right corner of your Customer Portal homepage.
How Customers Inquire
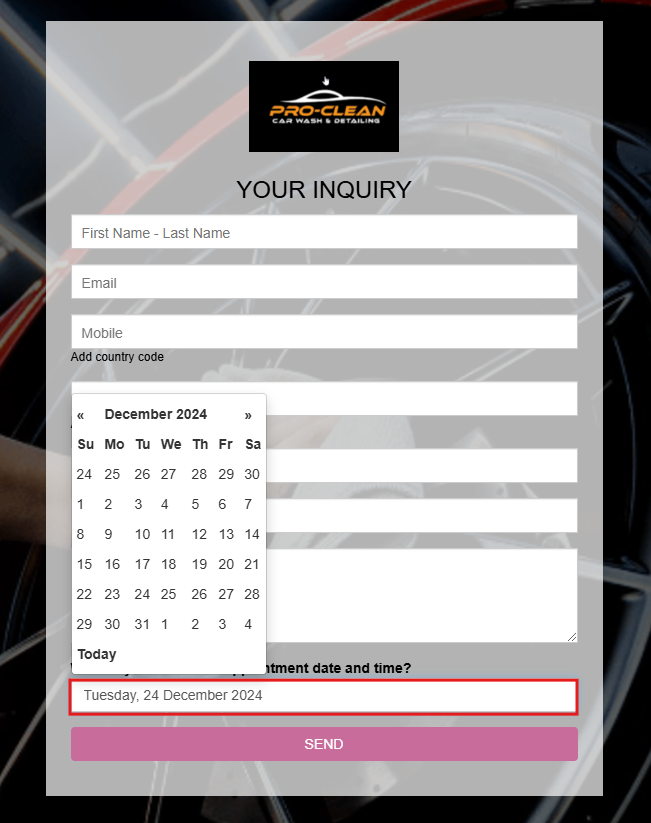
When someone clicks on the “Contact Us” link, they’ll see a simple inquiry form. They can enter their name, email, phone number, address, and any comments or questions about the services they need. They can also select their preferred date and time if they want a response or callback within a specific timeframe.

After they hit “Send,” the inquiry goes to your admin users. You can then manage these inquiries in OctopusPro—review, respond, or convert them into quotes.
Customizing the Inquiry Form
If you want to tailor the form to collect specific information, head to Settings > Communications > Inquiry Form. You can add or remove fields, change labels, or style the form to match your brand identity. For detailed instructions, see our guide on customizing your lead capture form.
Viewing and Managing Inquiries
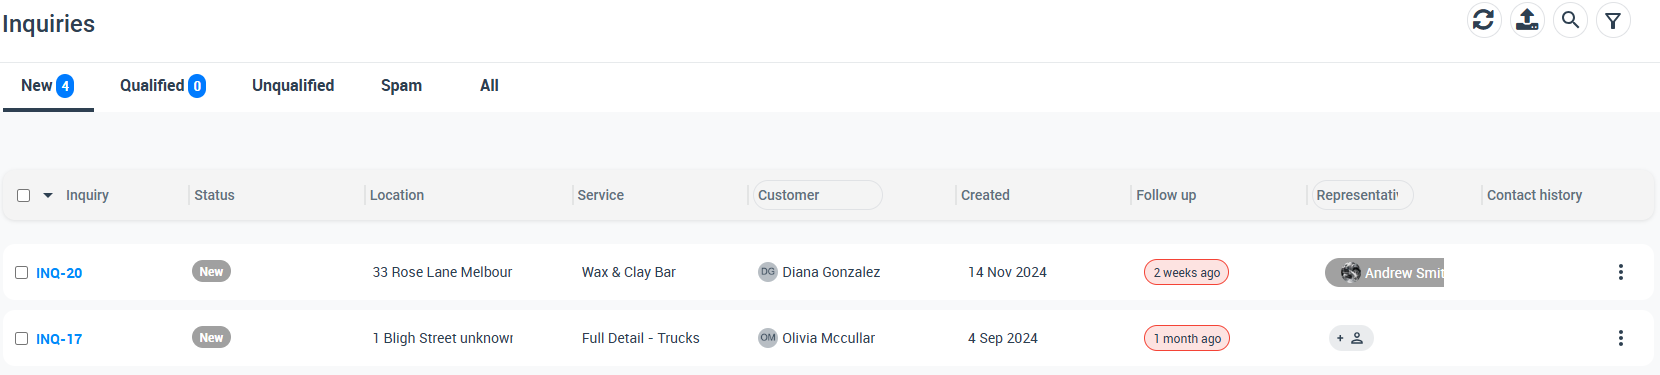
Once a customer submits an inquiry, the admin team will get notified. Go to Inquiries > New Inquiries to see a list of all recent inquiries. There, you can respond to customer questions and, if appropriate, convert the inquiry into a quote so customers can book services directly.
For more information on managing inquiries, including how to convert them into quotes, visit our Managing Inquiries guide.
To stay updated, please subscribe to our YouTube channel.