
Radio Button Custom Field (Single-Select)
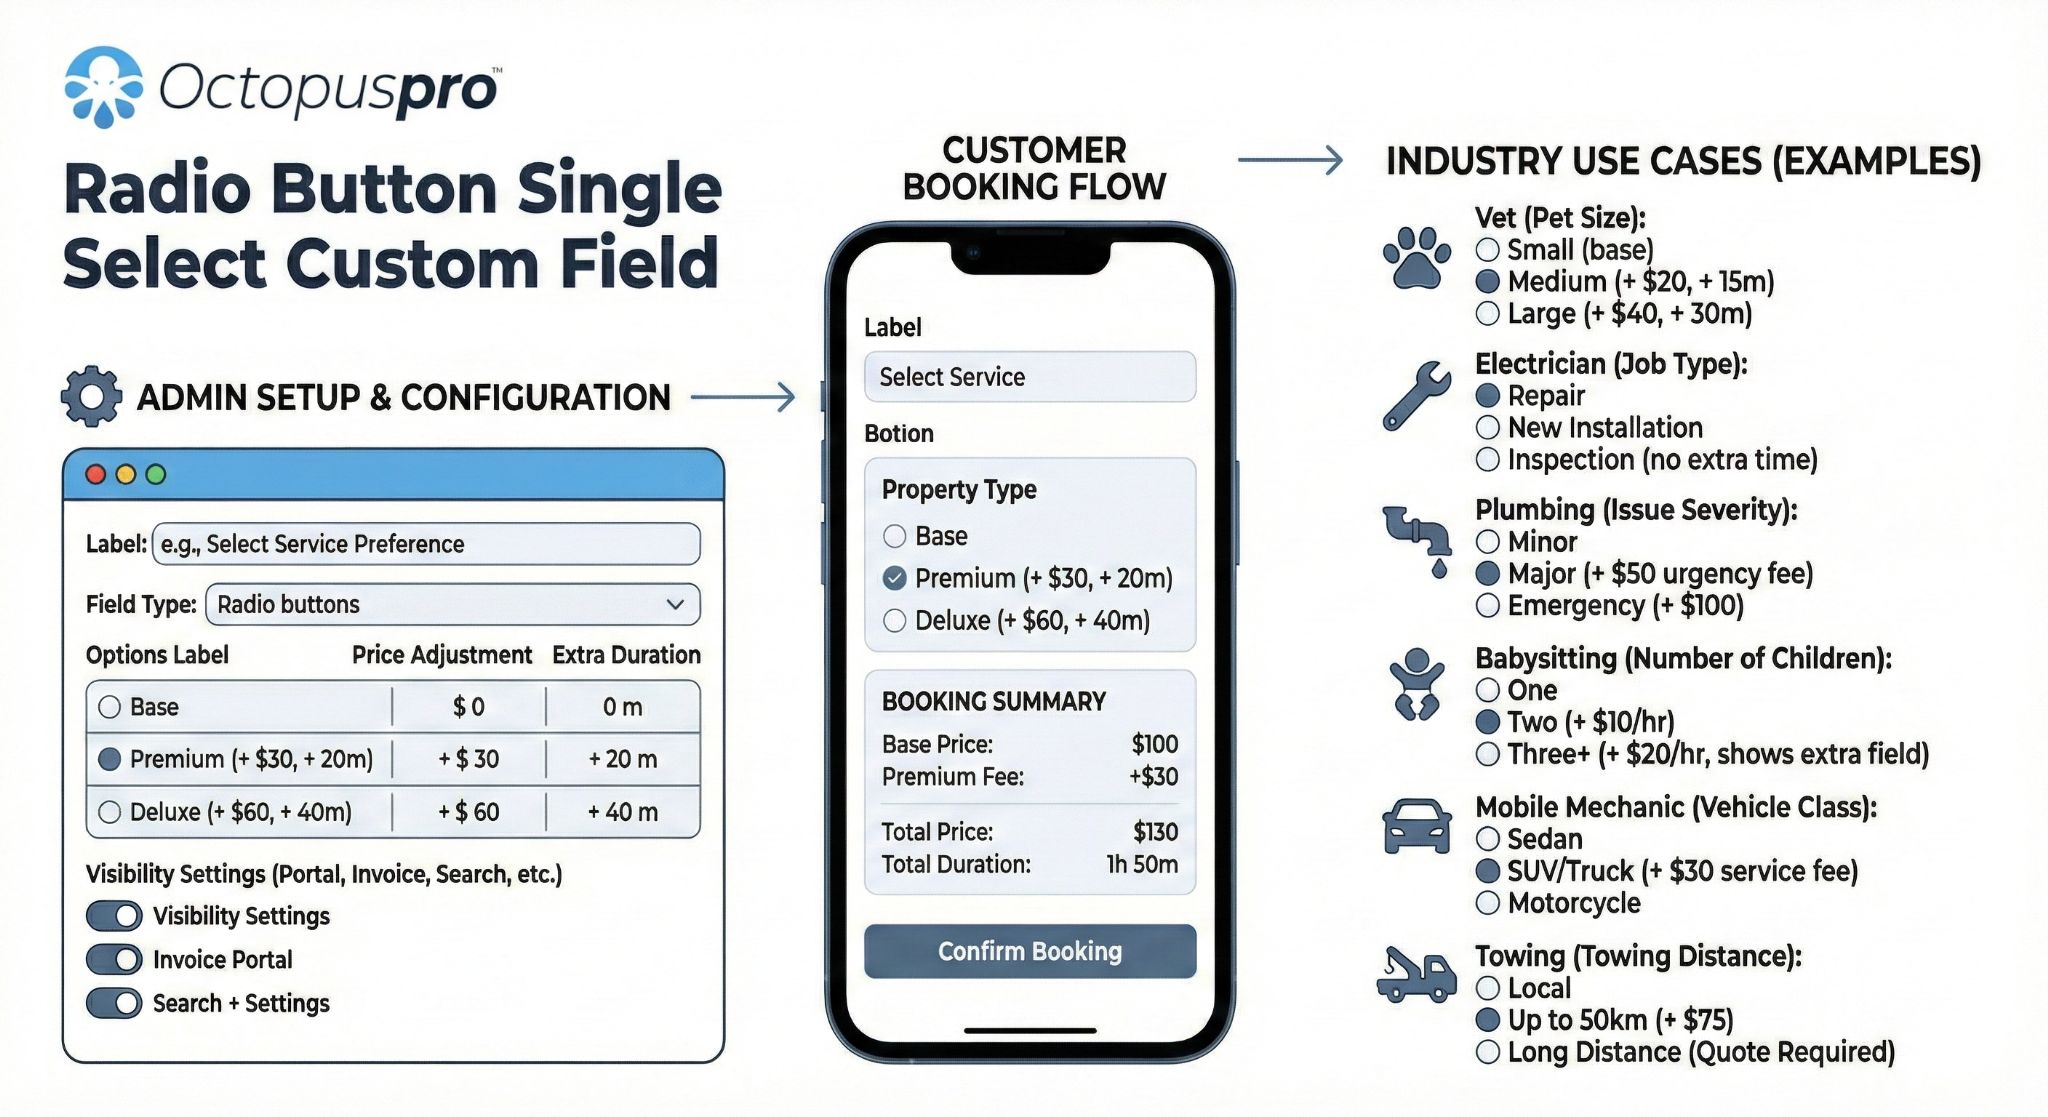
The Radio Button custom field (also known as a single-select field) lets customers, fieldworkers, or admin users choose one option from a visible list. It’s ideal when you want a fast, clear selection that can also drive dynamic pricing, service duration, and conditional follow-up questions (dependent fields) in your booking and inquiry flows.
Jump to
- What the Radio Button field is
- Where you can use it
- When to use Radio Buttons vs Dropdowns vs Button Groups
- How to set up a Radio Button custom field
- Dynamic pricing & duration (service-level fields)
- What each role sees (Admin / Fieldworker / Customer)
- Reporting, filters & exports
- Best practices
- Troubleshooting
- Related articles
What the Radio Button field is
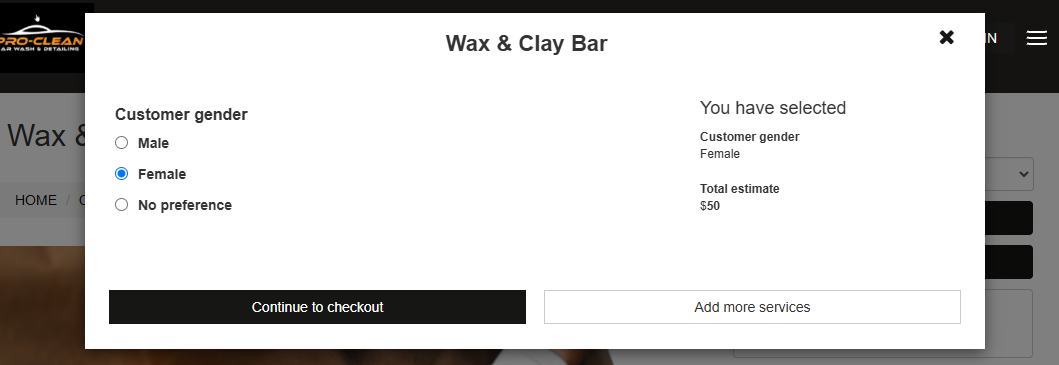
A Radio Button field displays multiple options at once, and the user can select only one. If they select another option, the previous selection is automatically deselected.
Each option can be configured to:
- Adjust price (surcharge/discount) when used on services (bookings/quotes/inquiries)
- Add extra duration (additional labour time) when used on services
- Trigger dependent fields (conditional logic) to show follow-up questions based on the selected option
- Display thumbnails/images for more visual choices (where enabled)
Where you can use it
You can add a Radio Button custom field in several areas depending on what you want to capture:
- Service booking / quote / inquiry questions (best when the selection affects pricing or duration)
- Lead Capture form (website inquiry widget) to qualify leads and collect structured info early
- Customer Profile to store preferences and CRM attributes (e.g., preferred contact method)
- Fieldworker Profile to capture single-choice attributes (e.g., certification level)
- Forms & Checklists for inspections, compliance, job reports, and internal workflows (note: checklist fields typically do not impact service pricing/duration)
For a broader overview of how custom fields work across OctopusPro, see: Custom Fields | Booking, Lead-Capture & CRM Data.

When to use Radio Buttons vs Dropdowns vs Button Groups
All three are single-select field types. Choose the one that best matches your UX needs:
- Radio Buttons: Best for 2–7 options where you want every option visible without clicks.
- Button Group: Best for short labels and a more tap-friendly UI (mobile-first). See: Button Group (Single-Select).

- Dropdown: Best when you have many options and want a compact layout. See: Dropdown (Single-Select).

How to set up a Radio Button custom field
You can create Radio Button fields from the Custom Fields settings area, and then attach them to services, profiles, or forms depending on your workflow.
Step 1: Open the Custom Fields page
- Service-level fields: Go to Settings → Service Settings → Custom Fields
- Lead Capture fields: Add fields to your website inquiry flow under Lead Capture
- Profiles: Use the profile customization pages for Customer Profile or Fieldworker Profile
- Forms & Checklists: Build checklist questions under Forms & Checklists field types
Step 2: Create a new custom field
- Click Create New (or New Custom Field).
- Enter a Label (customer-facing name), e.g., “Floor type”.
- Set an Internal ID (used for exports/integrations), e.g., floor_type.
- Add Helper Text (optional) to explain what the user should choose.
- Select Field Type: Radio buttons.
- Choose Option display order (as entered / alphabetical / other available sorting options).
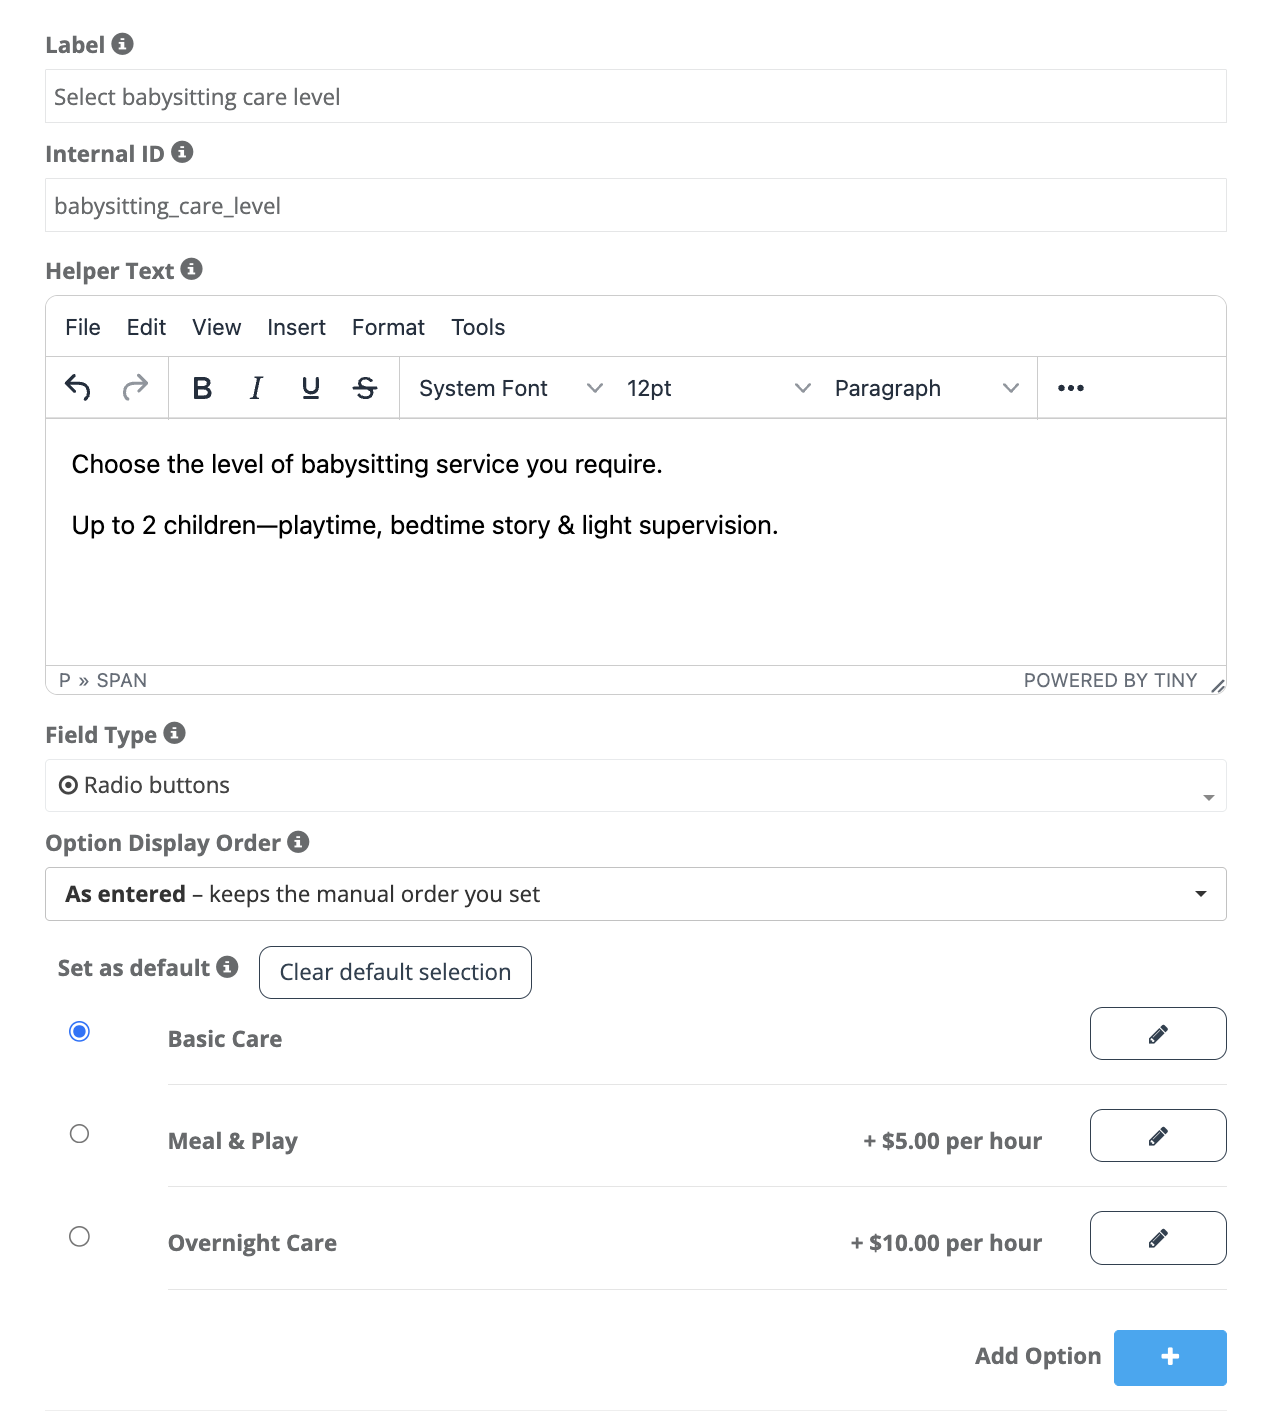
Step 3: Add your options
Add each option the user can select (e.g., “Tile”, “Timber”, “Carpet”). For each option, you can configure:
- Price adjustment (surcharge/discount)
- Extra duration (additional time)
- Dependent field (conditional follow-up question)
- Additional details / internal notes (if enabled)

Step 4: Default selection (optional)
You can set a default option to speed up data entry, or choose Clear default selection if you want users to actively choose.
Step 5: Visibility & usage settings
Depending on where you’re using the field, you may see visibility toggles such as displaying the field in the portal, showing the selected value in documents, or enabling it for search/filtering. Configure these based on your workflow, then click Save.
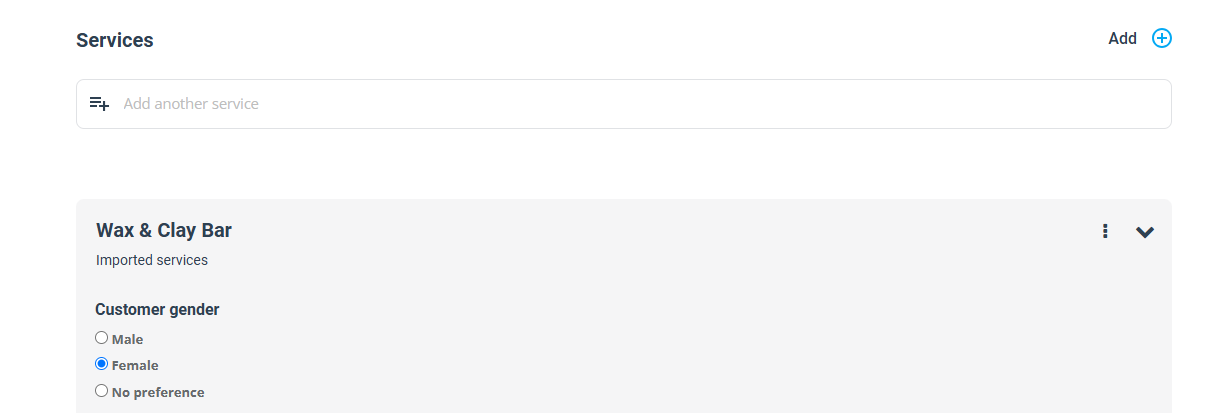
Step 6: Attach the field to your service (if service-level)
To display the field during booking/quote/inquiry for a specific service, attach it to the service using: Attach Custom Fields to Services.

Dynamic pricing & duration (service-level fields)
If your Radio Button field is attached to a service, each option can automatically adjust:
- Price (e.g., +$30 for “SUV”, +$50 for “Truck”)
- Service duration (e.g., +30 minutes for “Deep clean”)
This is useful for:
- Upgrades (Standard vs Premium)
- Access/complexity (Easy access vs Stairs vs Limited parking)
- Material/type selection (Tile vs Timber vs Carpet)
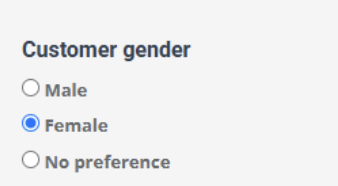
- Preference selection (e.g., technician gender or service style)
If you need follow-up questions based on the chosen option, use Dependent Custom Fields (Conditional Logic): Dependent Custom Fields.

What each role sees (Admin / Fieldworker / Customer)
Admin (web app)
Admins can select one option while creating or editing an inquiry/quote/booking. If pricing/duration rules are applied at the service level, totals and time can update immediately.
Fieldworker (mobile app)
Fieldworkers can select a single option when updating job details (depending on permissions and whether the field is visible/editable in the app).

Customer (portal / website booking widget)
Customers can select one option during checkout or inquiry submission (when enabled for the portal/widget). The selection can be shown in confirmations and booking details.
Reporting, filters & exports
Radio Button fields store a single, structured value (unlike free-text notes). This makes them ideal for:
- Filtering bookings/inquiries by a specific selection (e.g., “Floor type = Tile”).
- Segmenting customers based on preferences (e.g., “Preferred contact method = SMS”).
- Consistent exports and reporting, because values are standardized and predictable.
Best practices
- Keep labels short (1–3 words) so they scan easily.
- Use Radio Buttons for small sets (roughly 2–7 choices). If you have many options, consider a Dropdown.
- Be intentional with defaults: set a default only if it’s truly the most common selection.
- Use helper text to reduce back-and-forth (“Choose what best matches your property”).
- Use dependent fields to keep forms short and only ask relevant follow-up questions.
Troubleshooting
- The field isn’t showing on my service booking form: Make sure it’s attached to the service and enabled for the relevant workflow (booking/quote/inquiry). See: Attach Custom Fields to Services.
- Price or duration doesn’t change when I select an option: Price/duration adjustments typically apply only when the field is used at the service level (not profile fields or most checklist fields). Confirm the option has a configured price adjustment/extra duration.
- I need a follow-up question to appear after selecting an option: Use conditional logic via dependent fields: Dependent Custom Fields.
- I have too many options and the form looks long: Consider switching to a Dropdown or a Button Group.
Related articles
- Custom Fields | Booking, Lead-Capture & CRM Data
- Attach Custom Fields to Services
- Dependent Custom Fields (Conditional Logic)
- Button Group (Single-Select)
- Dropdown (Single-Select)
- Lead Capture (Website Inquiry Widget)
- Customer Profile Custom Fields
- Fieldworker Profile Custom Fields
- Forms & Checklists Field Types/Elements
To stay updated, please subscribe to our YouTube channel.