
Fieldworker Profile Customization Using Custom Fields
In a world where details matter, leveraging advanced fieldworker profile customization lets you capture the exact information needed for top-tier service experiences—whether it’s specialized certifications, scheduling preferences, or unique skillsets. By tailoring each profile to your business needs, you enhance efficiency for fieldworkers and build greater trust with customers through more personalized interactions.
List of contents:
- Customize your Fieldworker Profile using Custom Fields
- How to create a new custom field for your fieldworkers?
- How to edit/view custom fields for fieldworkers as an admin via web
- How to edit/view custom fields for fieldworkers as an admin via mobile application
- How to edit/view custom fields for fieldworkers as a Fieldworker via Web
- How to edit/view custom fields for fieldworkers as a Fieldworker via Mobile Application
- Where is the custom field visible on the customer portal
- How to manage the created custom fields
- How to edit an existing custom field
How to create a new custom field for your Fieldworkers?
- From the admin web view, go to Settings > General Settings > Fieldworkers profile from the side menu on the left.
- Click on ‘+Create new’.

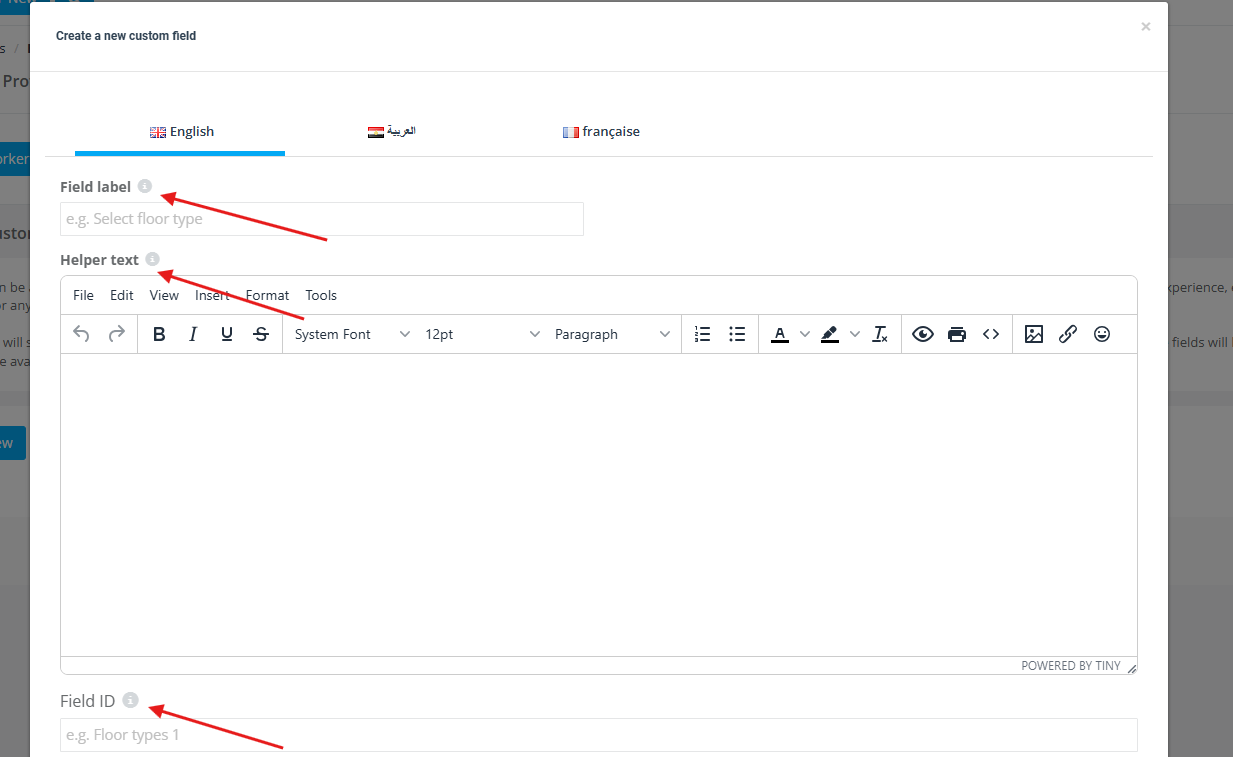
The Create a new form page will appear requiring you to select/add the following:
- Field Label: This is the name of the new custom field that explains what is required from the fieldworker to enter. The field label can be a single word, a short sentence, or a question. The field label can be, for example, “Education Level” or “What’s your previous work experience?”
- Field ID: The field ID is used to make each custom field significant and easily distinguished from other custom fields that share the same labels. The field ID is used mainly because there can be more than a custom field with the same field label for different services.
- Helper Text: The helper text is used to further elaborate or describe your custom field, and it appears when you hover over the field. For example, if you are asking your fieldworkers to provide you with their previous work experience, you can write in the helper text “ Please make sure to state all the information from your previous job, including the name of the place, the location, the date, the job title, and description”. So, through the helper text, you guide your fieldworkers to provide the right information you need to gather. The helper text is an optional element.
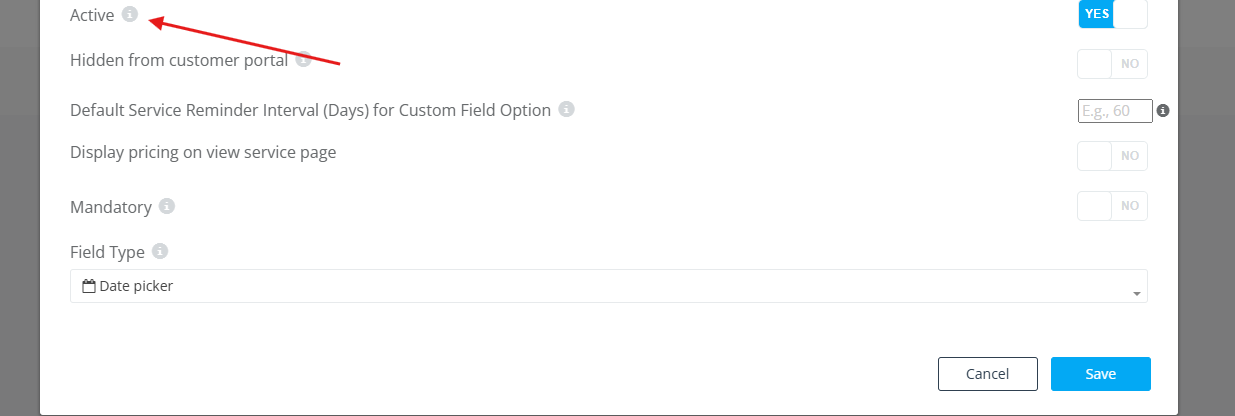
- Active: This toggle button gives you the option to make your new custom field active or not through the toggle point. If you select yes, it activates the custom field and it will appear on the fieldworker’s profile. If you need custom fields to be inactive for a while, switching to inactive will make it invisible on the fieldworker profile; however, it will still be listed among your custom fields on the fieldworker custom fields page.
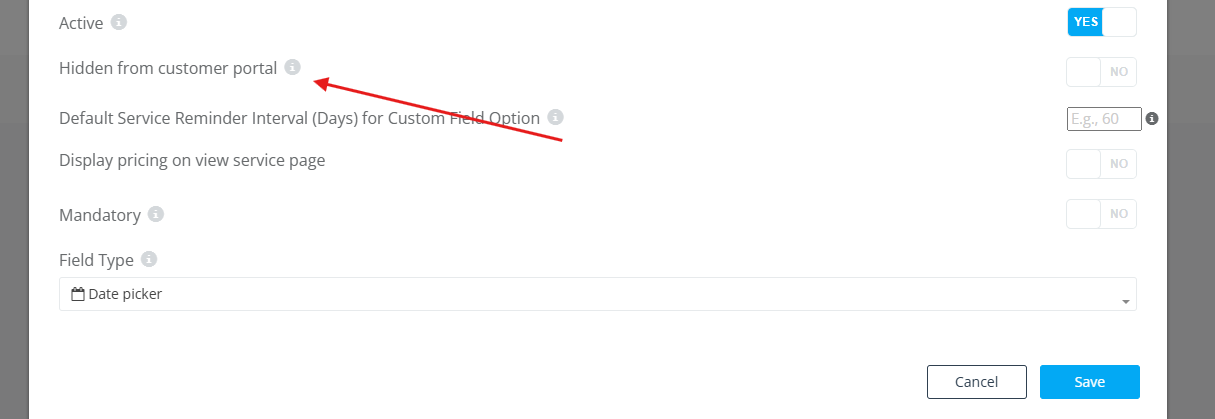
- Hidden from Customer portal: This toggle button enables you to decide if your new custom field will be visible or hidden on the customer portal and the branded app. If, for example, your customers require specific information about your fieldworkers.
Mandatory: The custom field can be optional or mandatory. You can enable the toggle button to “yes” so that the custom field becomes a requirement that needs to be filled. If the custom field doesn’t provide essential information that might affect the offered services, you can leave the toggle button disabled so that it becomes an optional field.
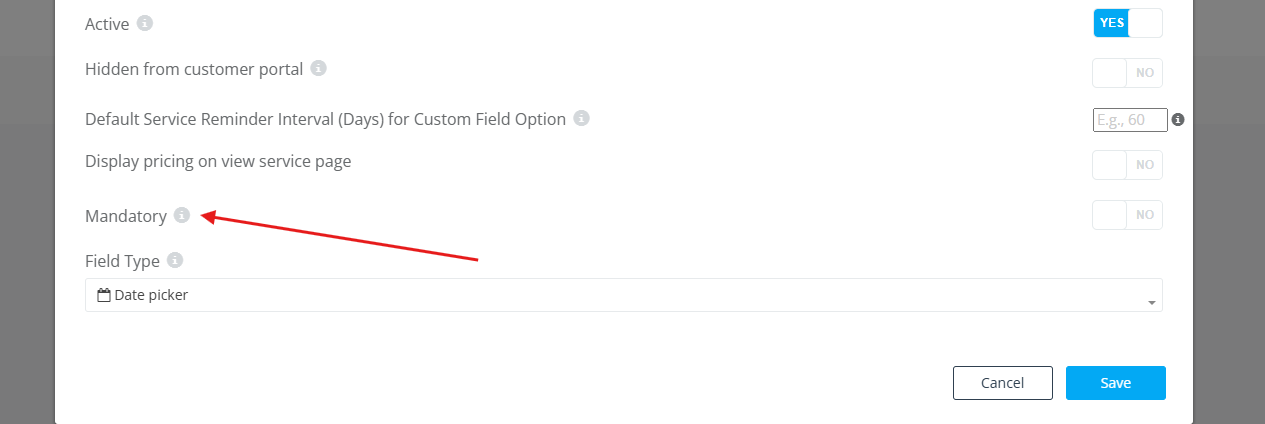
Field Type: This feature allows you to select from the dropdown menu the type that best describes the created custom field So, depending on the needed answer you will choose the field type, as the entries can be dates, numbers, short texts, long texts..etc
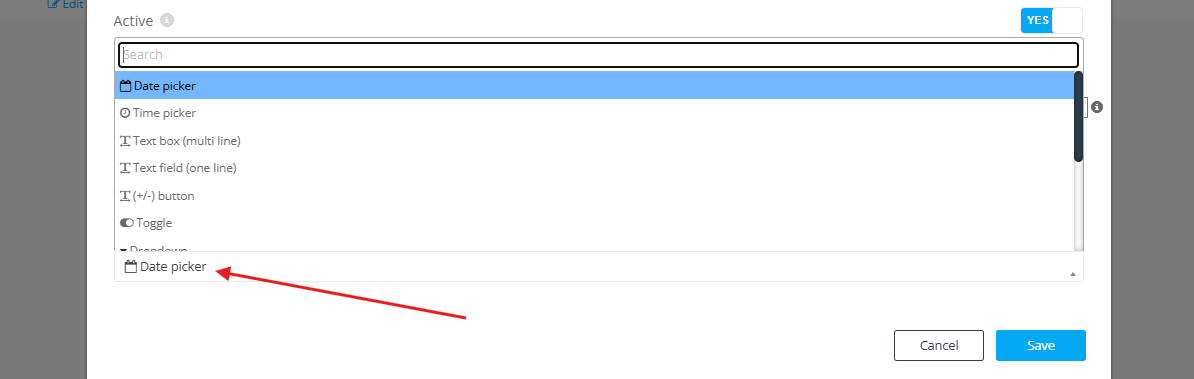
Examples of available custom fields types are Date picker, Time picker, Text box (multi-line), Text field (one line), Button, Toggle, Dropdown, Radio button, Button group, List, Checkbox (optional selection), and Checkbox button group.
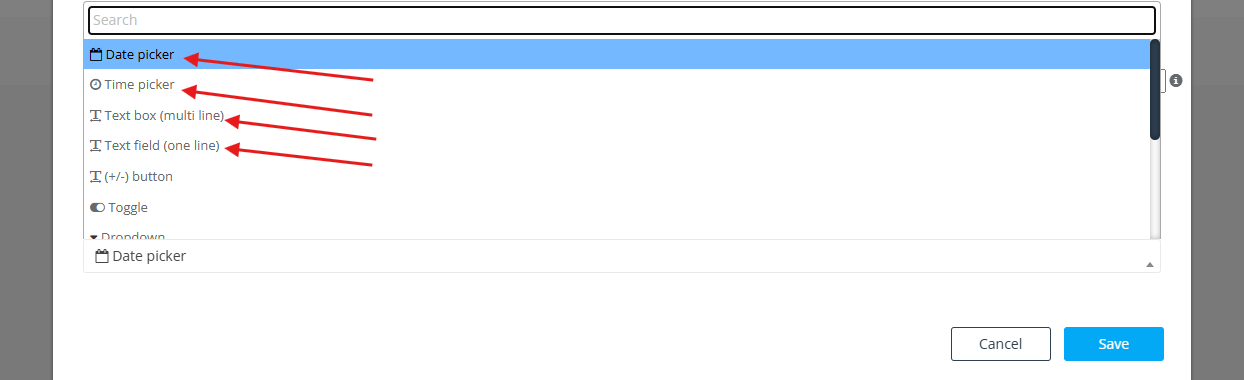
1. Date picker: The required answer allows users to only select a date from the calendar. This option can be used when the fieldworker is asked about their date of birth for example.
2. Time picker: This option allows users to enter a time only. This option can be used when requiring the fieldworker to enter a specific time of the day.
3. Text box (multi-line): This allows users to input a large amount of text in a multi-line field. This field is suitable for the custom fields that require long answers from the users, as it allows them to enter a huge number of characters in a multi-line. For example, if the fieldworker is expected to describe their previous work experience in detail, this may take multiple lines.
4. Text field ( one line): It allows users to input a small amount of text in a one-line field. This field can be selected when the required answer is expected to be a single word or a short text. For example, if the admin of a beauty salon inquires the fieldworker about their preferred field of expertise within the business services, the answer may be “Makeup” or “Nail Care” which may take a single line.
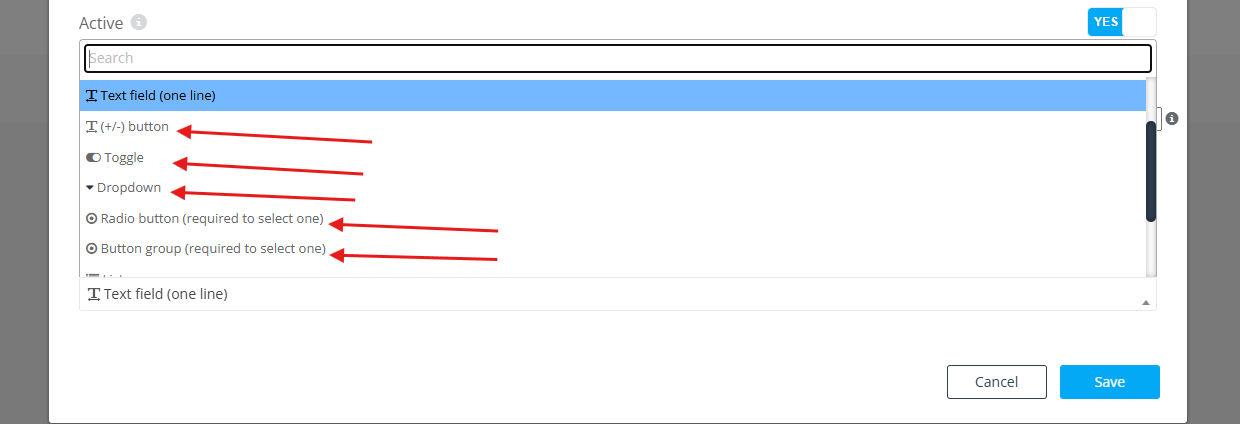
5. Button: It’s a clickable plus and minus button. It allows the users to increase numbers or decrease them to choose a number.
- Please notice: When this type is selected, three fields appear, to define the title of the button, select the minimum value, and the maximum value the user can select* For example, if the admin wants to know how many years of experience the fieldworker has, the title would be the measuring unit, in this example it can be “years”, the minimum value can be (1) and the maximum value can be (10), depending on the range the admin wants the fieldworker to choose from.
6. Toggle: It allows users to activate or deactivate the toggle to indicate yes or no as their answer. This option can be used if the admin inquires a single yes or no. For example, if the fieldworker is asked whether they have a car or not.
7. Dropdown: When using a dropdown menu, the user gets a menu including all the potential options of the custom field’s inquiry, to select only one from.
8. Radio button Same as the dropdown menu, the radio button lists all the available options which the user will choose from, but can only select one.
9. Button group: Same as the dropdown and the radio button, the button group lists all the available options which the user will choose from, and can only select one. The only difference is in the shape.
10. List: Same as the dropdown, the radio button, and the button group, the list enables the users to choose only one answer from a list that contains all the potential options.
11. Checkbox (optional selection): This allows the users to select one or more than one option; they only differ in the shape. Many options can be selected through the checkbox, and this type can be used when many answers can be valid for the same inquiry.
12. Checkbox button group: Checkbox button group allows users to upload an image for each value.
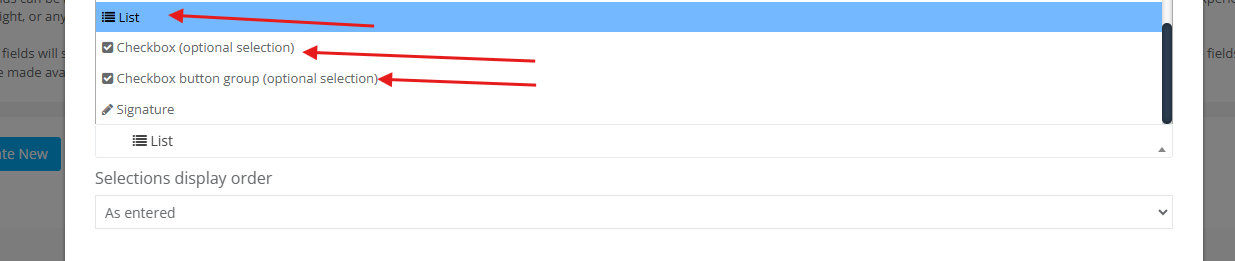
- Selections display order: This field enables you to choose in which order you want the field options to display, there are 2 main options to choose from:
- As entered: Where the options will be displayed to the users in the same order they have been entered with.

2. Alphabetical order (A-Z): Where the options will be displayed in alphabetical order, according to the first initial letter of each sentence.

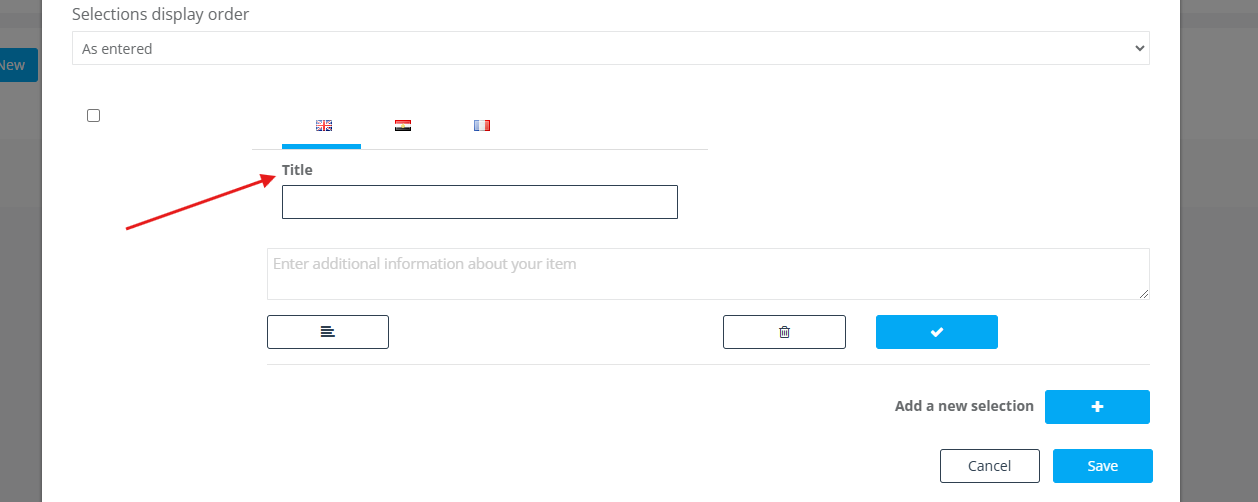
- Title: This is where you should add the name of the options listed in your menus. There’s an additional field that appears under the title field, allowing the users to add any further details about the title.
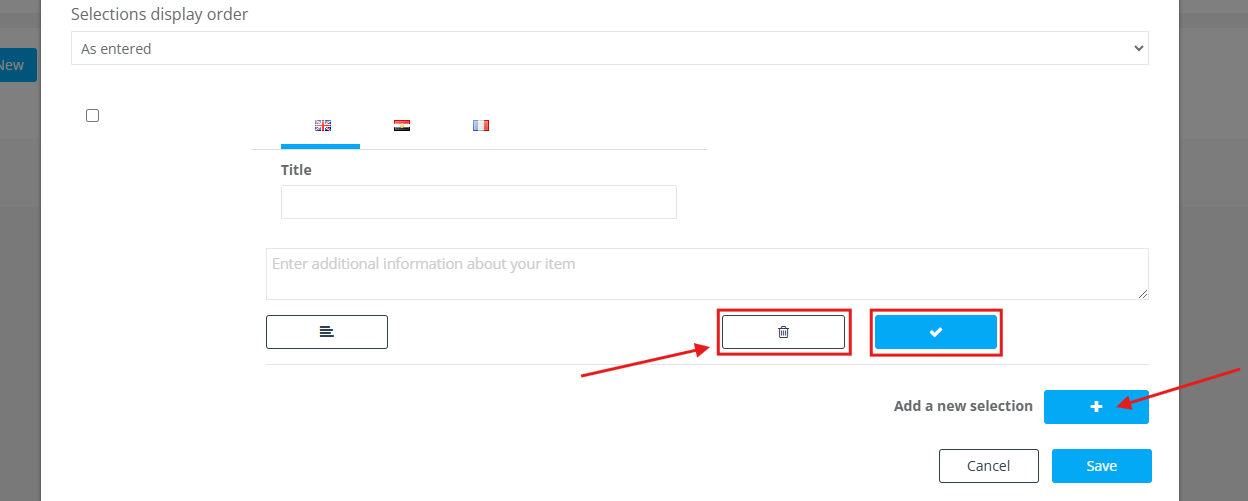
- After entering the title and the additional details, click on the right blue button under the title field so it can be successfully added.
- You also have the option to delete the added title through the delete button shown below.
- To add other options of the dropdown menu, click on “Add a new selection+”
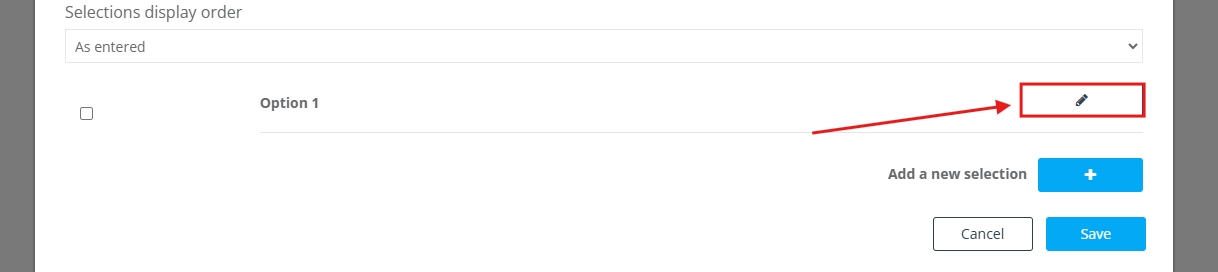
4. You can edit the title after adding it through the edit button shown below.
How to edit/view custom fields for fieldworkers as an admin via web
1. From the admin web view, go to Fieldworkers
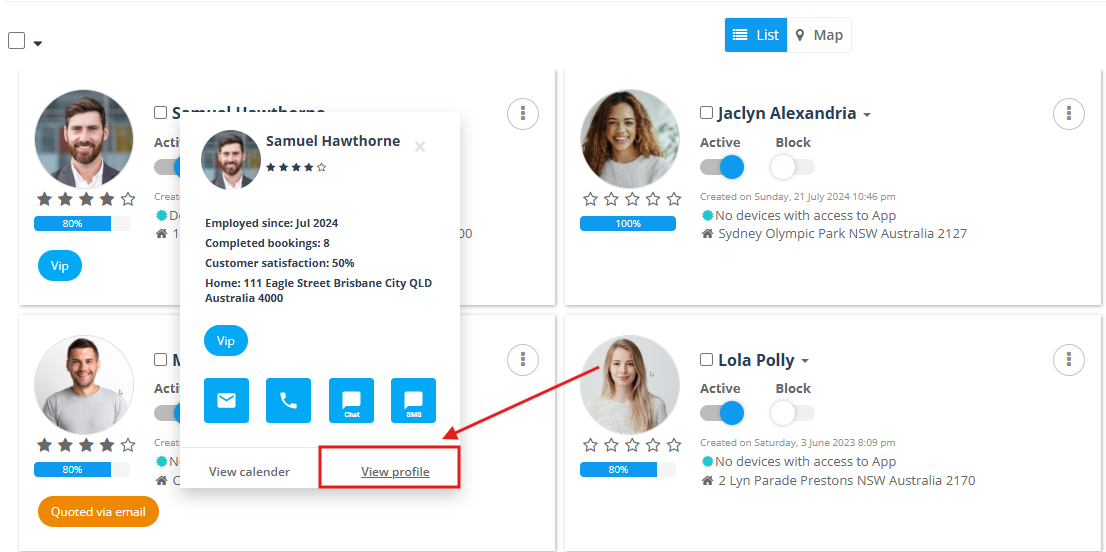
2. Hover on the fieldworker’s display name
3. Click on ‘view profile’.
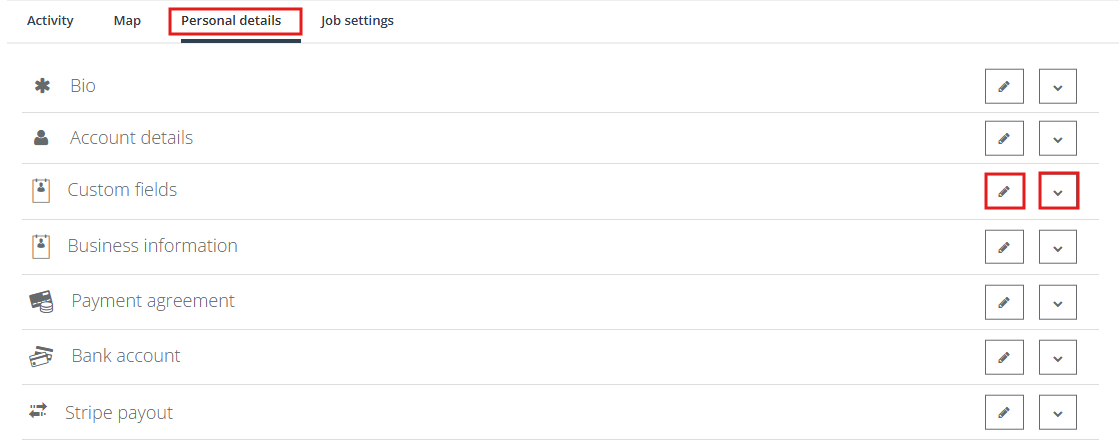
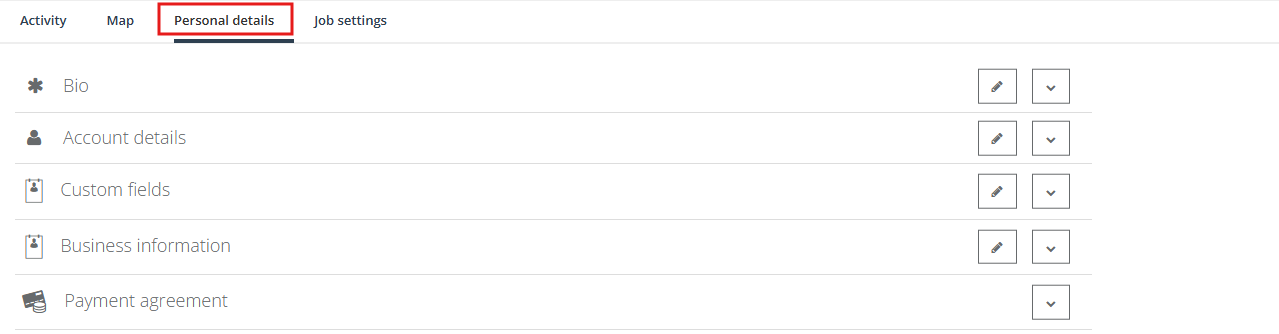
4. Click on Personal details, then Scroll down to ‘custom fields’.
5. You can modify the custom fields using this button
6. You can view the custom fields using this button
How to edit/view custom fields for fieldworkers as an admin via Mobile Application
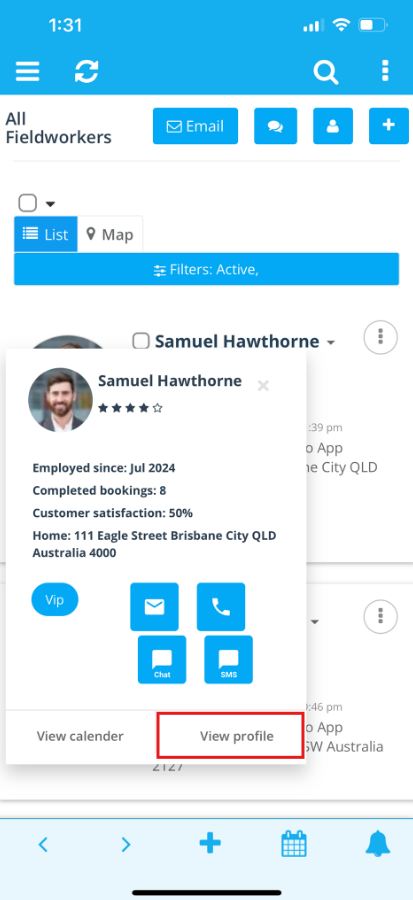
- From the top left menu, click on ‘Fieldworkers’.
- Click on the desired fieldworker, then on their display name
- Click ‘view profile’
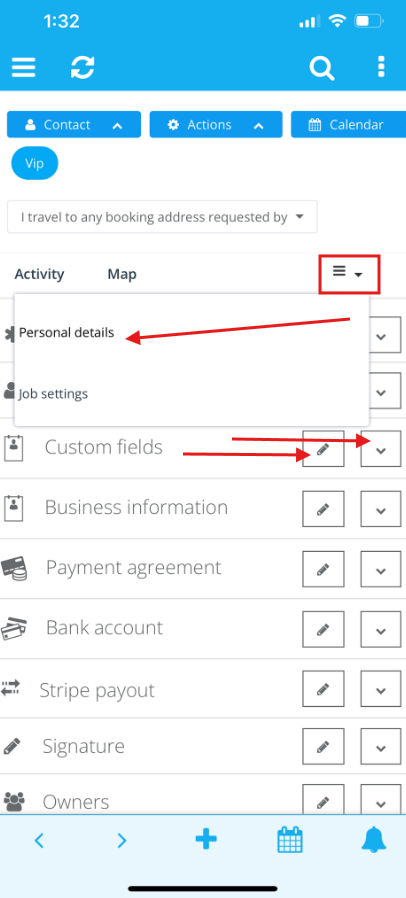
- From actions button select ‘Personal details’, then Scroll down to ‘Custom fields’.
How to edit/view custom fields for fieldworkers as a Fieldworker via Web
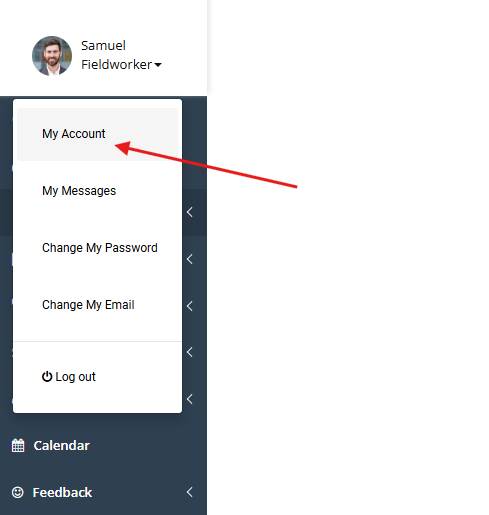
- From the left top menu, below your picture and display name, click on Fieldworker > My account > Personal details
2. Scroll down to custom fields where you will find 2 icons, one for ‘viewing‘ and one for ‘editing’ each custom field.
How to edit/view custom fields for fieldworkers as a Fieldworker via Mobile Application
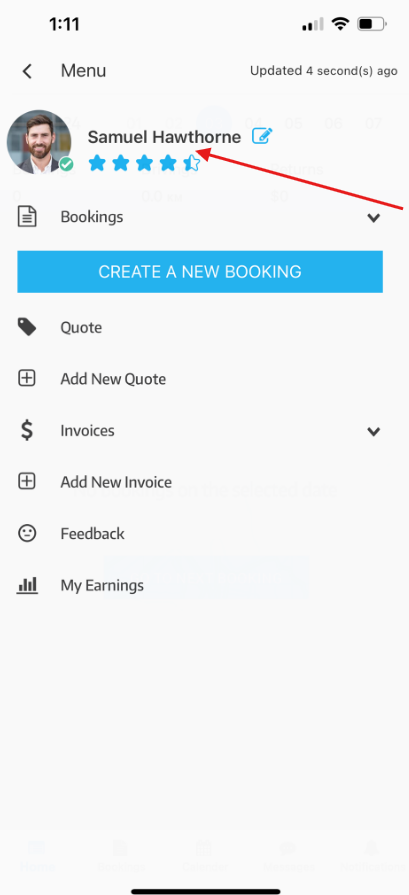
- From the left side menu, click on your display name
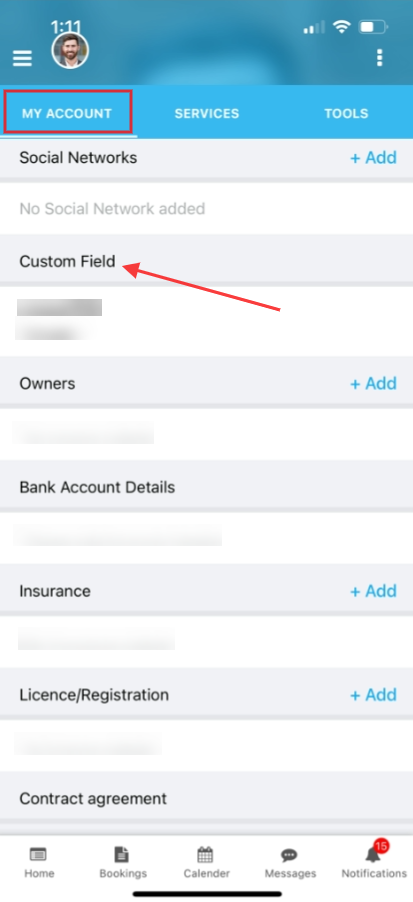
- Click on ‘My account’.
- Scroll down to ‘custom fields’.
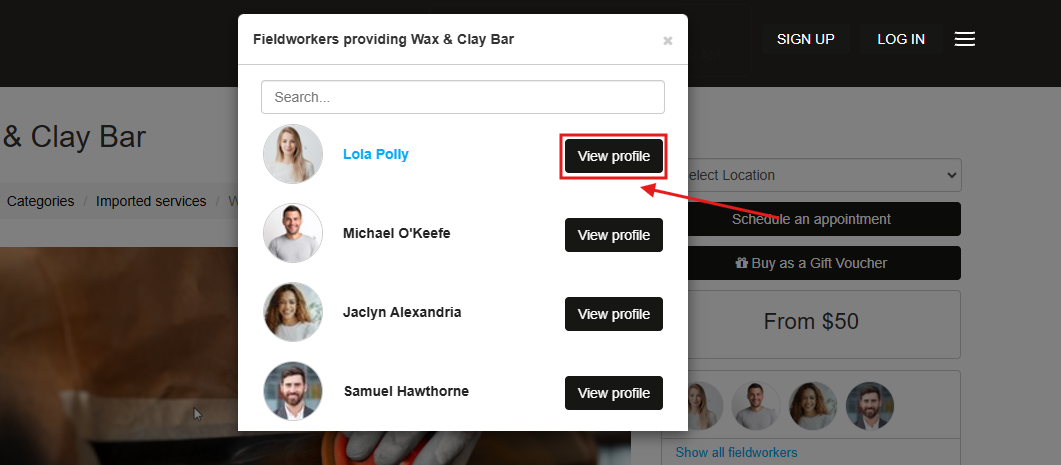
Where is the custom field visible on the customer portal?
When the admin creates a new fieldworker custom field, it is visible on the fieldworker’s profile on the customer portal.
Where is it visible?
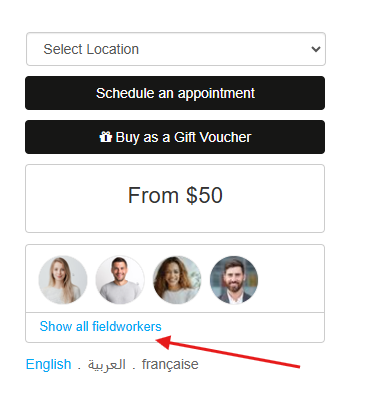
From the customer portal, when booking a new service on the top right of the page, you will find the list of fieldworkers for that specific service, in which you can click on the desired fieldworker, view their profile, and view all the custom field details available for that fieldworker.
How to manage the created custom fields
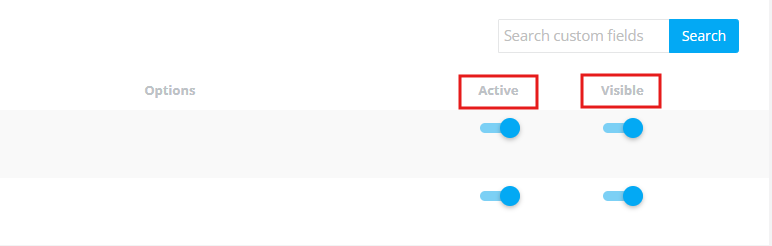
After creating a custom field for your fieldworkers, it will be displayed on the Fieldworkers’ Profile page and you can control the visibility of the custom fields as well as their activation through it.
- To be directed to the Fieldworker’s Profile page, from the admin web view, go to Settings > General Settings > Fieldworkers profile from the side menu on the left
- You can control the activation of the custom fields through this toggle shown below, by switching the toggle you can activate the custom field or deactivate it.
- You can control the visibility of the custom fields through this toggle shown below, by switching the toggle you can make it visible or not on the customer portal.
How to edit an existing custom field
- From the admin web view, go to Settings > General Settings > Fieldworkers profile from the side menu on the left.
- You will see all the existing custom fields and their details.
- Field Label: Which is the name of the custom field.
- Variable name: The field ID you already wrote.
- Edit: You can use it to edit any detail of the custom field.

For more information please visit Octopuspro user guide, and subscribe to our youtube channel.